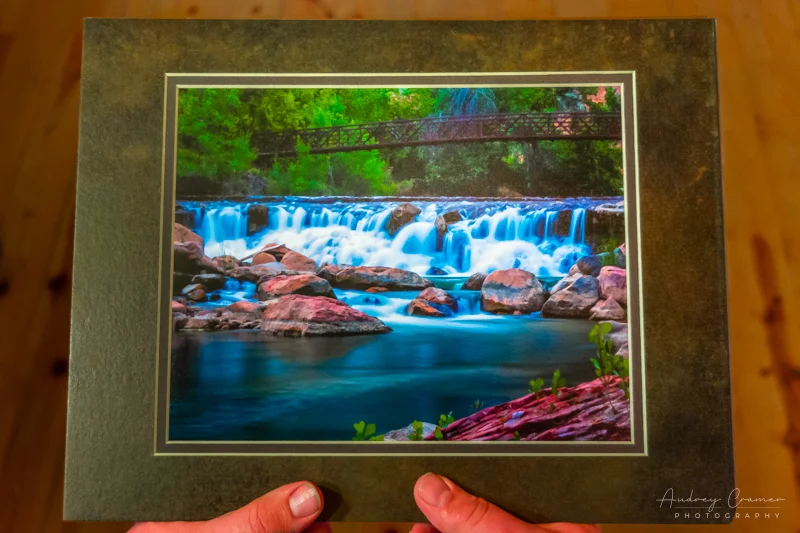
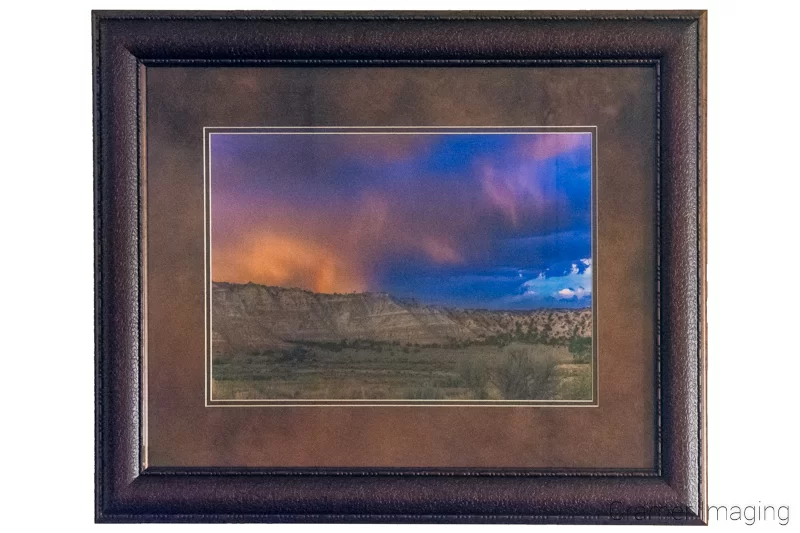
So, you’ve gone and purchased some beautiful and striking fine art for your wall. Now you need to get the right accent matting for it. You could just go down to the local arts and crafts store and pick something off the shelf or you could invest a little more into your art and really accent it right. So, today we’re discussing choosing the right matting for your fine art.
First, keep in mind that you cannot mat all art. Canvas paintings and gallery wraps cannot be matted due to the size of the canvas frame. Metal and wood prints don’t work well in either a mat or a frame. Matted fine art is best with and only works on paper art.
With that in mind, choosing the right matting for your new fine art isn’t difficult at all. It’s simply choosing something that you think works best with what it is being featured through the window. There are a few points worth considering when making your final selection, however.
Mat Size
The first thing to consider when choosing the right matting is the size of your mat. The window will need to be the same size or just slightly smaller than the art you intend to display through it. By slightly smaller, I mean a matter of small fractions of an inch on all sides (millimeters for those using metrics). With the specific dimensions of your art, you can begin your shopping.
Traditionally, one chooses a mat with outside dimensions one standard size bigger than the piece of art to be displayed in it. This is great if you are using a standard sized piece of art. If you are unsure, check out this article for standard frame sizes. Mat sizes follow the same rules. (8.5×11 or legal sized is not a standard size for pre-cut mats like it is for frames.) Anything bigger or not standard sized will require a special order.
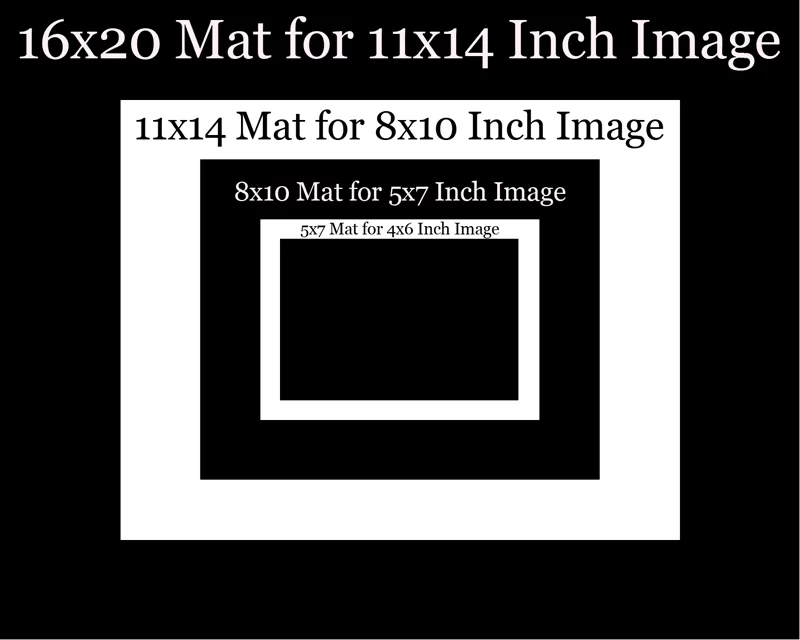
This means that an 8×10 inch picture should be accented in a mat that is 11×14 inches. For larger pieces, such as 20×30 inches, you will need specially sized equipment to create a custom mat as these are not generally stocked sizes. Most arts and crafts stores in addition to local art galleries will have this service available for a price.
Mat Color
The next important factor when choosing the right matting is what color your mat will be. This is a decision that only you can make based upon the particular piece of artwork you have. Do keep in mind that it is almost impossible to choose the right matting color for your art without having your art with you during the selection process. The human mind is good at perceiving color but not so good at matching it from memory.
There are a few schools of thought when it comes to matting your art. These are blending colors, neutral tones, and contrasting colors for mats.
Blending Color
Choosing a matting color which goes with the color scheme of your artwork is the most common school of thought. It simply involves selecting one of the dominant colors of the image and finding a mat with the same or a similar enough color.
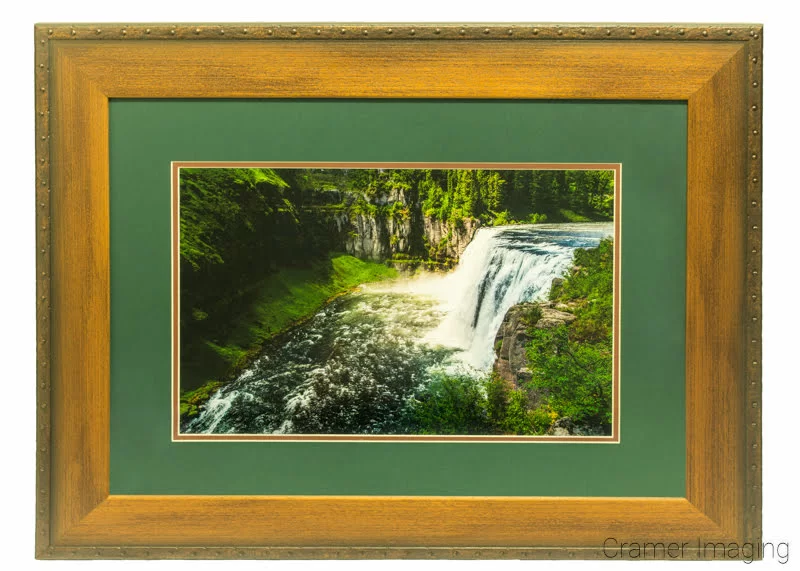
If you have the art with you, this becomes a simple matter of comparing the mat (or a small sample of the mat board) to the piece of art. Does it look good? Does it add something to the piece and draw your eyes into it or does it detract from the art and distract you? All of these questions are personal judgement calls to make, though it does help to get a second opinion sometimes.
Neutral Tones
One of the common schools of thought amongst artists is to use neutral colors for matting. This prevents the mat from detracting or distracting the viewer from the art. It also prevents the customer from hating the color selection of the artist when purchasing the art.

Simply put, neutral tone mat colors are white, black, and grey. You just about cannot go wrong with any of these three colors when you are matting artwork. If one does not work so well, one of the others most certainly will. You also have the benefit of a quick and easy selection process thanks to three options of color.
Contrasting Colors
The least common but most striking school of thought for matting artwork is to use a contrasting color to the colors of the art itself. This is not for the faint-hearted to try. When done incorrectly, it looks terrible. When properly applied, it looks far better than any neutral tone or blending color will for the same piece of art.
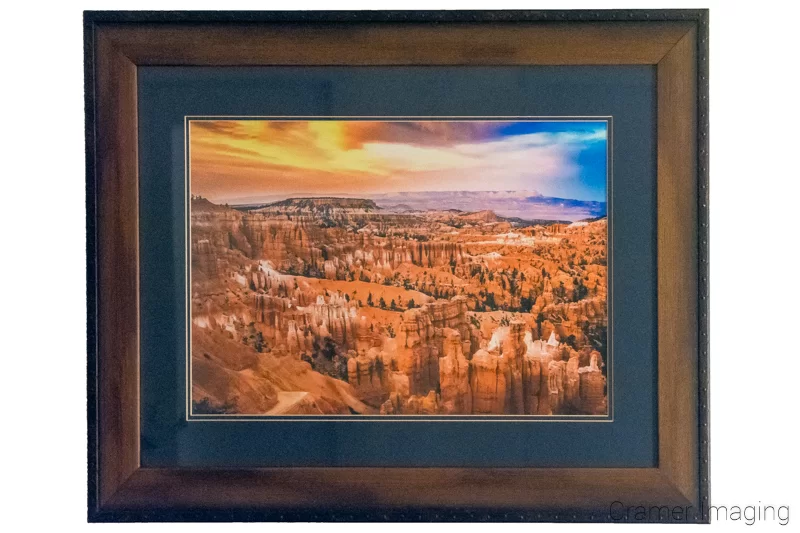
The general idea behind this practice is to choose a color for your mat which is opposite the color scheme of the art you wish to display it through. This contrasting color will both accent and draw your eye into the artwork while taking nothing away from said art in the process. It often works best with a light-colored piece of art and a dark colored mat and frame. Our eyes are naturally drawn to light, so the mat does the trick.
Single or Double Layer Mat
Another aspect of mat selection is whether or not you want a single or double layer mat for your fine art.
Single layer mats are just that: one layer of mat board between your fine art and the frame. Double layer mats have a secondary layer tucked inside the window of the first layer. This layer is barely visible but often adds a secondary accent color to your matting.
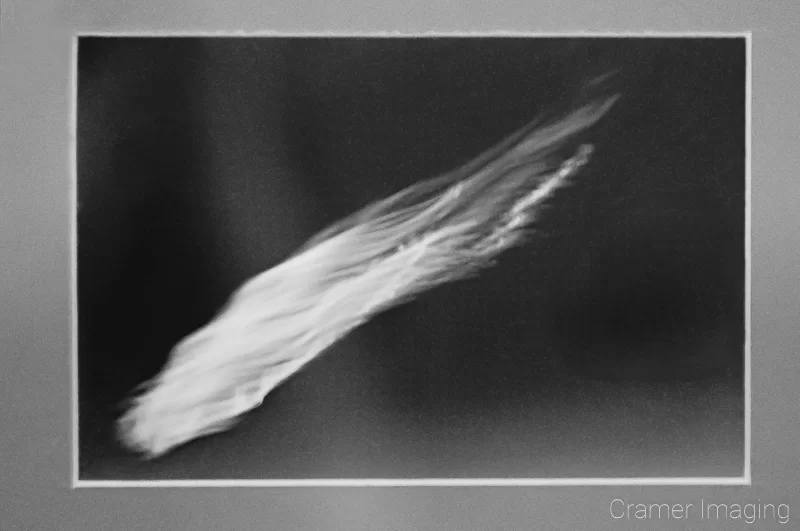
You’ll find most fine art housed between a layer of glass or plexiglass and a frame backing. The frame window depth determines how many layers you may place before the frame will not hold it. This window depth differs by frame model.
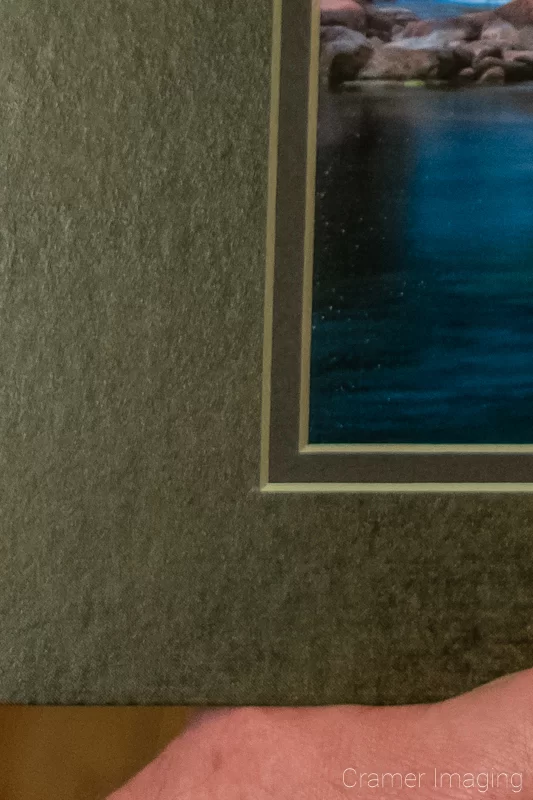
A single layer of mat board will fit inside most frames easily and with room to spare most times. You need not worry about the frame back fitting over the hole nor whether or not the tacks holding it in place will burst with added bulk. You will, however, be limited in how many accent colors you can use. Most mat board is solid colored. Those which are not often only display subtle color variations of the mat board’s intended general color.
With a double mat layer, you can use the same color again or a secondary color for added accent. The second layer can add a more polished look to your fine art. You will also need to deal with the added bulk of a second layer of mat board. For this reason, the second layer is often cut with an outside edge just bigger than the window of the first mat board layer and glued in place. It helps with the bulkiness, but it won’t do everything.
The choice is yours here. There is no right or wrong answer. You dictate the answer by your choice of frame and your personal taste. Do be aware that, thanks to their small frame sizes, you will not see double mat options for any standard fine art sizes less than 8×10 inches. If you want that for a fine art piece that small, you will probably need to make it for yourself.
Traditional or Fancy Cut Corners

When you think of a matted fine art image on the wall, you often think of a square or rectangular window through which the artwork is visible. However, this is not the only option. You’ll find many different options for mat windows on the market ranging from simple to elaborate.
Sometimes you will see a mat cut with a round window for a round image. This is great for those kinds of fine art. It is still not the only option to consider in this portion of matting.
You may also consider adding a fancy cut into the corners of your mat. When done properly, it can add the extra special something to your beautiful fine art. Of course, the fancy cuts require a double layer of matboard, or you’ll reveal holes in your art or else you’ll reveal the unattractive portions of the canvas or paper. This means that you must consider all the concerns of a double mat in addition to your fancy cut.
For a traditional cut to the corners, you need not look any further than that of the square or right angle cut. Those are quick and easy. They will also work for most kinds of fine art. They are available for sale as both stock size options and custom sizing options for fine art mats.
Conclusion
Choosing the right matting for your new fine artwork is really a simple matter of selecting what works best for the piece. With an eye on the size, color, number of layers, and cut, you can easily find the right mat for the job. Once you make your selection, you can be on to the next decision regarding your artwork: choosing the right frame to display it in. Tune back in next week where we will discuss this topic in depth.

