As a landscape photographer, I’m deeply concerned about how my landscape photos print. After all, the final print is the goal. So, to help with my efforts in that direction, I acquired the Spyder X Pro screen calibration tool to calibrate my computer screens. Now, I want to review both the hardware and the software which I purchased.
As I purchased this platform outright myself, you may rest assured that I am in no way, shape, or form being compensated for my opinions. They are entirely my own from my experience with the Spyder X Pro screen calibration tool.
The Background: Why Screen Calibration Software?
Over the years as a photographer, I’ve experienced some of the handicaps which a computer monitor can create in photo processing. One such handicap was using an old CRT monitor. I couldn’t tell the difference between photos in-focus and photos out-of-focus unless the lack of focus was much more apparent. Slight differences escaped me and hampered my early professional photography attempts. After correcting that problem, I found another.
My color printing class in college taught me that there’s a difference in how the screen renders colors and how the printer prints colors. I spent much time color correcting my photos during that class. This process involved printing out smaller versions to double check color, focus, and other issues before printing out the larger version for homework. If this sounds wasteful, that’s because it was.
My teacher taught us a bit of a work-around for this color correction problem in Photoshop. I utilized that solution for as long as Photoshop was my main photo-processing platform. When I made the switch to Lightroom full-time, I could no longer use that work-around. As I started making prints of my photos, this color correction problem re-emerged. So, I needed another solution. I found 1 with screen calibration.
Why Did I Choose Spyder?
The answer is really simple. When I first learned about screen calibration, it was from Spyder. For a long time, that’s the only brand offering screen calibration which my research and involvement in the online photography community uncovered. I went with Spyder because that’s the only brand I knew of for years who offered screen calibration. I’ve since learned about others like Calibrite.
So, why the Spyder X Pro as opposed to the Spyder X2 Elite or the x2 Ultra? That’s even simpler: cost. At the time of purchase, and also of writing, the Spyder X Pro is the cheapest screen calibration tool which the Datacolor company offers.
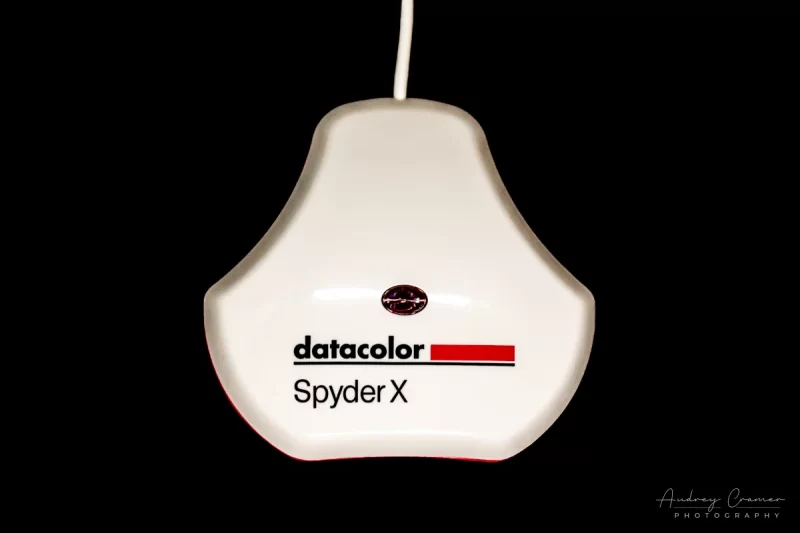
What Does the Spyder X Pro Calibration Tool Come With?
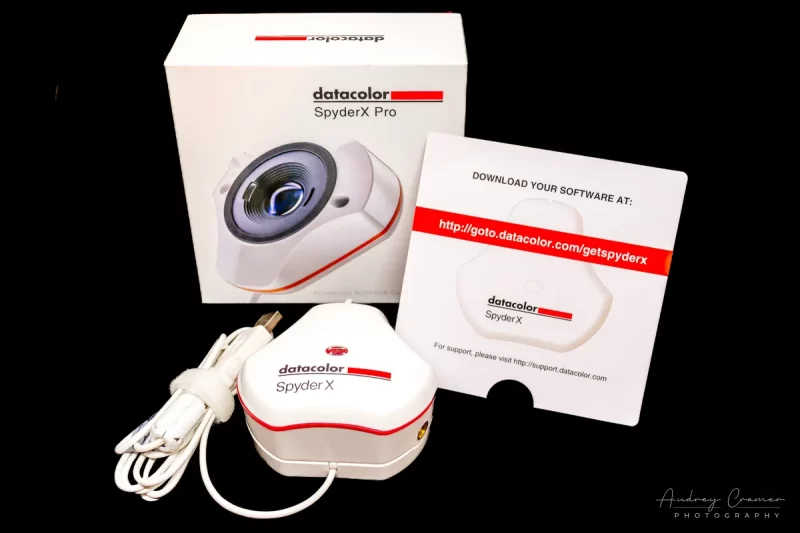
When you order the Spyder X Pro (or any other Spyder screen calibration tool), you received a piece of hardware (called a device) and a paper with the url to download the software. It comes in a padded box.
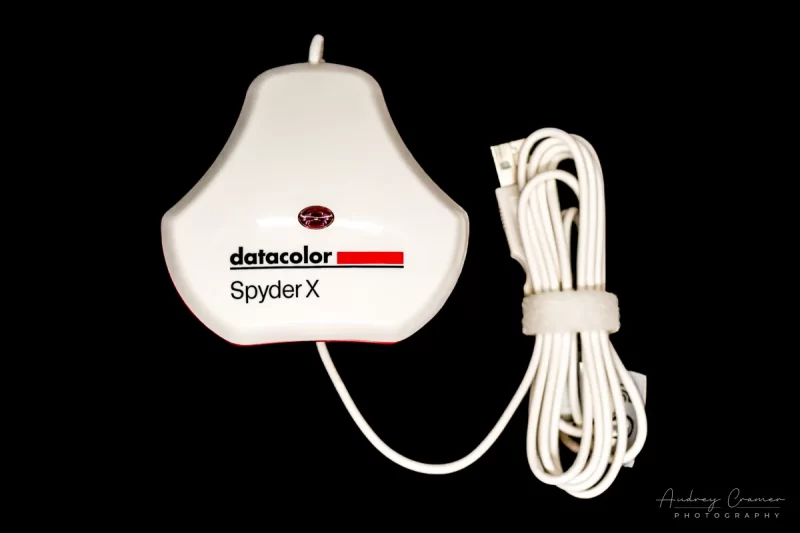
The Hardware
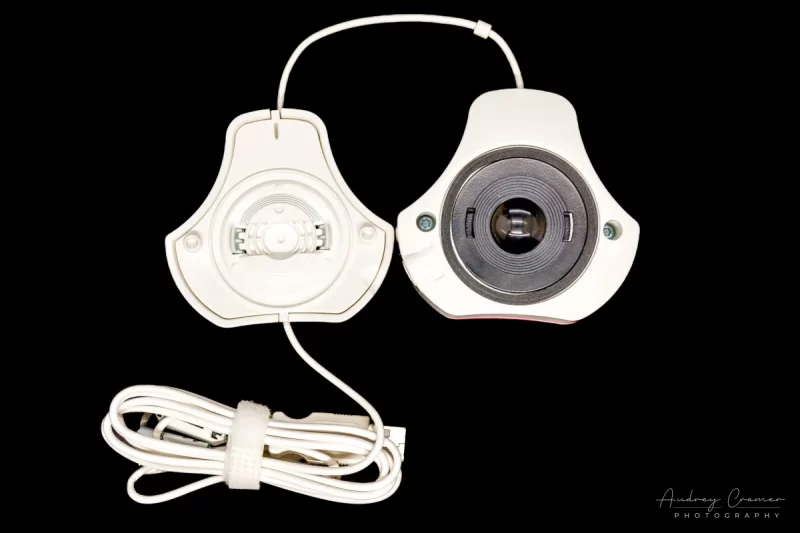
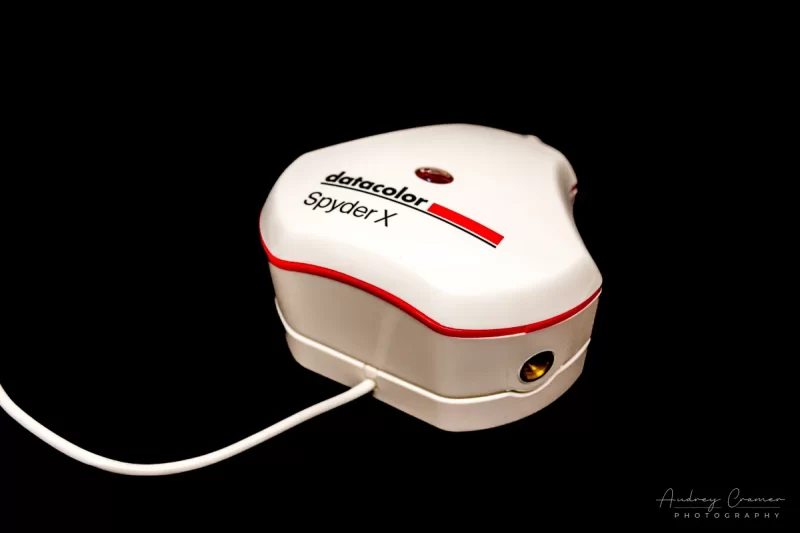
The device which Spyder provides is a USB-A accessory. It comes with an extra-long cord so that you can plug it into your computer tower and still have plenty of slack to drape it over the top of the chosen screen(s) for calibration. The device is a camera and little else.
The Software
Spyder designed a software package to work with the device. It runs a program with various prompts to manually change the illumination and color balance of the monitor. Once the calibration finishes running, it can write a custom profile and even take over the monitor’s color and brightness using that profile in combination with the manual adjustments you make yourself. Using a taskbar icon, you can even turn off the calibration if desired.
Judgement Criteria

I will judge the Spyder X Pro tool based upon the following criteria.
- Build Quality
- Ease of Device Use
- Ease of Software Use
- Screen Color Adjustment
- Print Quality Using the Custom Profile
From these points, we will determine how the Spyder X Pro does.
1. Build Quality
As we are discussing a piece of hardware, mentioning build quality seems appropriate somehow. Still, since this is a device which you shouldn’t need to use often, build quality seems a bit of a lesser priority. But I’ll discuss it here anyways.
The Spyder X Pro device is a camera surrounded by a plastic case. There is a lens cover which also functions as a base. Contained in that cover/base are a couple clips which grip into holes on the other side next to the lens. This is how the device remains closed.
While holding the device, it feels a bit heavy in the hand. Some might believe this should mean good build quality. However, it’s not a guarantee. As I don’t need to use it often, I keep it stored away in its box. This means I really haven’t dropped it or tested its build quality out in any serious manner. However, looking at the cord, that will eventually have problems if not properly cared for. Such cords often contain rather thin and fragile copper wires.
If I needed to predict which parts of the device might fail first, then I might guess that the clips might be the first to fail. If not them, then the cord might fail first. Perhaps, with a hard fall, the plastic case might crack. It’s difficult to say for a piece of hardware I use so infrequently.
2. Ease of Device Use
Next on our list of examination is just how easy or difficult the device is to use. As photographers often use desktop computers with multiple screens in addition to laptops, you might find you need to use this device more than once. So, let’s look at using it.
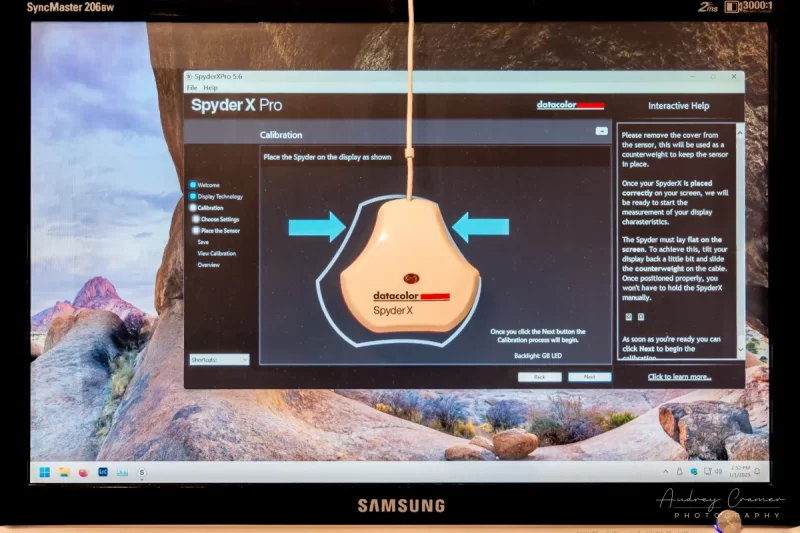
When using the device in combination with the software, you remove the cover/base and adjust its position on the cord until you can drape the device over the top of the monitor and suspend it about midway. The base/cover acts as a counterbalance here. In theory, this should be simple and easy. However, I found that it was not so.
When calibrating my computer screen, I found that light bleed from the surrounding ambient light altered how the device read the monitor. As such, I found I needed to hold the camera side of the device right up against the screen for optimal color reading. As the program takes several minutes to run and cycles through several different screens for an accurate reading, this meant holding the device in place for several exhausting minutes. Upon subsequent uses, I ended up using masking tape to hold it in place.
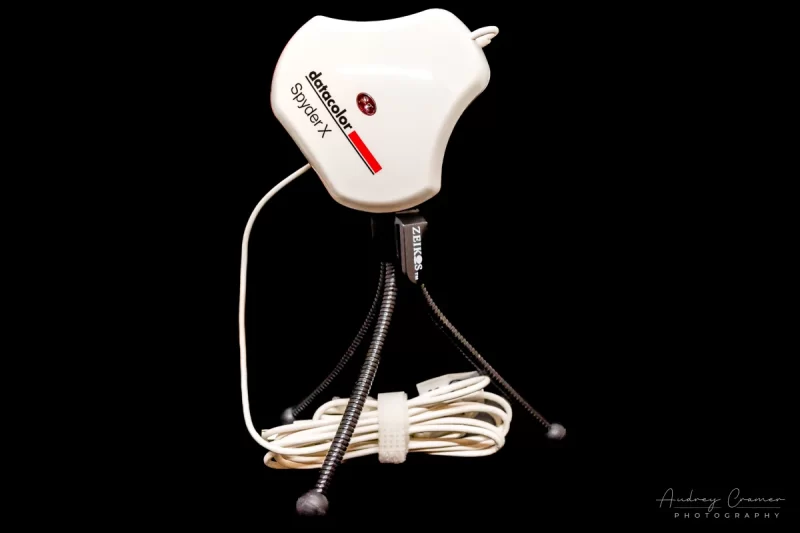
One thing to note, there is a female end screw hole on 1 side of the device. This is for screwing in a tripod for ease of device use. Please note that the tripod options are sold separately. Perhaps this tripod accessory would make using the device easier. Another thing to note is that the device screw slot worked perfectly with my Zeikos mini table-top tripod. This means that it must be compatible with 1/4″-20 screws. Still, I made it work with the MUCH cheaper option of a strip of masking tape.
3. Ease of Software Use
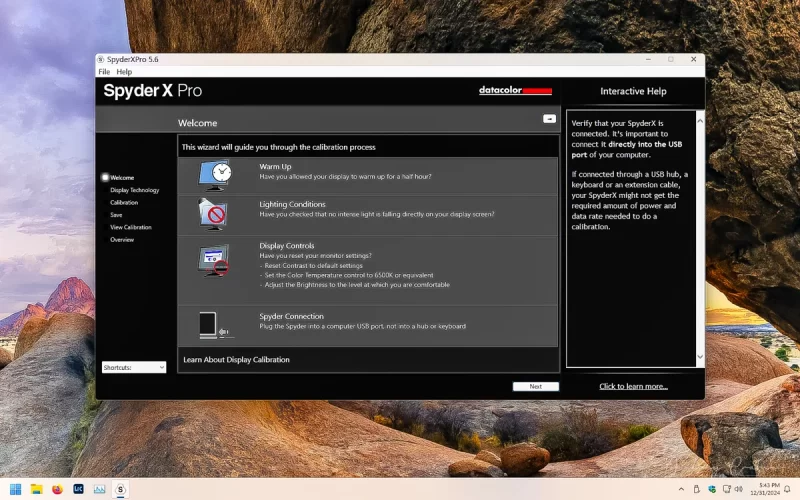
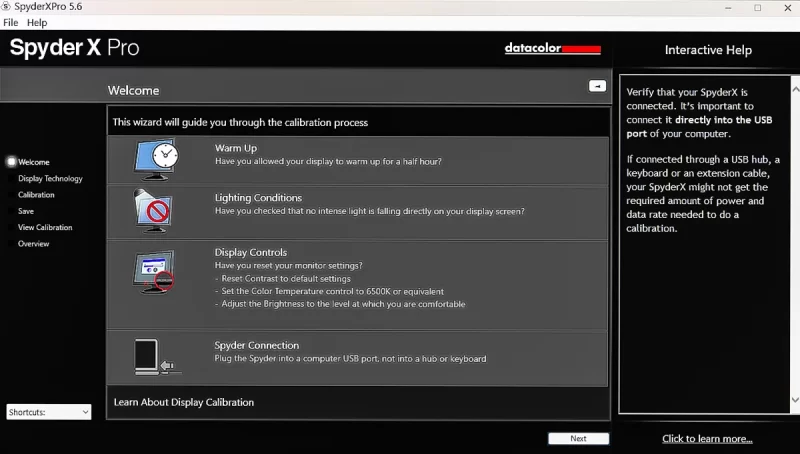
The Spyder tool, (X Pro, X2 Elite, and X2 Ultra, along with past and future models) is meant for use in conjunction with software. My version, at the time of writing, is SpyderXPro 5.6.
As stated before, the device comes with an insert instructing you where to download the software from. So, after going to the website listed and initiating the download and install, I obtained the full tool ready to use.
The software does help you walk through the process of calibrating your monitor. It does expect you to make manual changes on the monitor itself. These include adjusting the brightness and color balance on each RGB channel. If you aren’t familiar with the procedure on your current monitor, then research it before beginning the process of calibrating your screen as it’s an important part of the process.
I found that the software was easy to use. I did need to research out what kind of screen I was using as the software requires that information as well. But I ended up going with the generic option in the end. None of the other included profiles seemed to match my monitor.
At the end, I could view how the software adjusted the screen using sample images. It even gave me an axis to compare against Adobe’s sRGB profile. As that’s currently (at time of writing) an industry standard, that particular feature is important. Also, I could save the profile just created.
As stated before, a taskbar icon enables me to turn on and off the profile. The software will even schedule reminders to rerun the calibration at intervals up to 6 months. Other than this, the software will sit in the background and do nothing other than control the screen’s color profile.
4. Screen Color Adjustment
As screen color adjustment is the point of this tool, let’s now discuss just how the Spyder X Pro does with regards to color adjustment. How well does it do?
Well, this is the part which disappointed me. After my first calibration attempt, I noticed that my monitor screen took on a very green cast. It didn’t look right. Even my generic Windows wallpaper looked wrong.
The important part of the equation was just how my photos looked under the new screen calibration profile. Well, they looked bad. They also suffered from that green cast which I didn’t like. I attempted a few virtual copies to try and adjust them as closely as I could to their appearances without the calibration profile. It didn’t work.
Some quick internet research told me that this was a common complaint. Here we have another situation where research might have done me good. Oh well.
Sadly, I ended up turning the screen calibration off via the taskbar icon and running without it for a while. Then I found another solution which I’ll discuss in a bit.
5. Print Quality Using the Custom Spyder X Pro Profile
The point of screen calibration software may be to calibrate the screen, but the end goal is to make the screen and the printer match as closely as possible. In the end, the goal of screen calibration is the final print. Now, let’s look at how the Spyder X Pro custom profile did with photo printing.
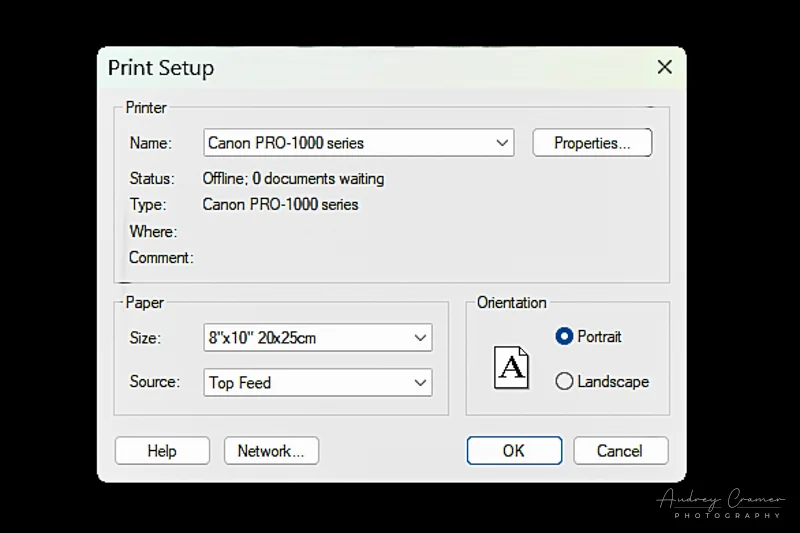
I’ll start things out by sharing that I own a Canon Pro-1000. It’s a good photo printer, if rather limited in the large sizes it can print. I also had full ink cartridges. There’s nothing here on the printer side at fault.
Eager to test out just how my prints would look, but worried about the result thanks to that afore mentioned green cast, I selected the newly saved screen calibration profile in Lightroom as my printer profile and sent my first test shot to the printer. What came out was disappointing. The colors were so very much off. The photo looked so wrong. I knew I couldn’t use this profile for my professional photo prints.
How I Solved the Spyder X Pro Custom Profile Problem

After putting my disappointment aside, I finally researched out alternatives to Spyder’s screen calibration software. The very first result in search pointed me in the direction of DisplayCAL. It’s a free download which was advertised to correct for that awful green cast problem. Also, it’s compatible with my Spyder X Pro device. This was an unexpected bonus which cut down on potential cost. So, I downloaded it and gave it a try.
The software was different from Spyder. However, it went more in depth with altering the RGB channels on the monitor. Then it ran its own color comparison.
Once it was done, it offered to show me the changes. It also offered to automatically control the screen calibration from start-up. As I really liked the profile which DisplayCAL created, I let it do so. Also, I tested this new profile with my printer. The results which came out are perhaps the closest I’ve ever seen to the printer spitting out what the screen shows. Needless to say, I’m delighted with what DisplayCAL combined with my Spyder X Pro device gave.

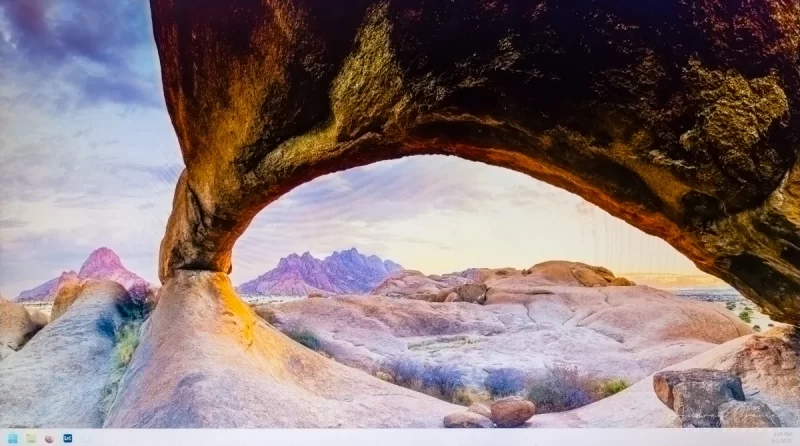
Please note that, at time of writing, this is my default Windows wallpaper. It’s not my image as I’ve never been to Nambia. The attribution Microsoft included says that this image is copyrighted by Simon Phelps Photography and sourced from Getty Images.
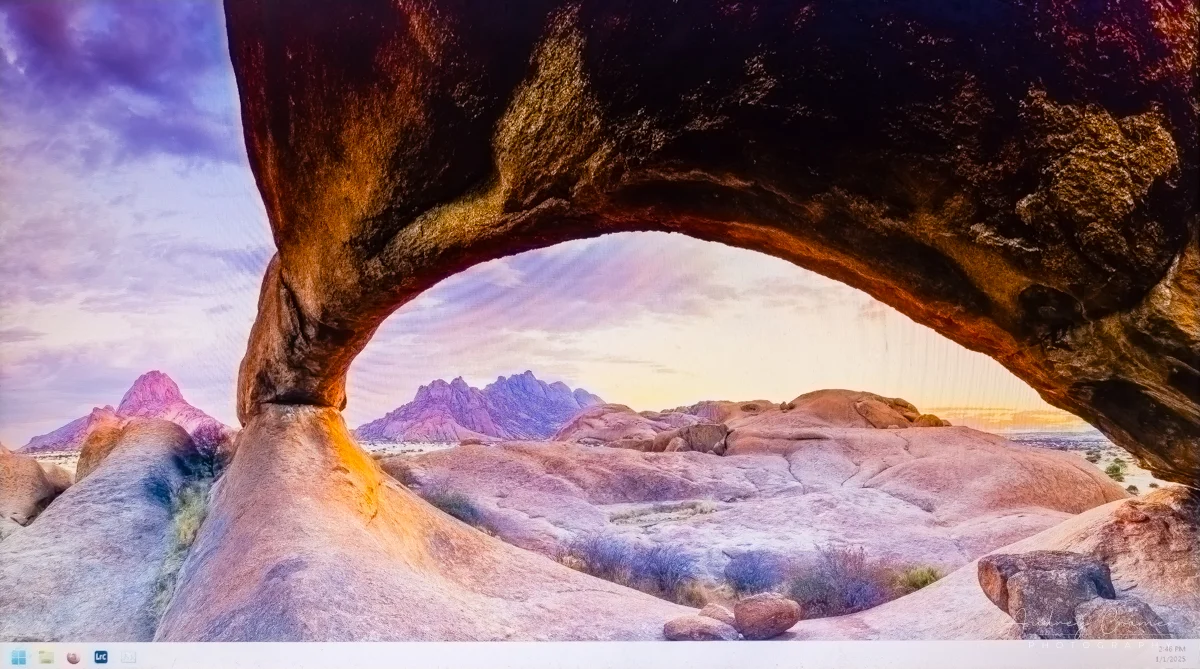
Compare The Spyder and DisplayCAL Profiles in Print
Now, let’s compare some prints using these profiles. The left image uses the Spyder profile I previously generated. The right image uses the DisplayCAL profile I generated. I used the same computer, monitor, printer, and paper to create these prints. They are under the exact same lighting using the same camera. The DisplayCAL version is, of course, the much more color correct version. Notice the green tone in the sky of the Spyder profile as an example of the overall green cast coming out in prints.


It’s also worth noting that the Spyder software and the DisplayCAL software are incompatible. When I started working on capturing the images contained here, I found I could not run the Spyder software while the DisplayCAL software is installed. In fact, the Spyder software would not recognize the device when it came to the step of starting the calibration. No matter how many times I selected the device from the drop-down list, it would not take. It didn’t matter which USB port I used. I even rebooted with no luck. Thus I could not run the calibration even for demonstration purposes. What an interesting conundrum. Thankfully, previously saved profiles and old test prints bailed me out.
Final Thoughts on the Spyder X Pro Screen Calibration Tool
Proper screen calibration is important for professional photography of any kind. Spyder definitely advertises to professional photographers. Being 1 myself, I gave the Spyder X Pro a good try. I have no problems with the device itself. It seems to perform its function properly. However, I found that the accompanying software left a lot to be desired. It improperly adjusted my screen towards green. I couldn’t overcome that shift easily. It resulted in less than professional quality photo prints. So, I cannot, in good conscience, recommend the Spyder X Pro tool with the default software.
If you decide to buy the Spyder X Pro tool for the device only and then use DisplayCAL for the software, then I can definitely recommend the Spyder X Pro. The device combined with the free and open-source software does a great job of calibrating a computer monitor to properly render colors. When this same screen calibration profile is used as the printer profile as well, you end up with prints which are probably as close as possible to matching the screen. All in all, the combination of the Spyder X Pro device and the DisplayCAL software is an ideal combination for screen calibration. I recommend this combo fully. I hope it works just as well for you too.
Comments disabled due to spam.

Good product review. This should certainly help other photography enthusiasts and professionals.
Thank you. I certainly hope it does.