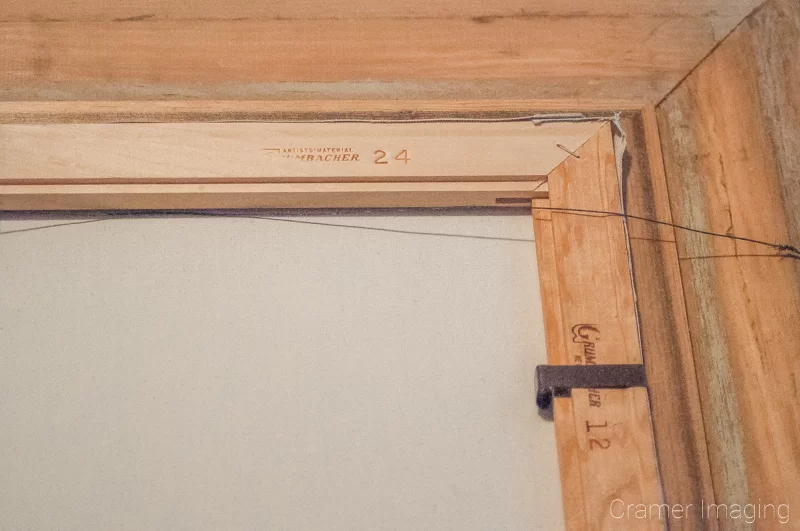
Do you have a picture you want to hang on the wall but you’re afraid that the mount might not support the weight? That’s a common problem for many mid-sized to heavy pictures and frames. For small frames, you can often just use the little alligator hangar which should hold a small frame on the wall nicely. For larger frames, however, you’ll probably need something more substantial: picture wire. How then do you install picture wire on a picture frame?

For those who prefer watching a how-to video, we’ve got one at the bottom for you which covers what we talk about here in the rest of the article.
Getting Ready
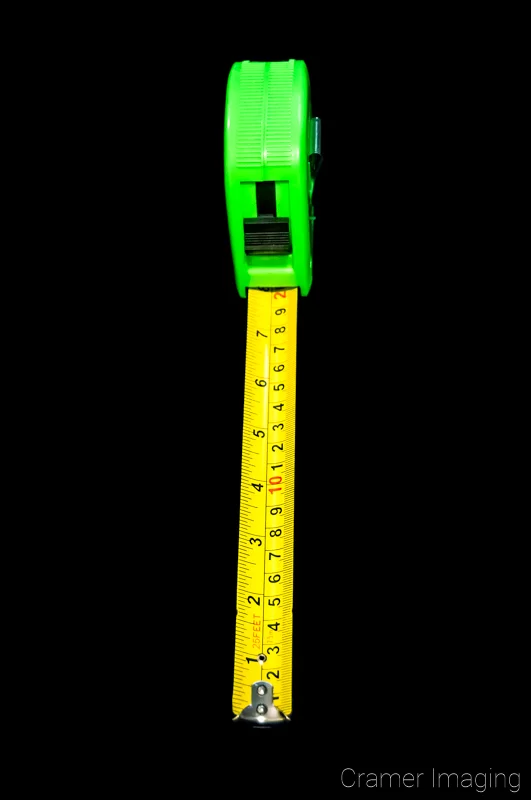
Installation is actually pretty simple. You’ll need to start by gathering all the tools you’ll need and preparing your work surface. You don’t want to be hunting for a tool or destroying the picture frame on a hard surface in the process. Once you’ve assembled the picture, the hooks to hang with, the picture wire, a drill with appropriate drill bits, and a screwdriver or drill bit set there, a pencil, a tape measure, and wire cutters, you’re ready to go.

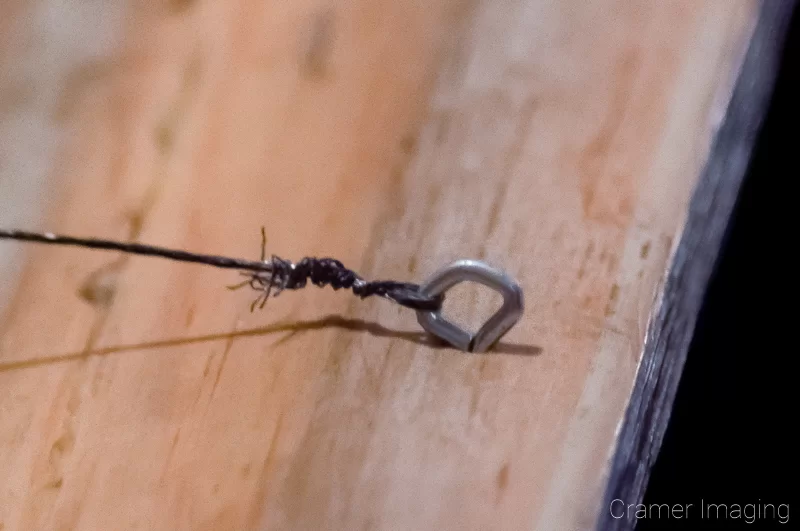
You can use eye hooks to hang picture wire, just be sure to bend them over if you do. It’s better to use purpose-made D rings which lie flat for your picture wire. Some places even just attach the wire to the frame with industrial staples.
The Process

You want to attach the wire at two places on both sides of the frame. Measure about 1/4 to 1/3 of the way from the top on one side and mark it. Do the exact same thing with the exact same distance on other side.
For D rings or eyehooks, you’re going to want to start by measuring down equal distances on both sides. Then you’ll mark a small space in the middle of the wood. If you can, you want to put it in the middle of the slat. If not, place your mark wherever on the frame seems strongest and most likely to support the weight. That mark location should be the same on both sides of the frame.
Next drill a small hole (just smaller than the screw you’re going to be using) in both spots where you’ve marked. While drilling a pilot hole isn’t strictly necessary, doing so makes it less likely for the wood to split when you screw something into it.
Now, you attach the d rings or eyehooks to the frame. If you used eyehooks, you’re most likely going to want to bend them over, so they don’t ding the wall.
Next, you’re going to want to attach the wire. That’s pretty simple. You want to cut the wire to length so that it will hang the picture a short distance down from the top and have enough left over to run it through the hooks and twist it around itself several times. It’s best to check this before cutting the wire. This way you don’t have picture wire peeking over the top of the picture frame when you hang it.
Finally, you’re going to want to protect the wall. So, you need some of the little bumpers (sometimes called frog eyes or fish eyes) to put on the corners. They should come with adhesive on the back already so attaching them is as simple as pealing and sticking to the right place (bottom corners).
Now the frame should be done, and you can attach the mount to the wall. You can read about how to do that here.
Attaching the hanging wire to a frame is fairly easy. With a little preparation, it can be done with just a few tools and in just a few minutes. We hope that this guide helps you install picture wire where you need to.


