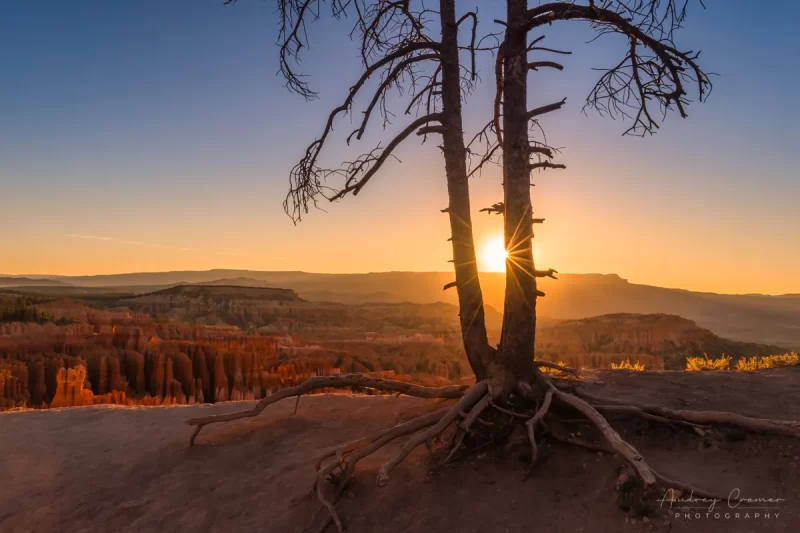
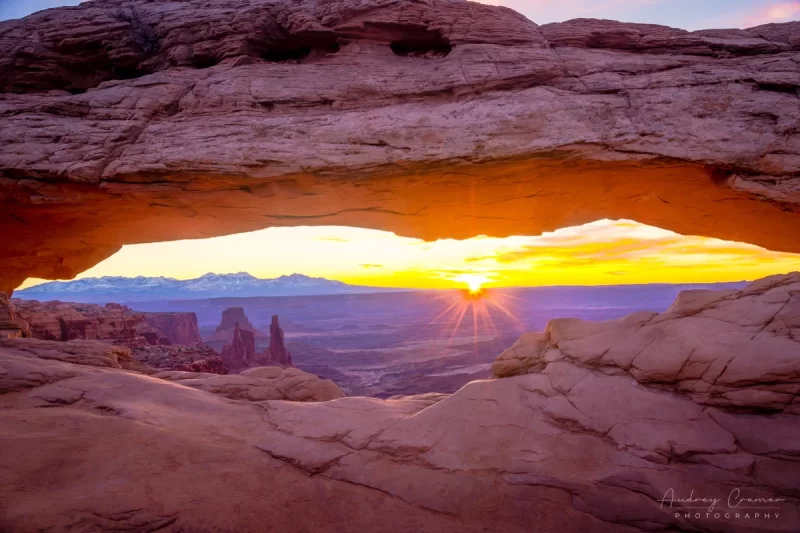
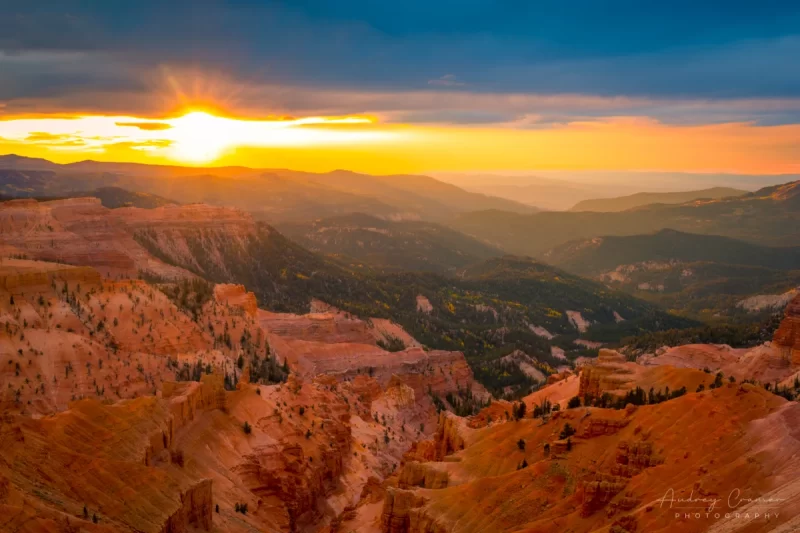
I’m sure you’ve seen those photos showing the sun appearing to have rays shooting out from it. Those sun rays can be the extra special something which really takes a landscape photo from superior to outstanding. Have you ever wondered how to create those sunburst or sun star looks in your photos? Today, we’re sharing the secret behind how to create this stunning phenomenon of sunbursts or sun stars.
The Requirements for Sunbursts or Sun Stars
This particular look of sunbursts or sun stars in a photo is actually deceptively simple to create. There’s only about three things you need to make it work. We’ll break them down for you here.
The Sun
Creating a sun star or a sunburst in a photo obviously requires a sunny day. You can’t have rays shooting out from the sun without the sun. Sunbeams and crepuscular rays (beams of light shooting through clouds) don’t count. However, there is nothing atmospheric or meteorological about this trick. This phenomenon is done entirely in camera.
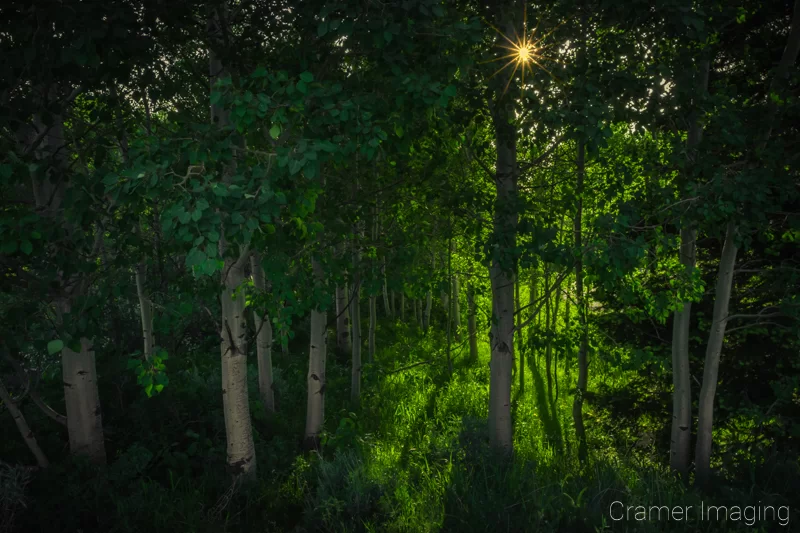
You must be shooting on a sunny day or a partly sunny day with the sun visible in the sky. It cannot be hidden behind clouds for this to work. Midday will also be difficult to work with due to the sun’s position in the sky. Early morning or late afternoon would be much more ideal times to shoot.
High Aperture
If you use a high f-stop number, or a tiny hole for light to pass through, you can turn the sun into a star in the sky with several rays radiating out from the central disk. We will be using this trick to create the sunburst effect.
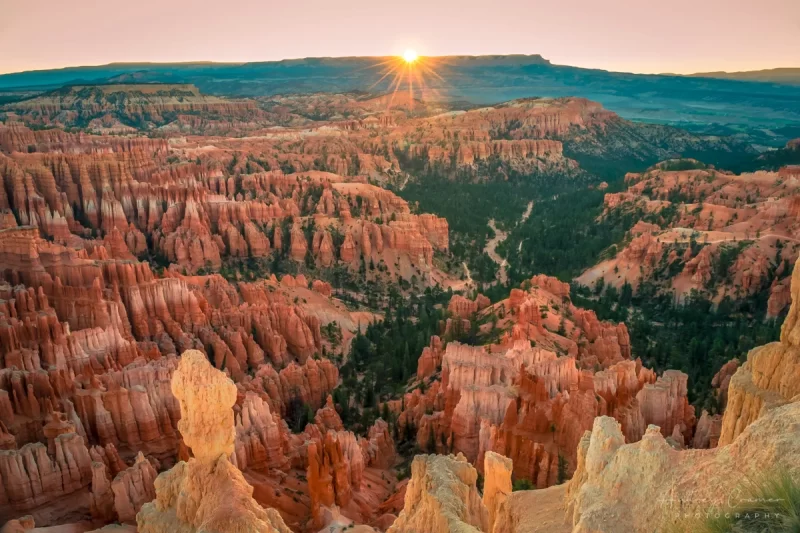
You need the ability to stop the aperture down in order to set this up. To do so, you will need to be in Aperture Priority or Manual Mode on your camera. The effect will start somewhere around f/16 but I would go with at least f/22 to be sure that you get the effect you’re looking for.
An Edge to Shoot Against
If you want these rays you’re creating to be visible in your photo, then you need something for them to contrast against. This is where you need an edge.
The horizon at sunrise or sunset is a popular choice for this kind of photo. However, you don’t need to use the horizon in order to get the look. Anything with a hard-line edge will also do.
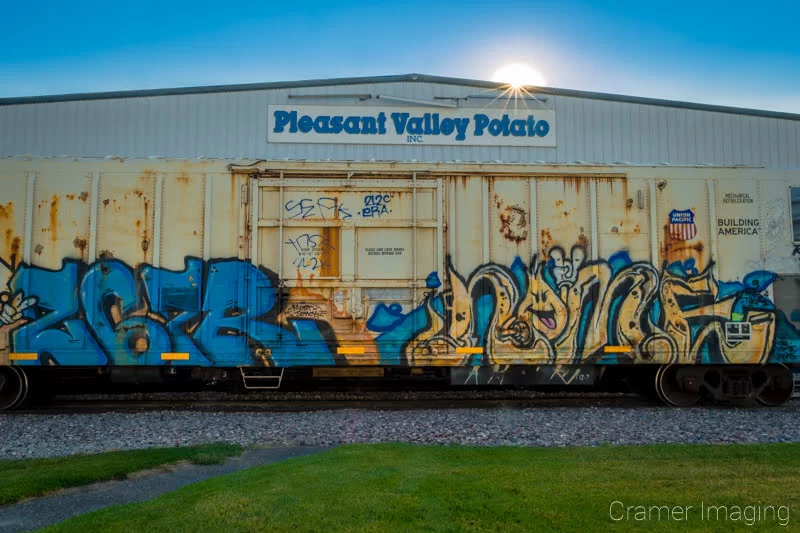
Simply position yourself so that the edge you are using cuts across the disk of the sun, with the high aperture setting, and start shooting. It’s that simple.
Depending upon how things work while shooting into the sun, you may need to move so that less of the sun is shinning directly into your sensor. This will reduce refraction spots and will brighten the rest of the scene in front of you.
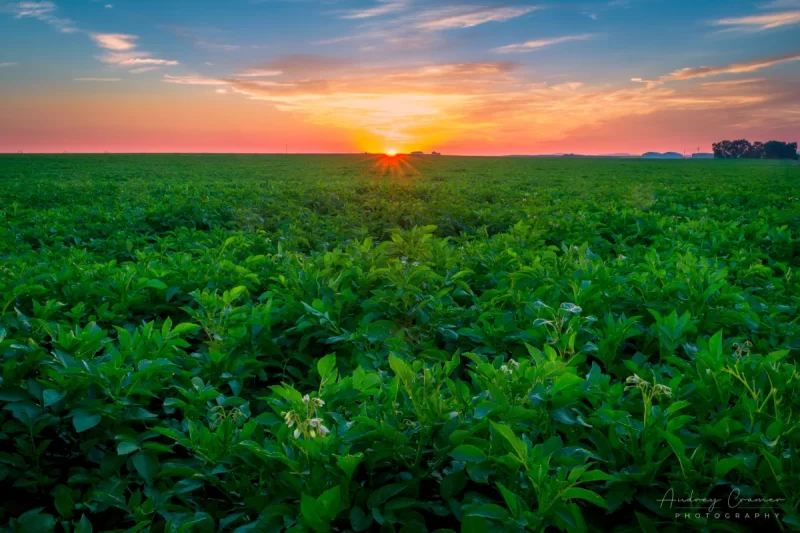
This is all you need to do to create those sun star sunbursts in your photos. The rays will display onto the darker area of that edge. By the way, if you manage to find a double edge, you get bonus points for your landscape photo.
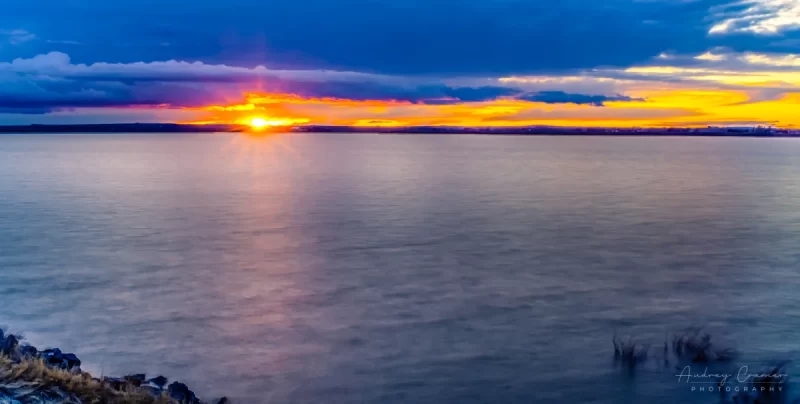
More Examples of Sunbursts of Sun Stars
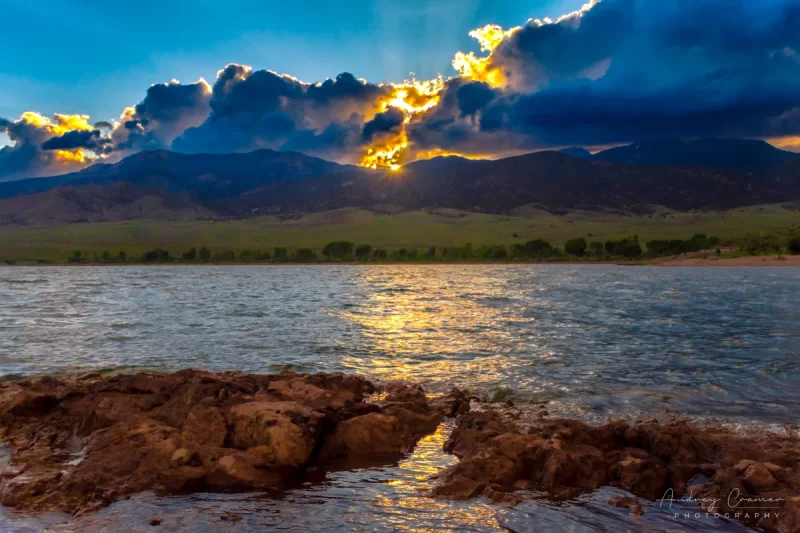
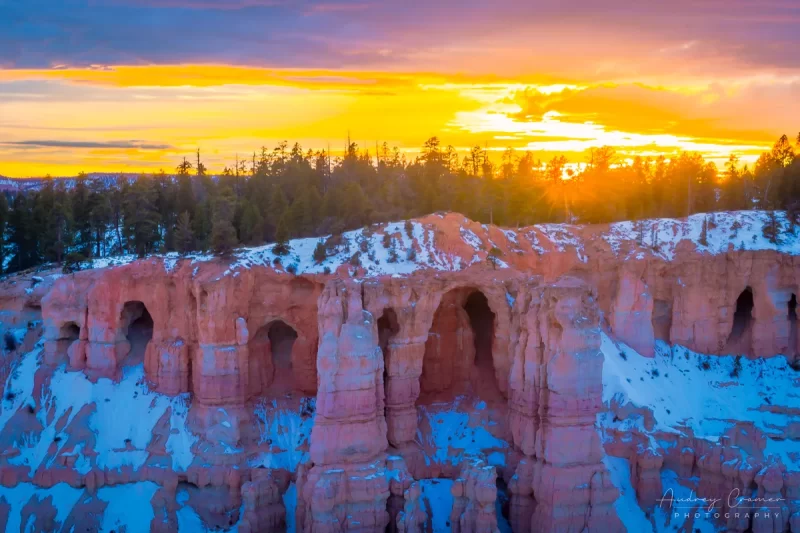
Here are some more examples of how you can make sunbursts or sun stars work in your photography.
Conclusion
In conclusion, creating the sun star look or the sunburst look in your landscape and nature photos is simply about having a tiny aperture, a sunny day, and an edge to shoot the sun against. Some photography techniques are difficult or require special expensive gear to achieve. This one, thankfully, is just that easy to do with a beginner’s camera and kit.
So, have you taken any sunburst photos? We’d love to check them out. Share them in the comments section below so we can all enjoy.

