When I started studying photography, I had no idea that there were technical aspects to using a camera. Technical aspects which can be the difference between an OK shot and an amazing photograph. I quickly learned about manipulating the shutter speed, the aperture, and the ISO for proper image exposure. We call these three settings the exposure triangle. Learning these basics has drastically improved my photography. So, let’s discuss them today.
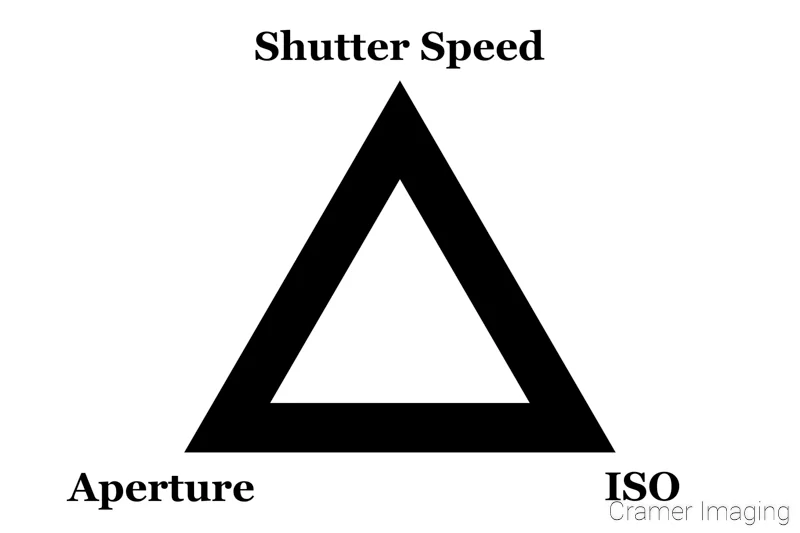
I’ll break each portion of exposure down individually. Then I’ll give you some examples of the exposure triangle in action.
Shutter Speed
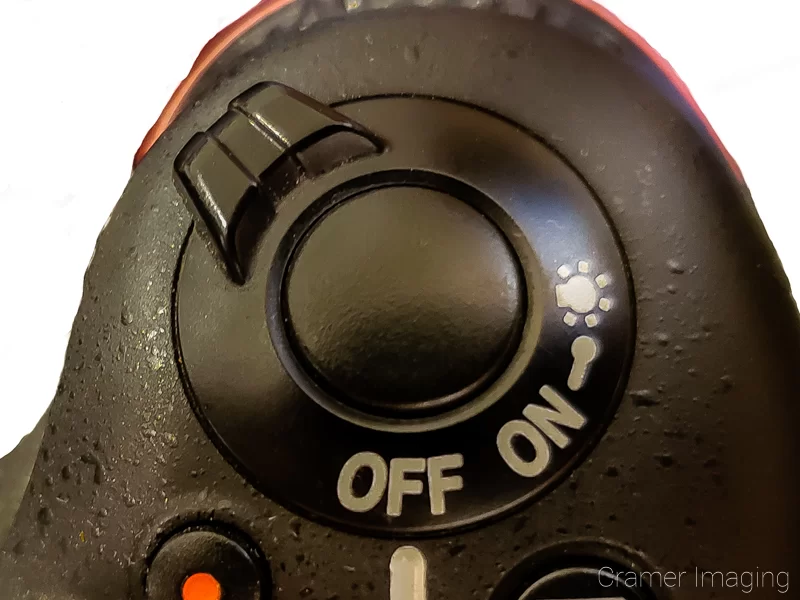
Shutter speed is rather easy to define. It is how long the shutter of the camera is open and allows light into the sensor. Pushing the shutter button opens up the shutter and it will release as programed to do so. Short shutter speeds can freeze motion while long shutter speeds can blur moving objects. Each side has its own merits and uses in photography.
The shutter may open for tiny fractions of a second or for several seconds, minutes, or even hours. You may trigger the shutter by using the built-in button, using a shutter release cable, or using a remote control.
Shutter speed controls how long light is allowed to strike the sensor for.

Aperture
We may best describe aperture as the diaphragm of camera. It acts as a choking point for how much light gets through to the sensor while the shutter is open. Wide open apertures let in lots of light and result in a shallow plane of focus (or depth of field). This mostly means that the background is blurred out of focus. Tightly closed apertures result in little light making it through to the sensor. The depth of field is far deeper and lots more of the background will be in focus.
We call the out-of-focus background of wide apertures “bokeh.” Lot’s of photographers like to play with bokeh in their photography.
Aperture controls how much light is allowed to strike the sensor.
ISO
ISO is the abbreviation for International Organization for Standardization. This means little as this organization is responsible for more than camera exposures. What does this term really mean for my camera?
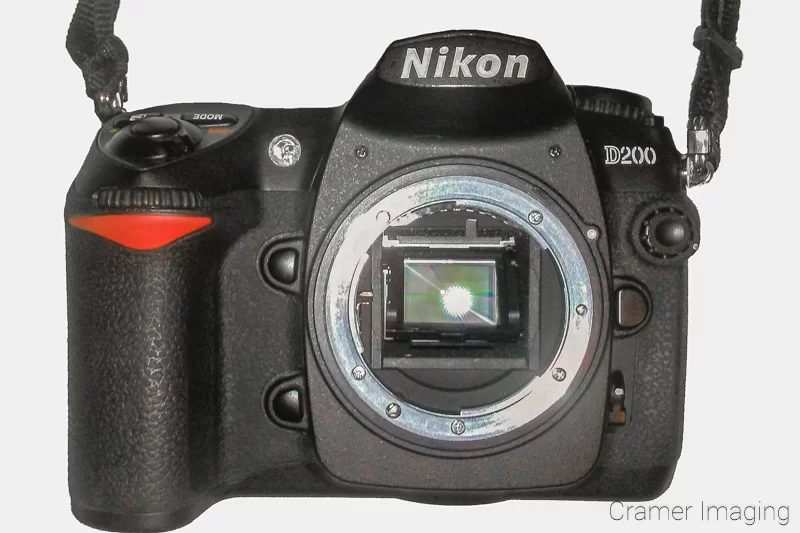
ISO for modern cameras is the digital version of what used to be film speed. It also used to be known as ASA (American Standards Association). Older cameras will display this term instead of ISO. The film speed describes the light sensitivity of camera film. More sensitive film yields better exposure in low light settings. Less sensitive film yields better exposure in bright light situations.
ISO controls how sensitive the sensor is to the light that strikes it.
How They Work Together
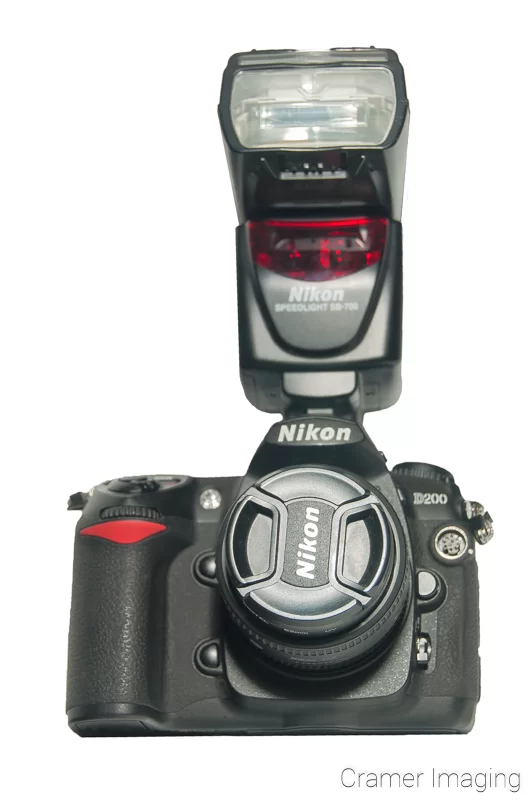
Aperture, shutter speed, and ISO act like axes of a graph. Aperture would be the x-axis, shutter speed is the y-axis, and ISO becomes the z-axis. Each has a particular setting or value in order to generate a properly exposed photograph. No graph is complete without all the coordinates. Likewise, no photograph is complete without all the elements of exposure.
Let’s run with the metaphor of coordinates on a graph. So, if you alter one piece of the coordinates, you move the point on the graph. If you alter one camera setting, you alter the entire exposure.
If you cannot alter one particular setting for one reason or another, then you may alter the other two settings. We call this alteration “equivalent exposures.” One such example of not altering a setting is when shooting photos in fluorescent light. The shutter speed must be some multiple of 1/60th of a second to catch the full spectrum of the fluorescent light cycle. Otherwise, photos look weird.
When properly attuned, these elements of an exposure can create amazing and powerful images together. Below are examples of what the combinations of shutter speed, aperture, and ISO can yield when properly applied in photography.
Example Combinations
I’ll systematically explain uses for every generic combination of shutter speed, aperture, and ISO for you. Also, I’ll include example photos where I used settings like each combination for your added information. Please keep in mind that these are only examples of how you may use these camera settings. You may find other uses for a particular combination of settings which I don’t discuss here. If you do, please share them in the comments section below. Then we can all learn together.
Small Aperture, Short Shutter Speed, Low ISO
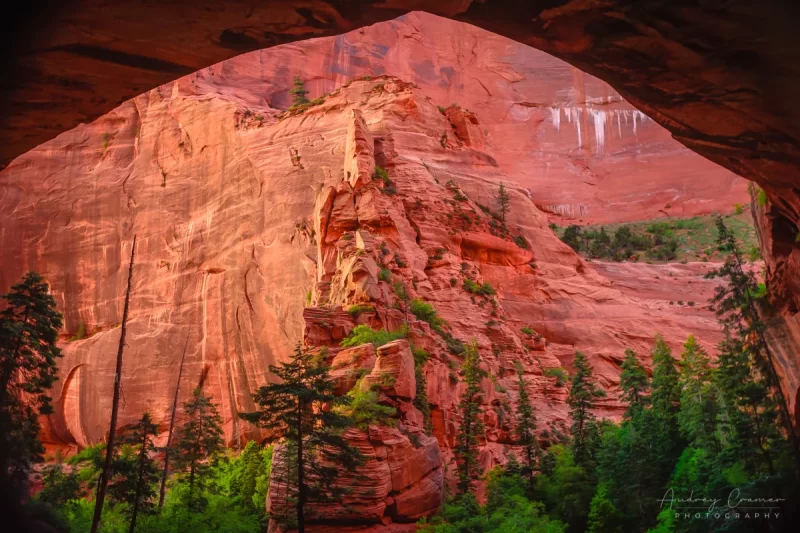
Wide Aperture, Short Shutter Speed, Low ISO
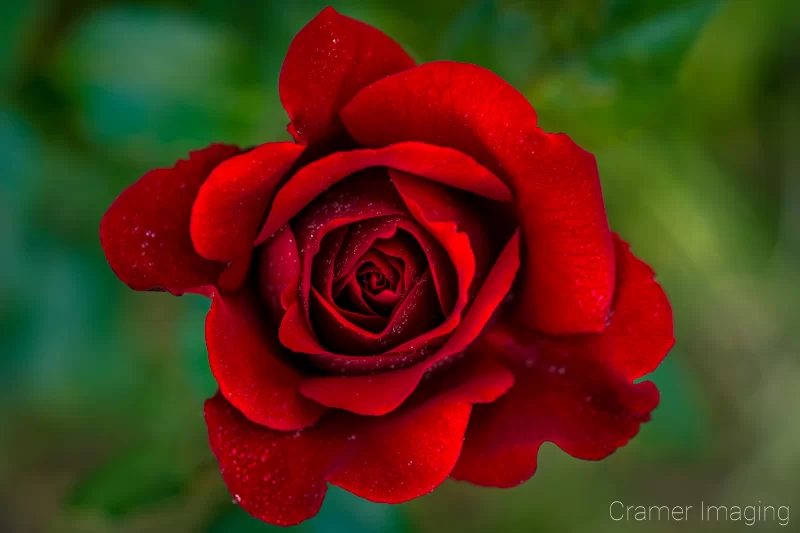
Small Aperture, Long Shutter Speed, Low ISO
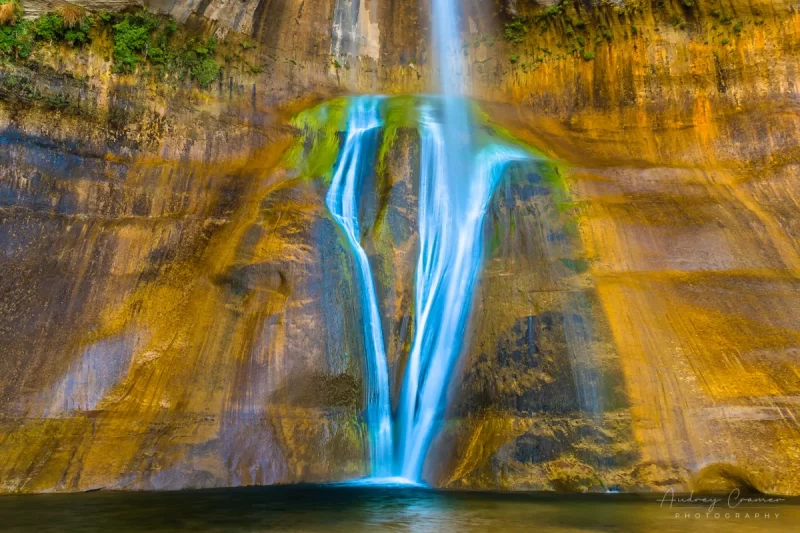
Wide Aperture, Long Shutter Speed, Low ISO

Small Aperture, Short Shutter Speed, High ISO
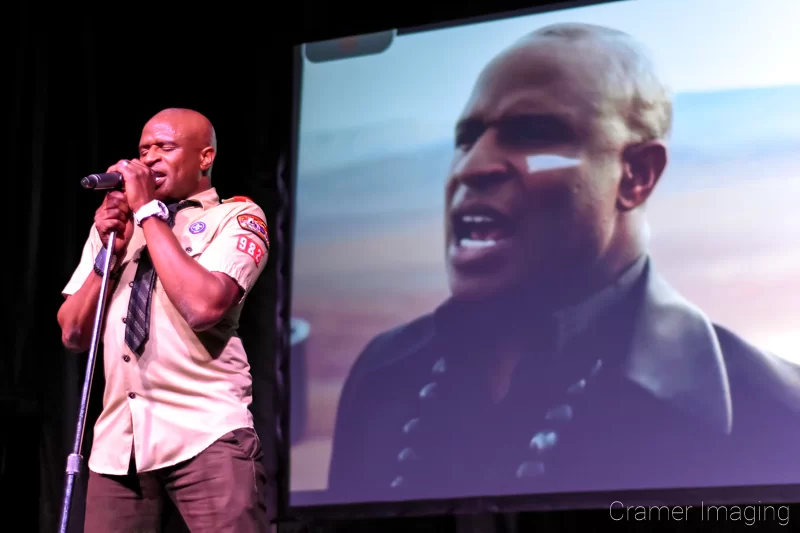
Wide Aperture, Short Shutter Speed, High ISO
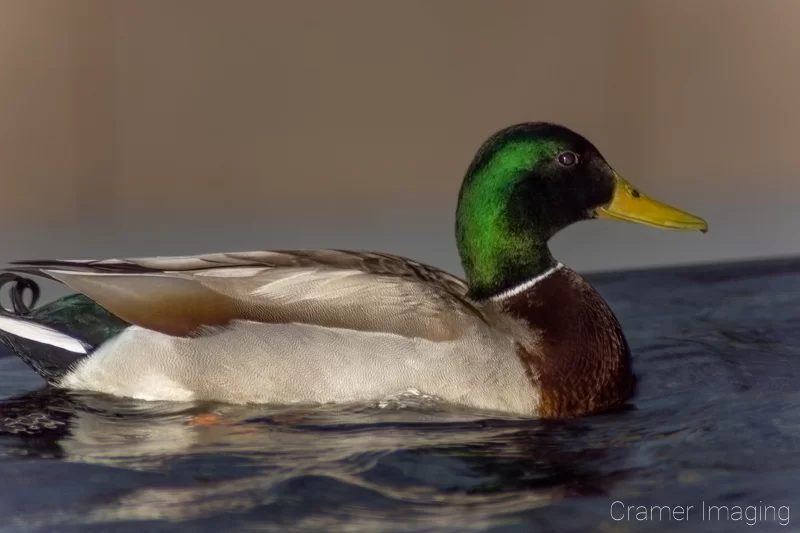
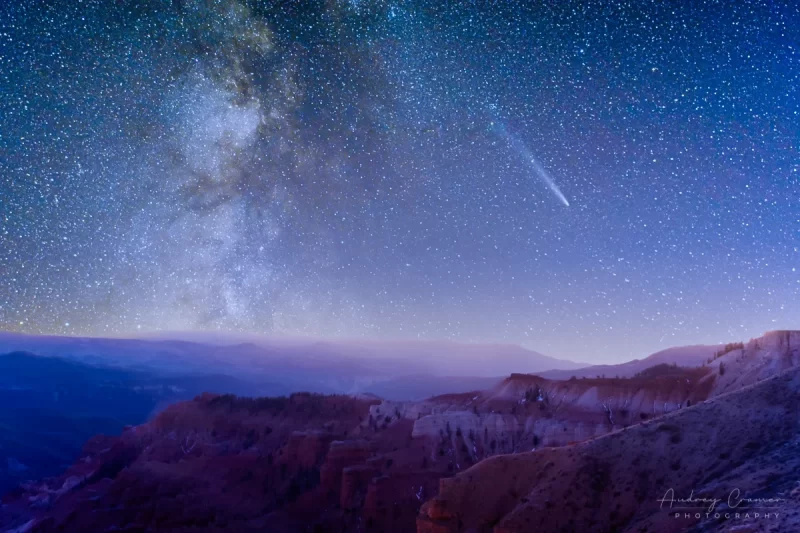
Small Aperture, Long Shutter Speed, High ISO
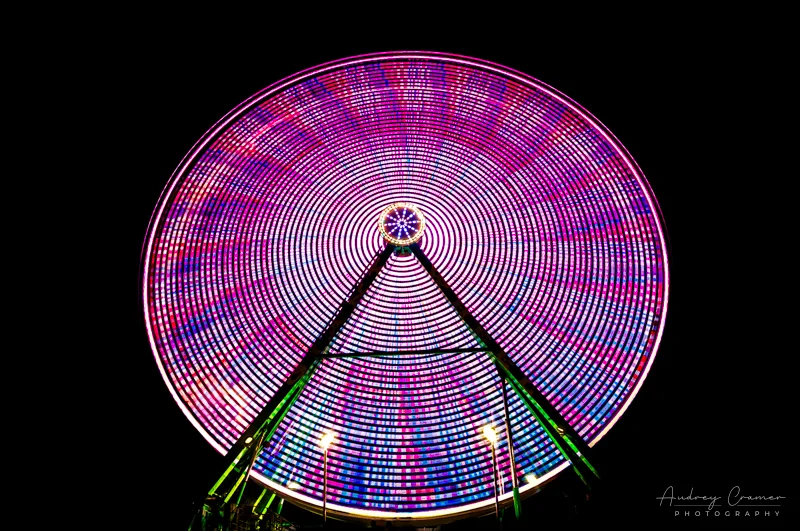
Wide Aperture, Long Shutter Speed, High ISO
Conclusion
A properly exposed photograph has three elements: aperture, shutter speed, and ISO. These camera settings control how much light comes in, how long the light comes in for, and how much the sensor reacts to the light it receives. We call these combined settings the exposure triangle. A little attention to the exposure triangle will drastically improve your photography while starting out. Once you master these basics, then you’re ready for some real fun and exploration in the world of photography.

