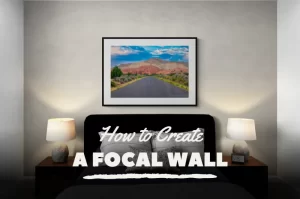
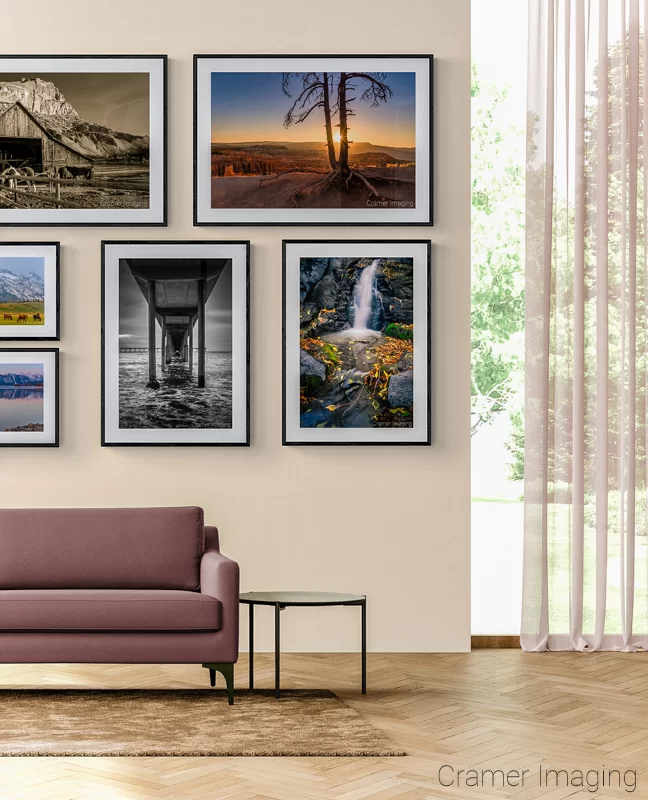
Having a gallery wall in your house is currently all the rage and a large statement in your home decoration scheme. It adds an air of opulence and personality to any room. With all of that being said, it sounds like it should be downright expensive and difficult to create. Nothing could be further from the truth. Today, let’s talk about how to create a gallery wall in your home.
A gallery wall is nothing more than a wall featuring a collection of pictures arranged for display. There’s absolutely nothing fancy about that. However, since most people associate gallery walls with higher brow taste, here are a few pointers so you can achieve that high fashion look for yourself in your own home.
Preliminaries
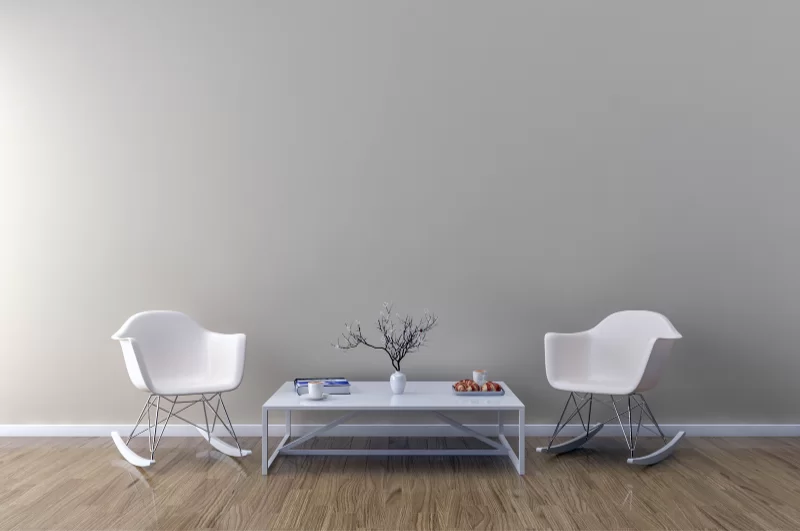
Firstly, you will need a wall you can devote to an art display. I don’t care if the art is a Picasso or Van Gogh or just a simple collection of tasteful family portraits. You will need room to display your pictures. Choose your space carefully as it will affect the rest of your home design and your furniture placement.
Once you have your designated gallery wall space, you must make sure that the wall is painted or wallpapered up and ready to receive the images. Generally speaking, once you put your pictures up, you won’t want to be taking them down. It’ll turn into a lot of work to rearrange them.
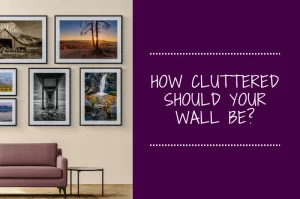
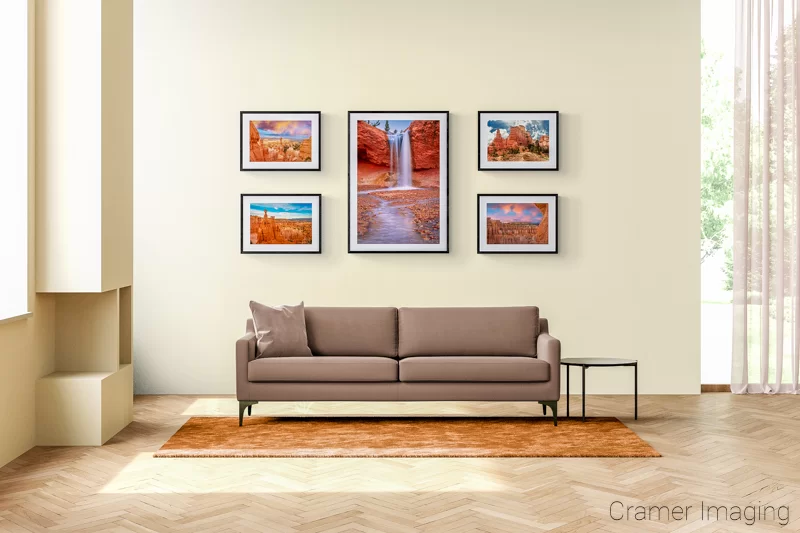
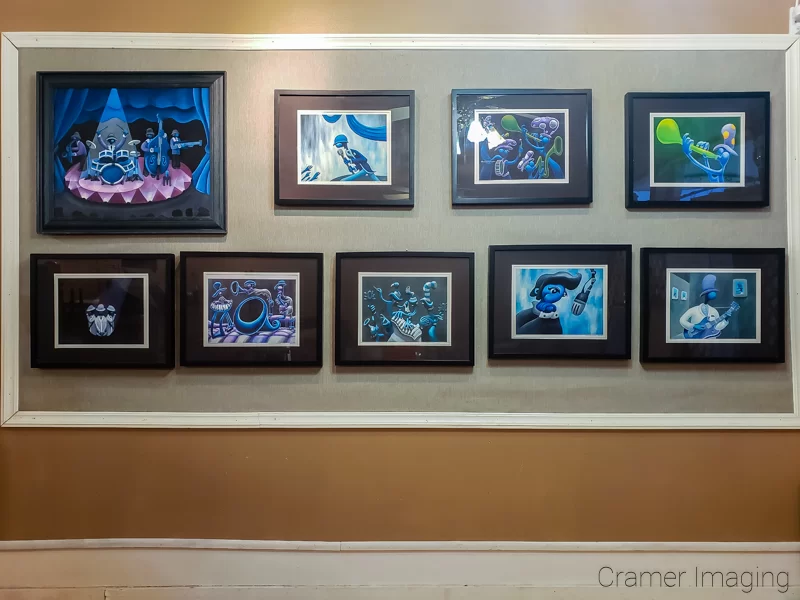
A gallery wall, by definition, displays more than one image. So, you must devise an arrangement for the pictures to hang on the wall in. There are tons of ideas out there on the internet for arranging pictures on the wall. You can arrange everything from two images to twenty and beyond. You can also find ideas for incorporating non-image items into the arrangement as well.

If you would like some ideas or inspiration on how to hang a gallery wall in your own home, I suggest that you check out our Pinterest board devoted to wall decorating tips. We have an entire sub-board dedicated to suggestions for different gallery wall arrangements. You can reach it directly by using this link.
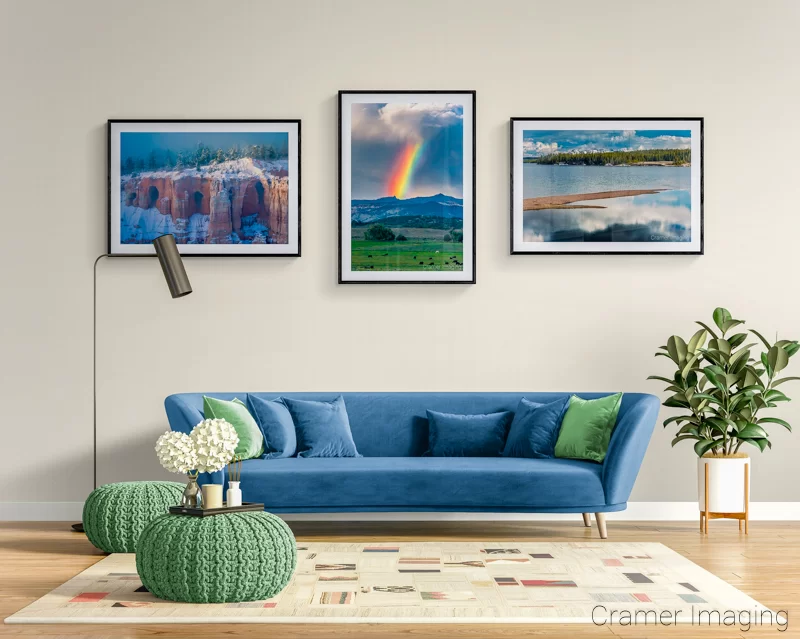
Whatever design arrangement you choose for your gallery wall, you do want to make sure that it will work with your already existing layout and furnishings. After all, your wall art arrangement should complement not clash with the room.
Getting the Arrangement Right on the Wall
If you have several items which you want to hang in some sort of pattern, it can be very difficult to properly position them without punching all sorts of holes in your walls while you figure out where you want everything hanging. There is a much easier way to create a gallery wall than by trial and error.
The easiest way to complete this task is to use old newspaper, wrapping paper, or some other large sheets of paper. (Wrapping paper is cheap and easily found at most dollar stores.) Most commercially available frames can be laid face down on the paper and traced. You might need two pieces for some large art but it’s not hard to tape a couple sheets together for this purpose.
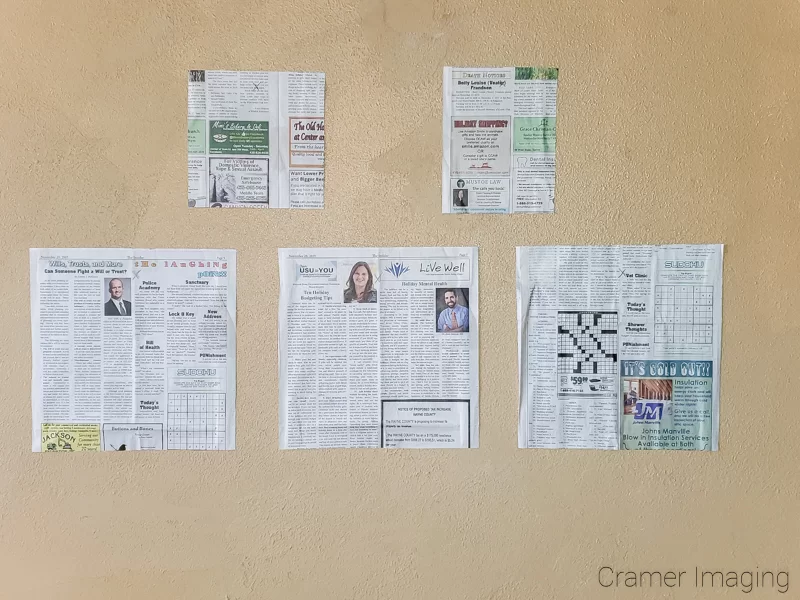
Now you have something which is far easier to move around and is also exactly the same size and shape of your frame. With this tracing, you can either tape it on the wall now or turn it into a template. If your frame or other wall decoration has holes for mounting it to the wall, you can carefully place the paper over the back of the item and poke holes in the paper where the wall mount will need to be. You can then mark the wall using the pre-made holes in the paper for accurate mounting positioning.
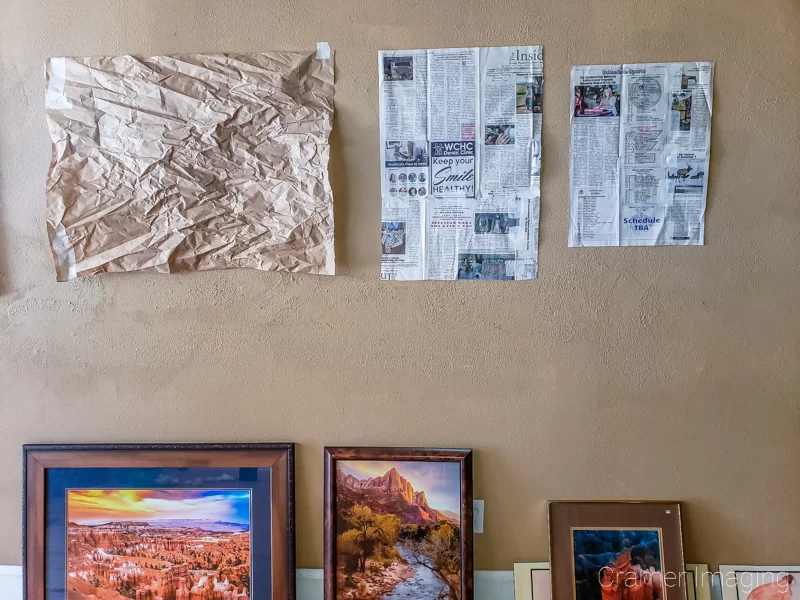
Alternately, you can attach the paper to the wall first and measure where to place the holes. Simple cellophane tape (Scotch tape) will work very well to attach it to the wall. It doesn’t hold very well but will hold a sheet of paper to the wall for the five or so minutes you need to get this done.
When you have your nails, screws, tacks, or other picture-hanging implements up, you can remove the paper templates. You can also hang the wall art and then remove the templates just to make sure that you got everything in the right place. The choice is yours.
A Few Words of Caution
Do be careful and thorough with your placement of wall art. Larger placement errors are generally easier to correct than smaller errors are. For example, should you need to move a molly by 1/4 inch, you’re going to just end up with a bigger hole in the wall that now won’t support anything. A stud will hold your art on the wall far better than simply drywall will. But you can use drywall for lighter wall art with proper mollies and hooks.
Also, remember that it is often a lot easier to compensate for a horizontal mistake in nail placement than it is to compensate for an error in vertical placement. This is because most picture frames will have enough surface area to cover a hole slightly to one side or another. You can often even get away with accidentally hanging it too low for the same reason. It’s when you hang it too high that your problem comes in. The error hole will be exposed for all to see. You will need to spackle and paint it to hide the hole properly. This is why we recommend the paper method described here to get it right the first time.
Conclusion
Having a gallery wall in your own home is a rather easy matter. You need the right place, you need to prep the area, and you need the right arrangement. After that, it’s all about simply hanging pictures up on the wall. It really is that simple to create a gallery wall. Also, a gallery wall can include more than just pictures. That makes it a great place to show off some of your personality by mixing in non-picture elements as well. Have fun with designing your wall and enjoy your new art arrangement.