Wildlife photography is a popular branch of outdoor photography. It’s no wonder why. Animals can be so cute, majestic, and otherwise interesting. There’s something raw and untamed which we humans like about wild animals. So, we make a point of pulling out our cameras and capturing the scene. If you feel a fancy to pursue wildlife photography, you may benefit from these tips.
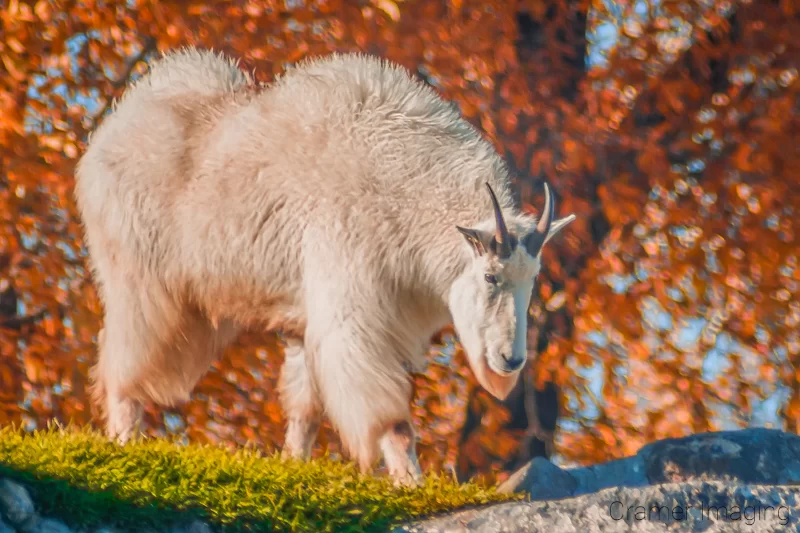
I occasionally dabble in wildlife photography. Indeed, I too find the subject matter interesting. However, I often have the worst luck with animals. They’re too unpredictable for me. But every so often, I capture a gem or two. So, when writing this article, I made a point of researching what other wildlife photographers do so I wouldn’t present incorrect information. I use this information too when I try for a wild animal photo.
Master Your Camera Gear
The best thing you can do in wildlife photography is to master your gear. Know it inside and out. Develop the muscle memory to change settings without taking your eye off the viewfinder. If you do remove your eye, you might miss the perfect shot. There’s no redo for wildlife photography. You either capture the shot or you don’t. The best way to ensure your success is to be prepared. The best way to be prepared is to know your gear THAT well.
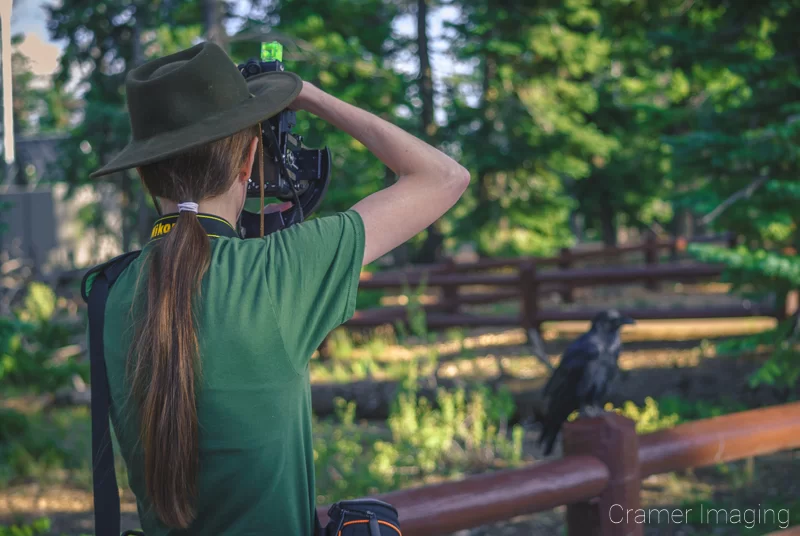
Practice changing settings while looking through the viewfinder until you can’t get it wrong. After all, there’s nothing more frustrating than losing out on the perfect shot because you were fiddling around with your camera.
Study Animal Behavior
In wildlife photography, you play the role of the hunter. Rather than shooting your target with a gun or an arrow designed to kill it, you shoot your subject animal with a camera designed to preserve the moment forever. Still, you are the hunter, even if you carry a camera instead. As such, you should study animal behavior. This will give you the information you need to capture the best wildlife photos you can. In studying, you will learn seasonal habits and habitats, mating behaviors, routines, favorite food sources, and more. This will enable you to anticipate their actions and capture more natural photos.
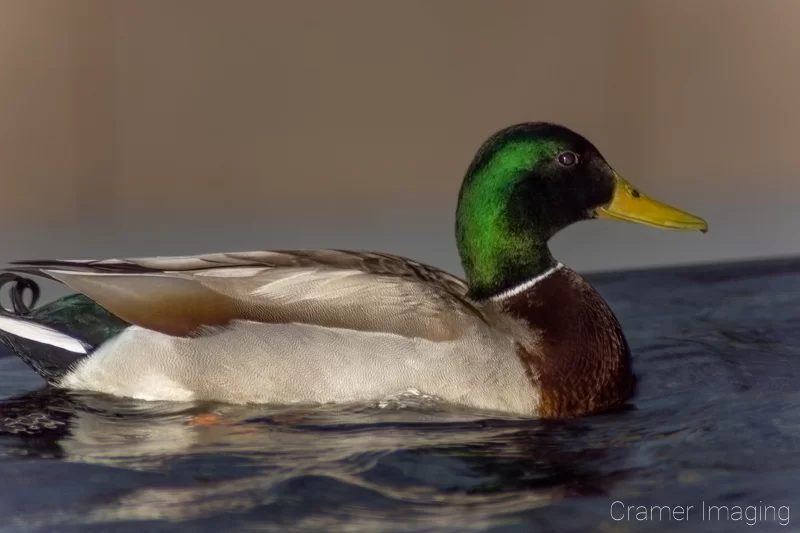
In the end, natural-looking wildlife photos are the best. However, do remember that every animal species is different. You should diversify your animal behavior education just in case your preferred subject isn’t available but another animal species is.
Invest in the Proper Lenses
As budget allows, make a point of investing in the kinds of high quality lenses which can capture the wildlife photos you want. The key here is focal length. For many people, this will mean telephoto lenses or even extreme telephoto lenses. This is because wild animals are wild. They don’t trust humans and will often run away at the first hint of danger (human or otherwise). Your best bet to capture natural-looking photos is to not disturb them.
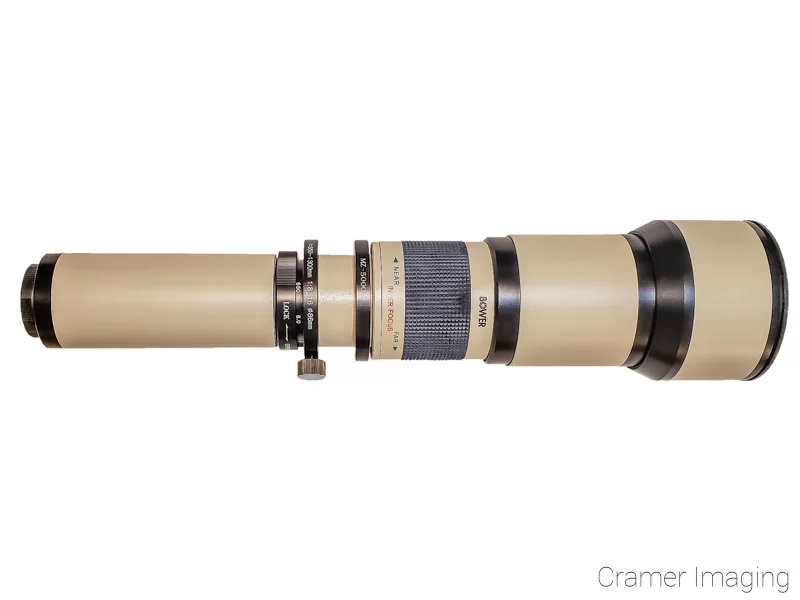
To accomplish that task, you will often need to keep a sizable distance between you and your chosen subject(s). Consider that the US National Park Service requires you to stay 25 yards away from most wild animals and 100 yards away from predators like wolves and bears (do check the specific distances with each park as the distance required may be more than this listed amount). Telephoto lenses will make up that difference for you, but they are pricey. Don’t overextend yourself financially. Save up and rent if you must. Buying used also works as long as the lens in question is still in good working order.
Practice Your Wildlife Photography at a Local Zoo
Now that you’ve acquired and mastered the appropriate gear and studied animal behavior, it’s time to practice. Where do you go for practice? It can be difficult to find a place. However, I know of a good place. Try practicing your skills at your local zoo. There, you’re guaranteed access to photograph all kinds of different animals from indigenous (even those otherwise difficult to find in the wild) to exotics (utterly impossible to find locally otherwise). Their pens are specifically designed for viewing. You should easily find a good angle on something while there.
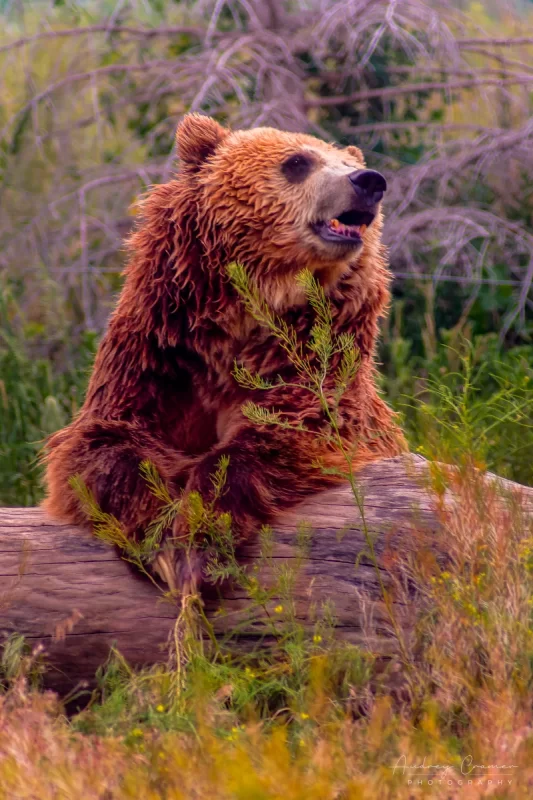
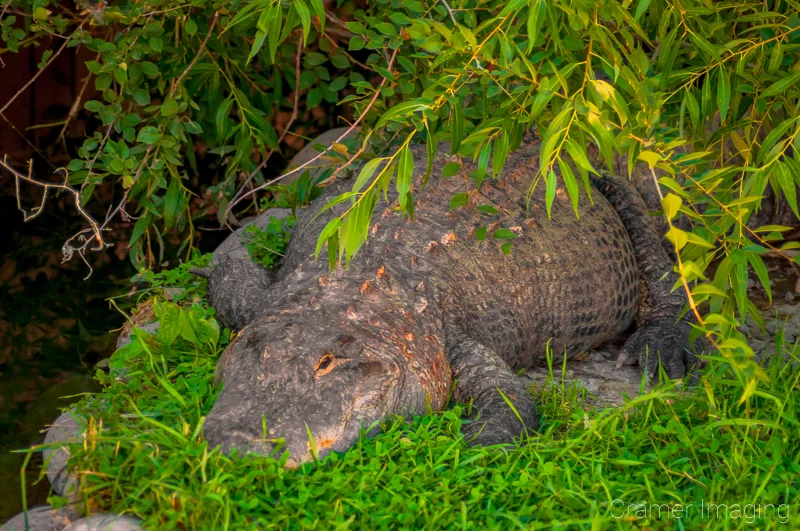
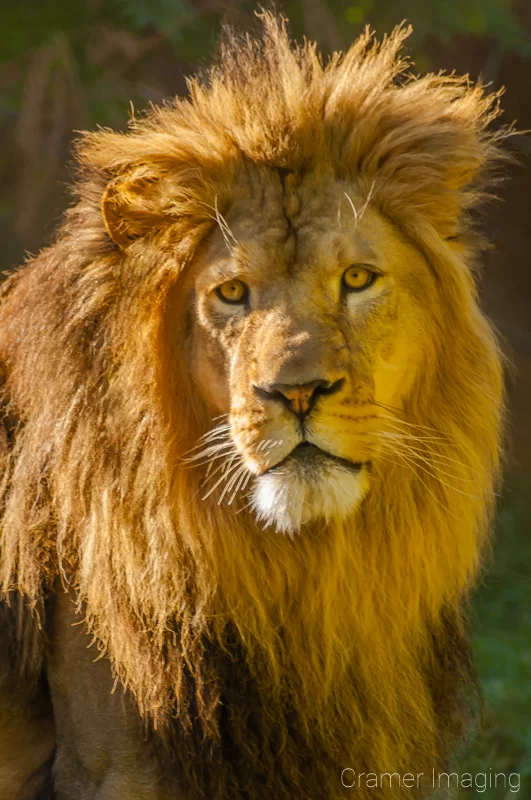
I’ve taken several good “wild” animal photos at zoos. My best advice here is don’t forget a polarizing filter to cut through the glare if you find any of the animal pens using glass or plexiglass to fence in the animals. If you frame things just right, no one will be able to tell where you shot the photo.
Experiment with Depth of Field
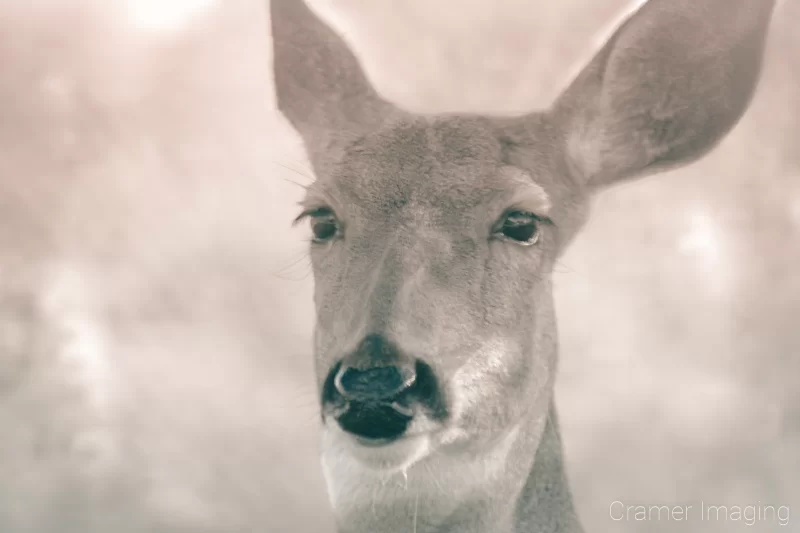
Try experimenting with a shallow depth of field to isolate your subject from the background with bokeh. For those who don’t already know, that means a smaller f-stop number such as f/2 or f/4. Just don’t open things up too wide or risk dealing with chromatic aberration in your photos. With a shallow depth of field, you can create wildlife photos just like these.
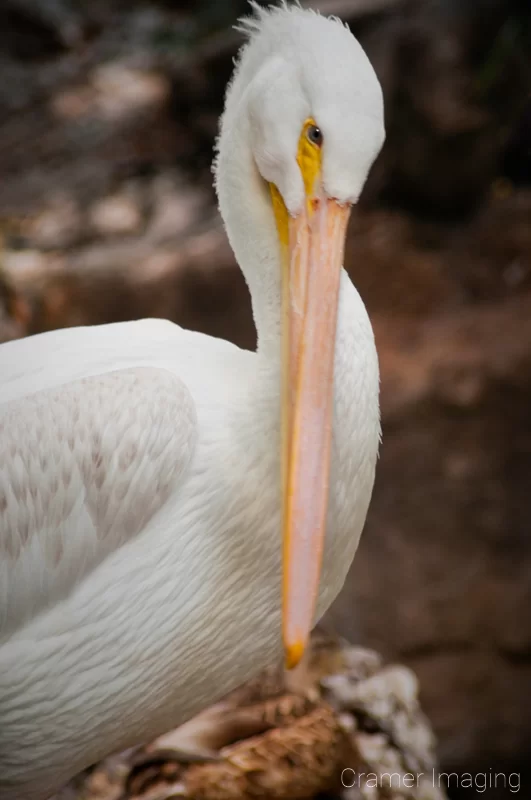
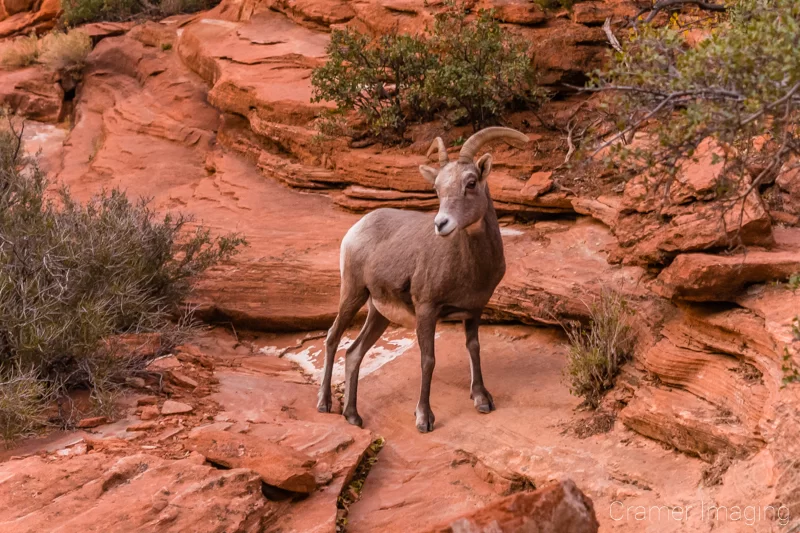
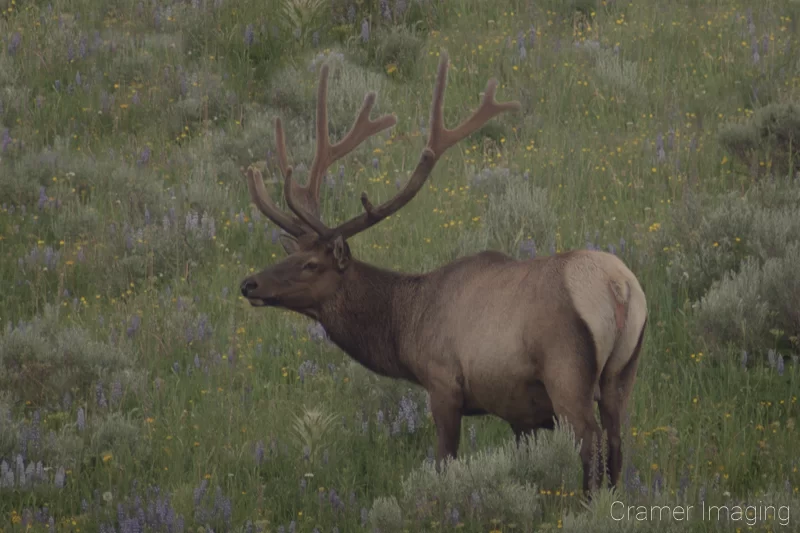
Alternatively, you can try experimenting with a deep depth of field to capture more of your subject’s surroundings in the picture too. For those who don’t already know, that means a larger f-stop number such as f/16 or f/25. With a deep depth of field, you can try adding in sun stars or sunbursts for added flare (literally). Also, with a deep depth of field, you can create wildlife photos just like these.
Capture Animal Behavior and Action
Once you’ve dialed in your wildlife photography skills, it’s time to step up your game. It’s time to start capturing those “money shots” if you will. The “money shots” are those which tell a story. Think behavior and action.
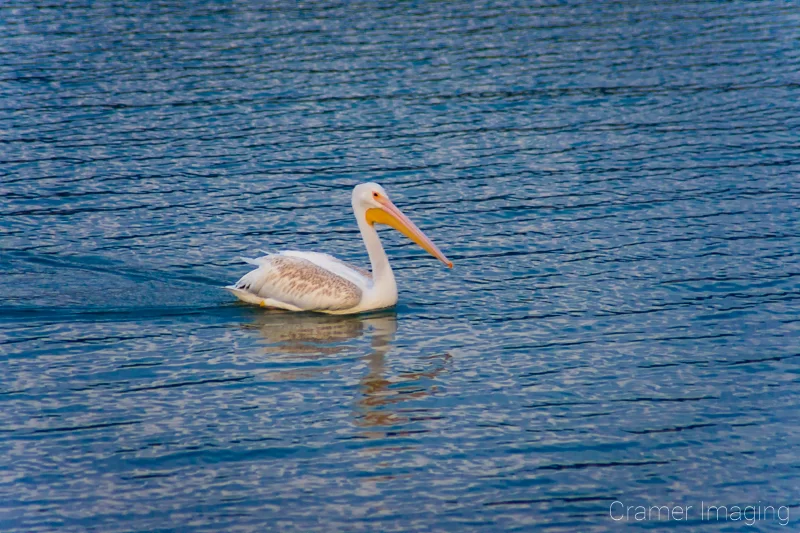
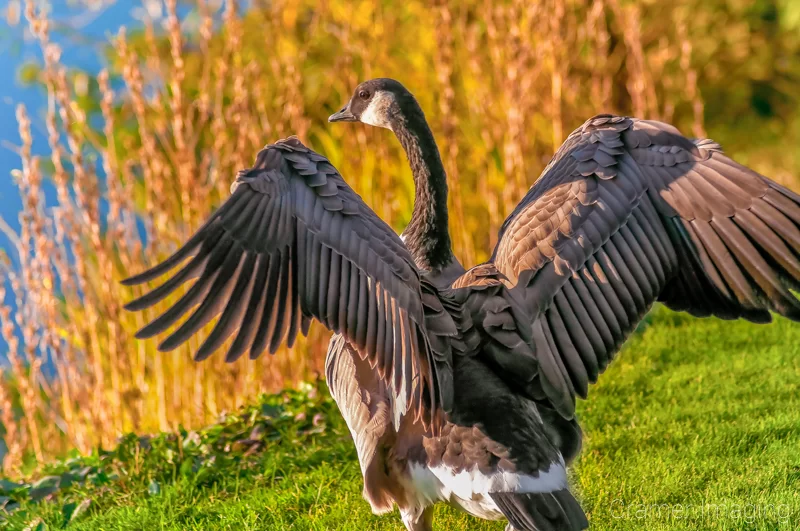
You know those shots of an eagle swooping down to catch its prey? Those are power shots. Try for something along those lines. Also consider activities such as feeding, mating, or nurturing. Territorial disputes are also action-packed. This is where your studies of animal behavior will really pay off along with burst mode on your camera.
Go Wide
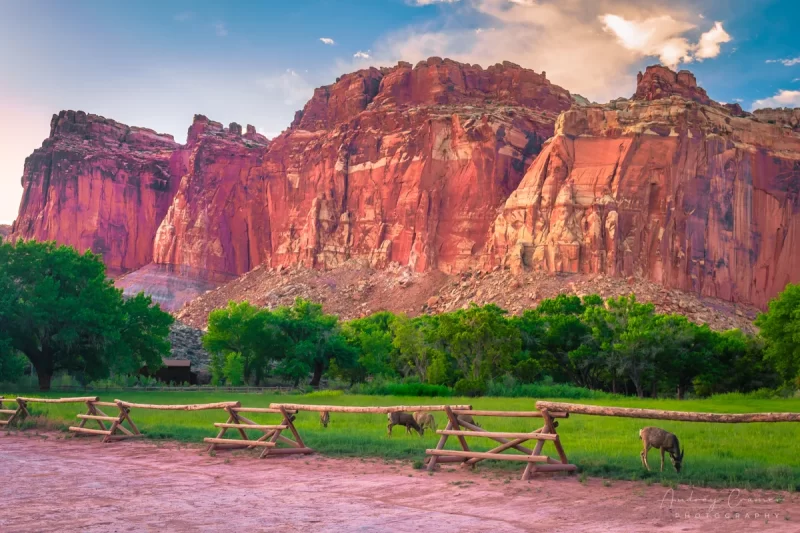
So far, we’ve mainly focused on the up-close and personal wildlife photos. There are other options which you may also pursue. After all, there’s nothing like a wide angle shot showing off the subject animal in its environment. For these shots, you will need a wide-angle lens, not a telephoto. These perspectives can also be power shots of a different kind. They show off habitat and relationships with members of their own species along with other species. Consider these examples.
Use a Blind in Wildlife Photography
As I said before, in wildlife photography, you are the hunter. You stalk animals with your camera. You need them entirely unaware or at least unphased by your presence. One of the best ways we’ve accomplished that purpose is with the use of a blind. Imagine a small tent which completely conceals you and provides an opening for your camera lens. If properly done, this blind could also help mask your scent. Then animals might get really close without you disturbing them. Imagine the kinds of wildlife photos you could then capture!
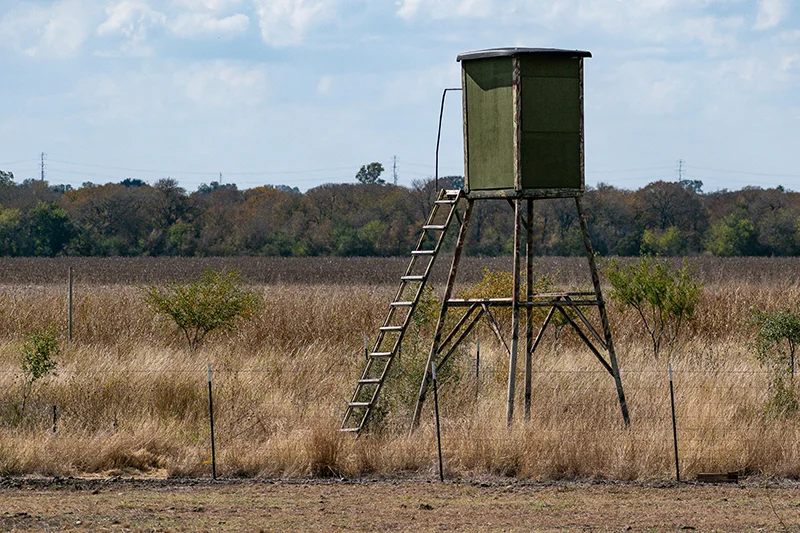
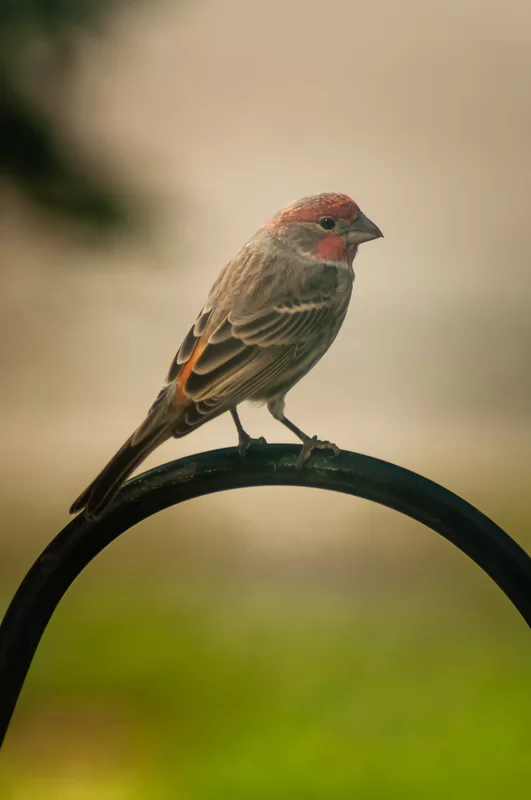
Of course, not all blinds for wildlife photography need look like this. In fact, a house or even a car can serve as a blind for wildlife. The main aspect is that the animals don’t see you. They don’t know you are there. Thus they behave more naturally. Check out this photo of a small wild finch I took through the window. The house acted as a blind so the bird was entirely unaware of just how close I was to it.
Conclusion
Wildlife photography can be a challenging and even patience-taxing branch of photography. Still, there are plenty of rewards for those who pursue it prepared. If you obtain and master the right gear, study animal behavior, and practice enough at your local zoo, then you will be amazed at the kinds of photos you come back with. Depth of field and wide angle experiments will yield the kinds of photos you dream of. Using a blind will enable you to capture the best behavior and action photos you could possibly capture. It’s all about preparedness.
Now I turn things over to you, reader. What’s your experience in wildlife photography like? What’s your best and worst shots (or attempts)? Did I miss any tips which would help us all out in the future? Please leave your thoughts in the comments section below.


An interesting article. Not your usual venue, but a good and interesting read nevertheless. Thanks for sharing!
Like I said, I dabble. Glad you enjoy!