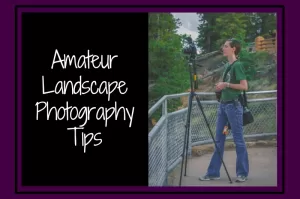
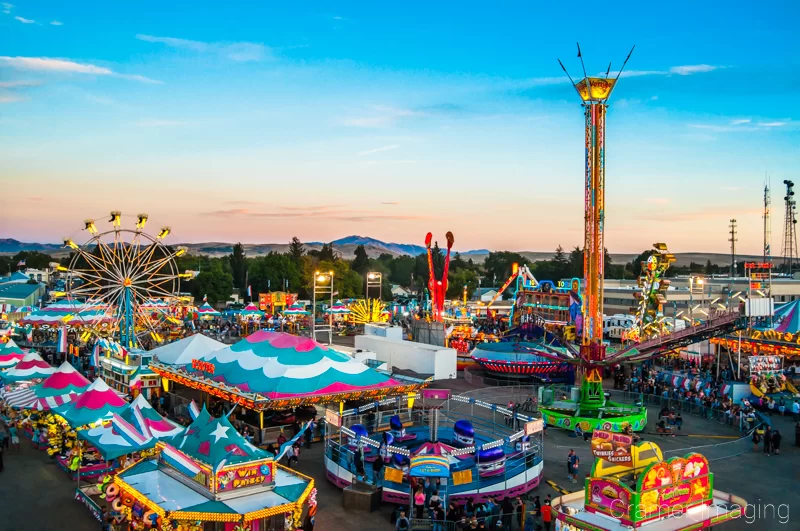
So, you’re new to photography and want to take up landscape photography? Congratulations! It’s a great choice of subject matter. Now you need to learn some about photographing landscapes. That’s why you’re here. As I’m a landscape photographer of several years’ experience now, I’m happy to welcome you to the passion and share a few tips on how to begin. So, let’s dive into how to start photographing landscapes.
There’s a lot to cover here. I hope you’re comfortable, distraction-free, and have your camera nearby so that you can examine and learn settings as necessary. It will indeed help you. Now, let’s get started.
Landscape Photography Genres
Landscape photography is an expansive and varied sub-genre of fine art photography and photography in general. There’s so much to discuss in detail about different sub-genres and types of landscape photography. But you’re not here for all those details. You need something a bit more comprehensive.
Definition of Landscape Photography
Let’s start with a basic definition of what landscape photography is. Landscape photography has come to colloquially mean a wide sweeping view of a scenic natural setting which remains virtually untouched by human hands. That about sums things up in a single sentence for you. If you want to dive in a bit deeper on this definition, then check out my article on the definition of landscape photography.
Example Sub-genres or Types of Landscape Photography
To start things off, you will run into 3 different types of landscape photography: representational, impressionistic, and abstract. Many landscape photographers pursue representational landscape photography. However, they will sometimes branch out into the other options for something different or some new inspiration. Others find more inspiration pursuing impressionistic or abstract landscape photography. What will you choose?
Representational
Representational landscape photography strives to present the viewer with an accurate depiction of the scene in front of the camera. It is not stylized nor abstracted.
Impressionistic
Impressionistic landscape photography seeks to present the viewer with a particular mood when viewing the photo. You may find colors altered to be brighter or more muted or a different hue entirely, for example.
Abstract
Abstract landscape photography uses a landscape but completely loses any representational elements in favor of abstracting to a mood. You may recognize that an abstract landscape photo is a landscape photo or you may not. It’s all abstract.
If you want to dive in deeper with these different types and presentations of landscape photography, then check out this article on the subject.
There’s all kinds of different subject matter out there under the landscape photography heading. Some people consider different subjects as different sub-genres. Others do not. Which camp will you fall into? In the end, the particular label isn’t all that important. Let’s briefly cover the topic.
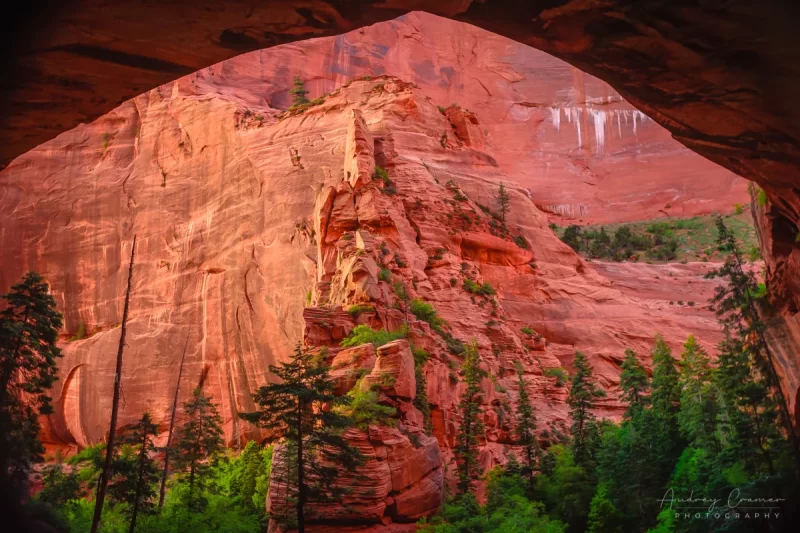
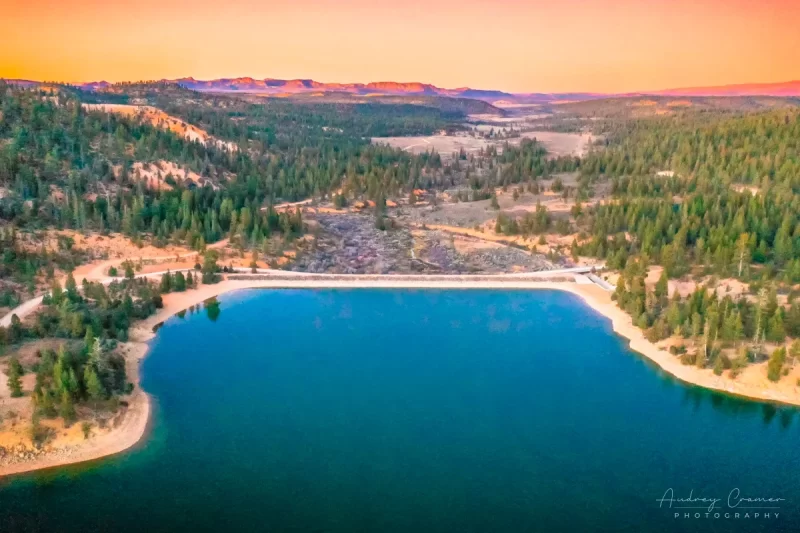
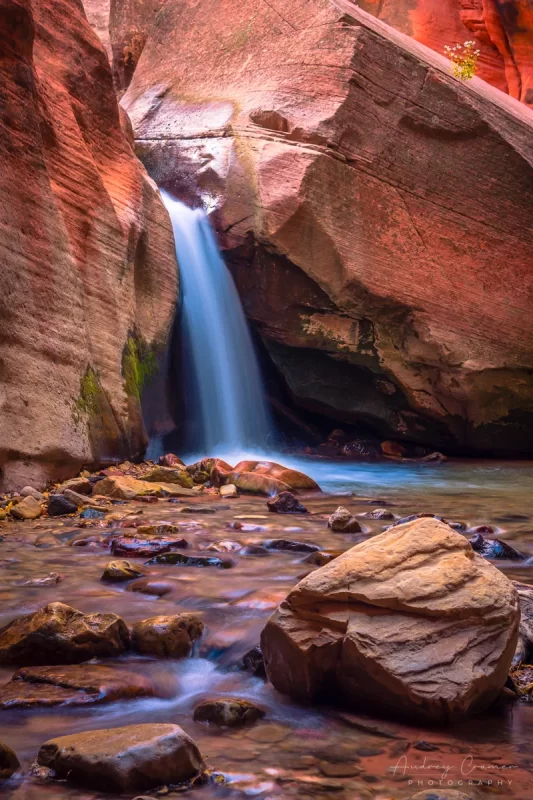
Traditional Landscape
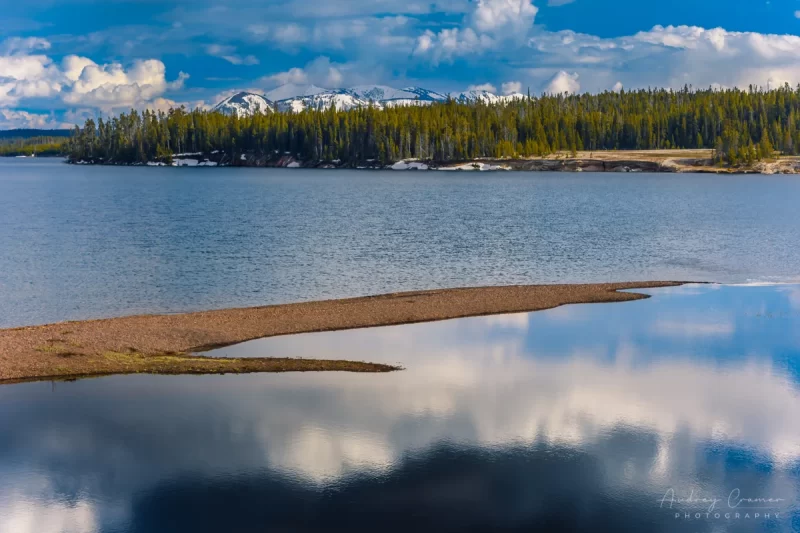
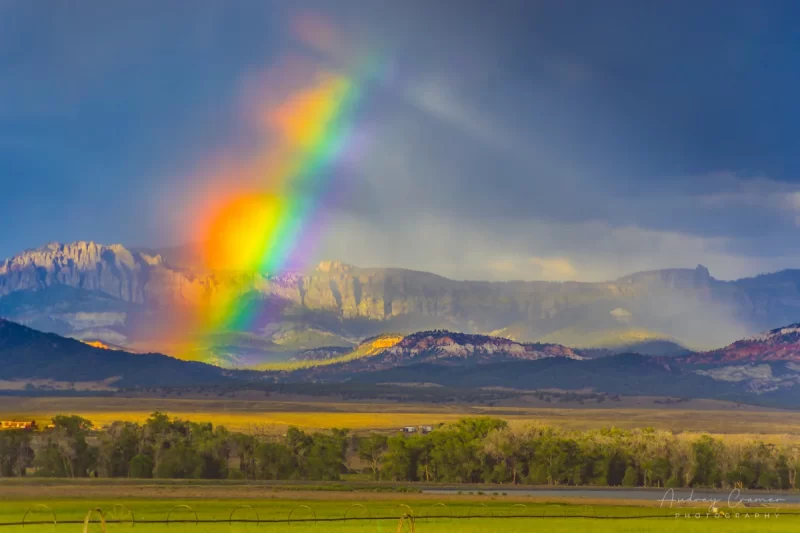
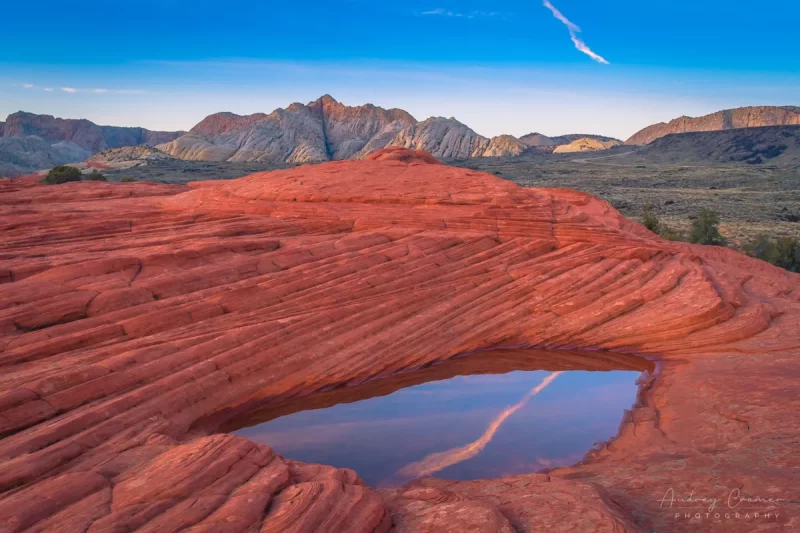
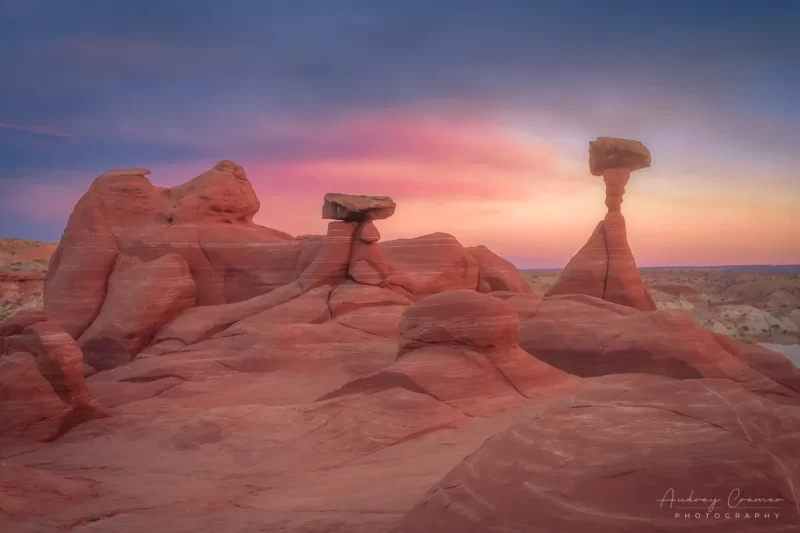
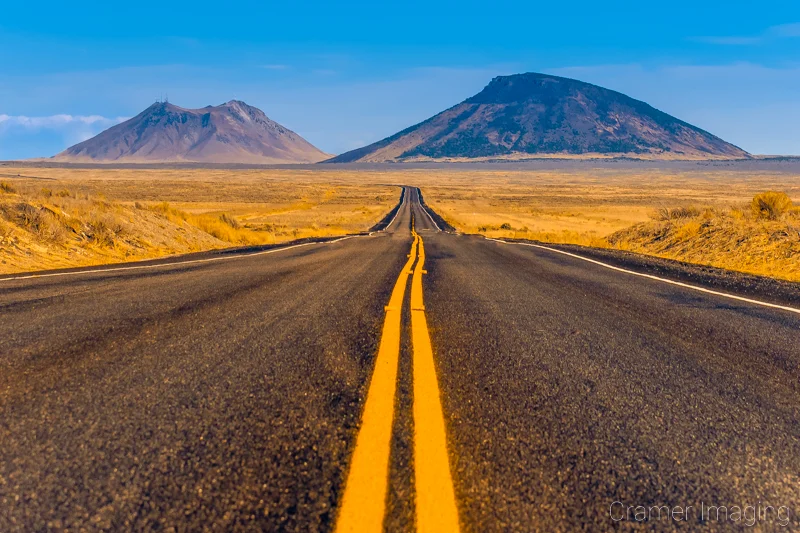
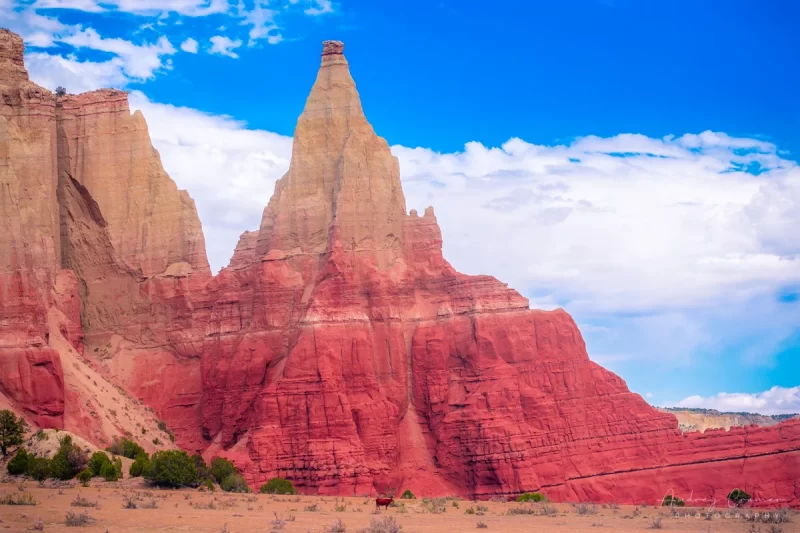
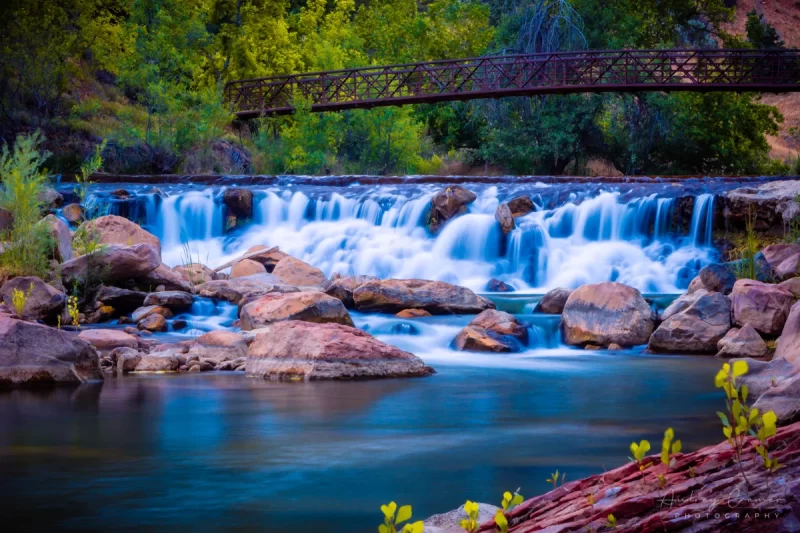
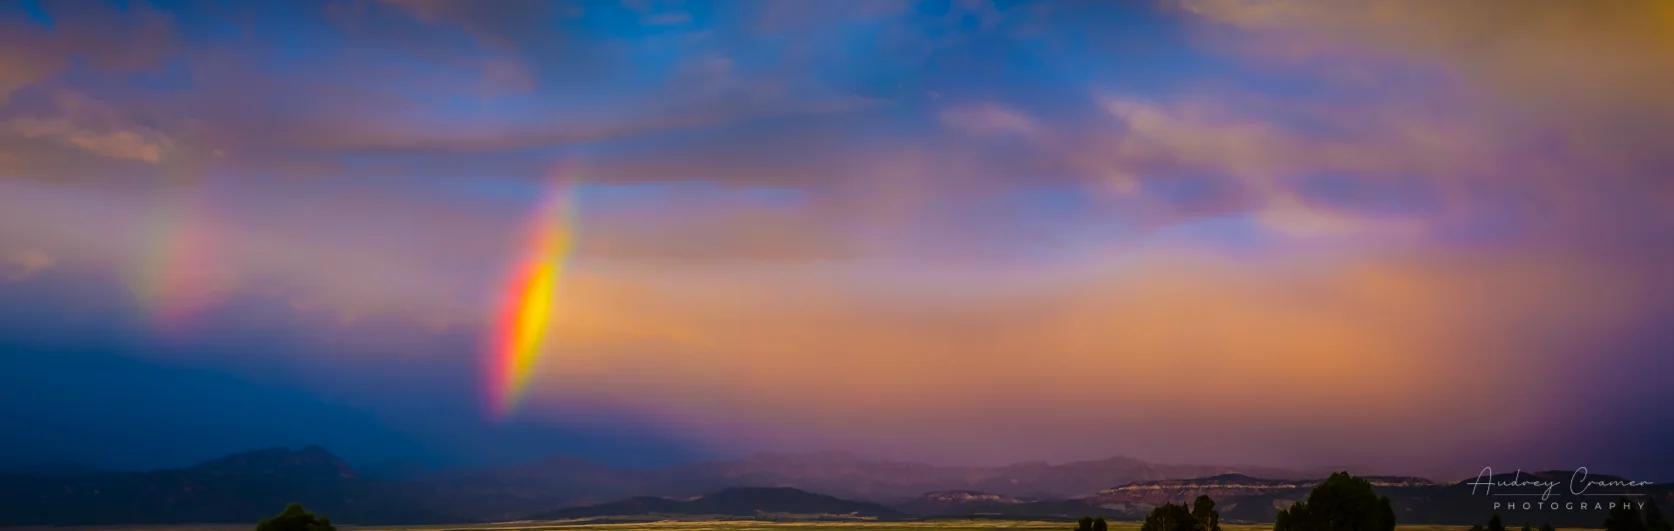
A traditional landscape scene features all kinds of different subject matter such as trees, rocks, rainbows, mountains, rivers, lakes, the ocean, and more. It’s basically a case of you know it when you see it.
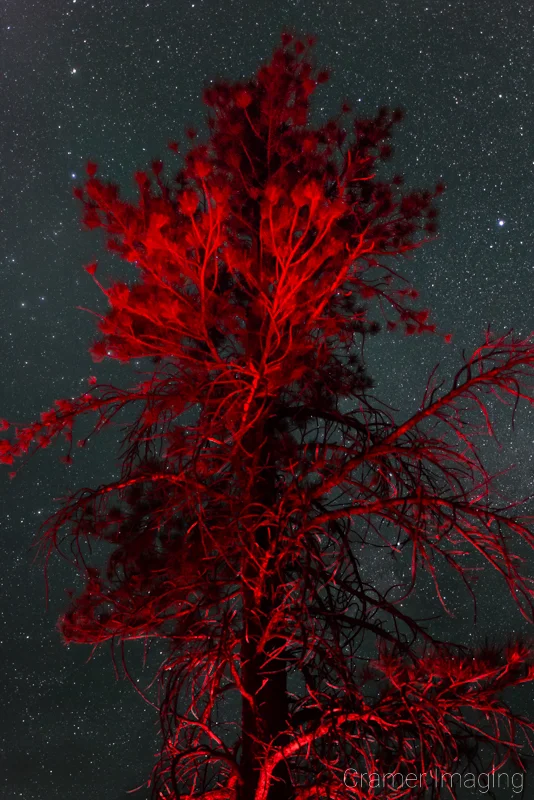
Astrophotography
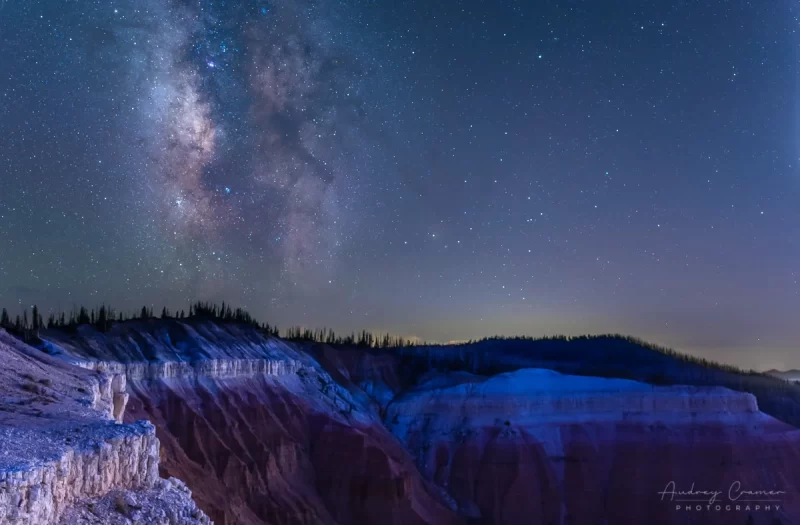
While specifically featuring the night sky, astrophotography may take a landscape approach and feature a gorgeous landscape scene with the night sky above. This kind of landscape photography needs special knowledge and equipment.
Rural Landscapes
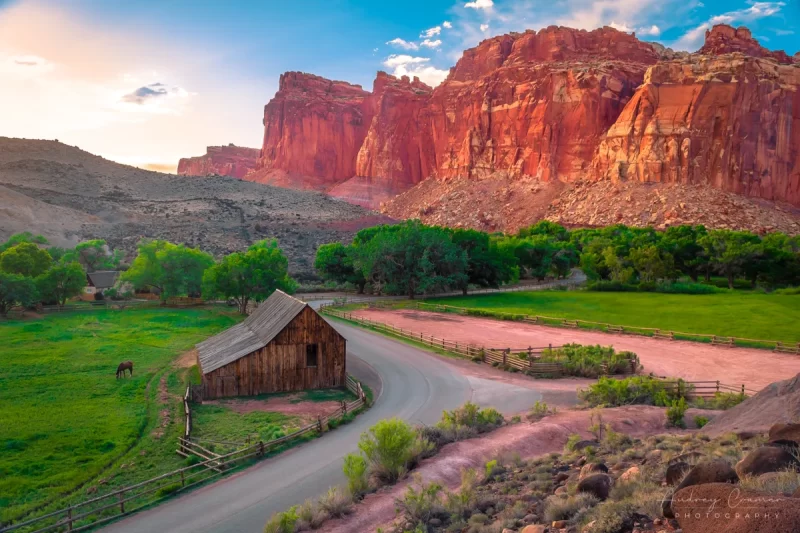
Rural and agricultural landscapes feature wide sweeping scenes of nature touched by human hands. This landscape photography features nature as tamed by humans.
Urban Landscapes
Urban landscapes (also called cityscapes) are an unusual take on landscape photography. Instead of wide sweeping scenes of nature, you shoot wide sweeping scenes of urban and city settings. Urban landscape photography is always conquered by human hands.
If you want to dive deeper into the different sub-genres and subjects you could see in landscape photography, I’ve got you covered. Check out this article on what is considered landscape photography for those answers.
Camera Gear
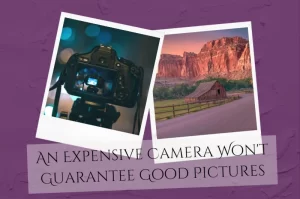
Now that you have an idea of what you might like to photograph, let’s look at the tools of the trade. What kind of photography equipment do you require for photographing landscapes? There’s a few things to look at which I will cover here. If budget is a concern, then check out this article on whether or not you need the newest photo gear. As with everything else in life, gear is important, but not as important as the skill of the person using it.
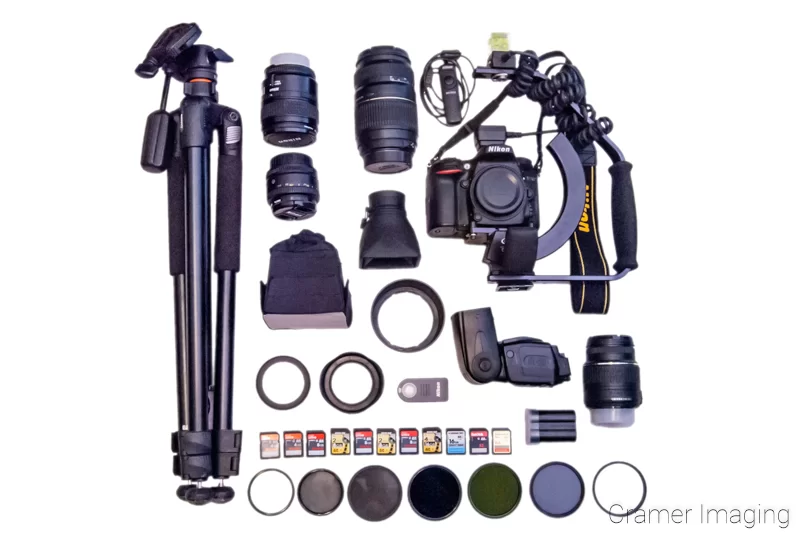
Camera Body
Obviously, as a new landscape photographer, you will need a camera body of some kind. It’s up to you what you choose to use. Some photographers opt to use their smart phones for their photography. That’s a perfectly reasonable idea for someone starting out on a low budget. It also works for someone who just wants to dabble every so often. However, if you want to pursue landscape photography more seriously (as a hobby or a profession), then you will need a dedicated camera for the task.
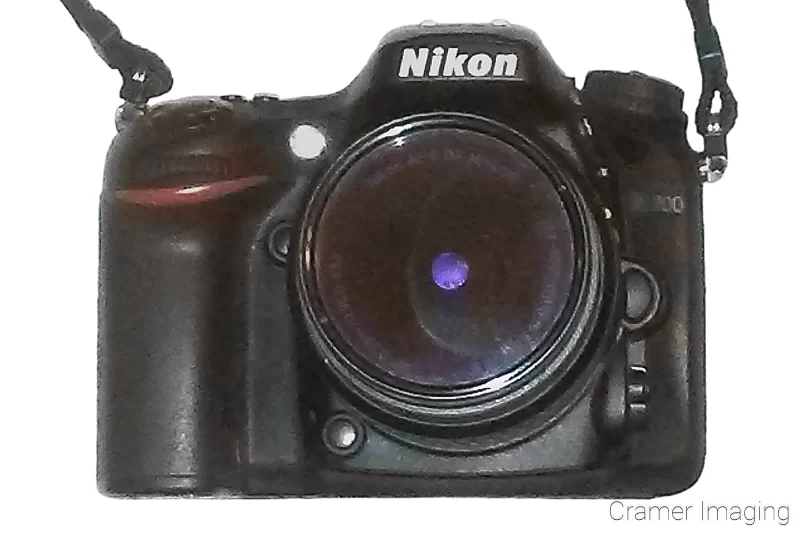
Now, the camera market is flooded with different camera bodies. There’s all kinds of different features and price ranges. You need not worry about most of the camera models out there. A low-priced and introductory level DSLR or mirrorless camera body will do what you need. Don’t worry about all the bells and whistles of camera features on pricier models until you learn what they are for and how to use them. You may find you don’t need many of them over time, so don’t waste your money unless you are also pursuing some other kind of photography outside of landscapes.
If you can find 1, a point-and-shoot camera is a great budget-friendly option which will also work perfectly well as a beginner camera for photographing landscapes. You can upgrade to the DSLR or mirrorless camera body later as funds permit. The important thing is to acquire some decent enough camera and start photographing landscapes ASAP.
If you are financially in a position to acquire a basic DSLR or mirrorless camera, then you should. Currently, there are 3 big companies on the camera market: Nikon, Canon, and Sony. You may run into others like older Olympus models (they discontinued their camera line) or Panasonic. These are all decent options to start with. Just keep in mind that once you choose a brand, you are pretty well locked in. The cost of new camera bodies and lenses can become exorbitant. Camera makers create proprietary mounting systems so you can’t cross over without a converter (if 1 exists and is available). Sometimes they update their mounts so current mounting systems aren’t even backwards compatible with previous models. The idea here is that you should choose your camera brand and model carefully while being fully aware of this issue.
Eventually, you will want to upgrade, but don’t do so until you know where you need your next camera body to improve on your current model. When you’re ready to step up your beginner camera body, then you can check out how to choose the right camera body for you. This article will help you learn what you need to know for your upgrade research.
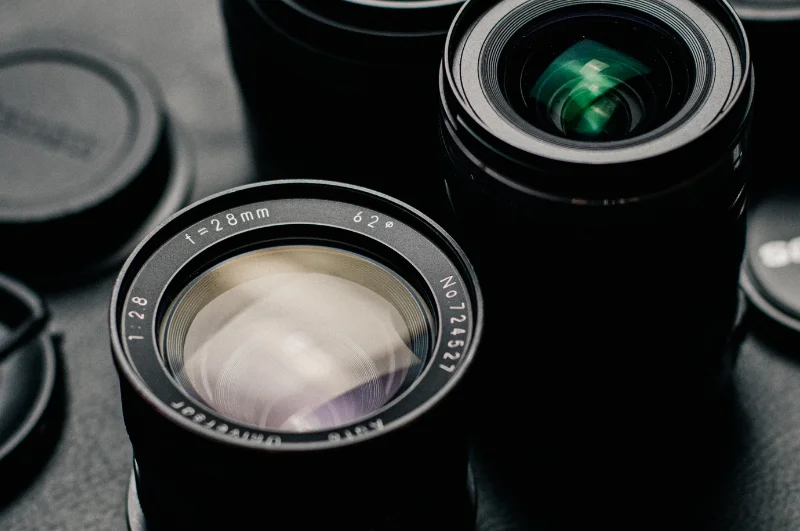
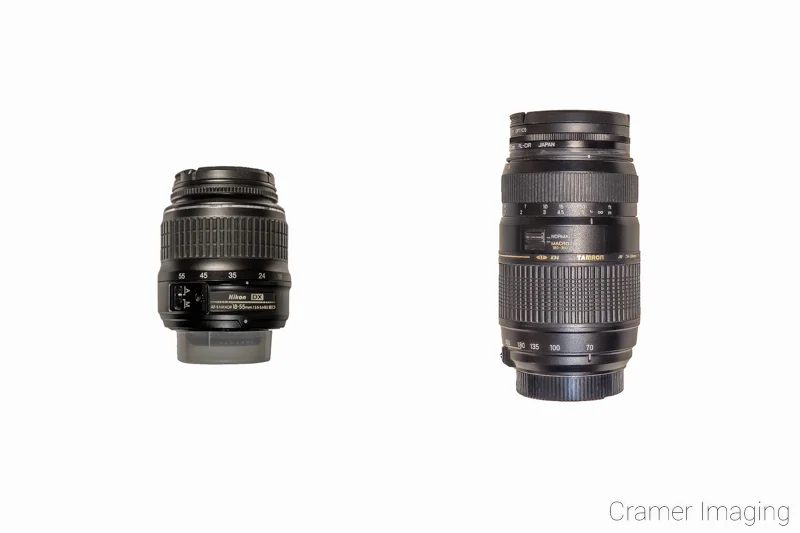
Camera Lenses
The next equipment you need to think of are the camera lenses you intend to use. DSLR and mirrorless cameras require the use of interchangeable lenses in order to capture the scene the way you want to. Point-and-shoot cameras don’t change lenses. Neither do smart phones. While there is a growing market of magnetic lens additions for smart phones, I will not be considering those for this section. If you wish to pursue a bit of photographing landscapes with a smart phone and such a magnetic lens adapter (they also offer filter attachments too), you are welcome to do so. Please share about your experiences in the comments section below. I’m genuinely curious.
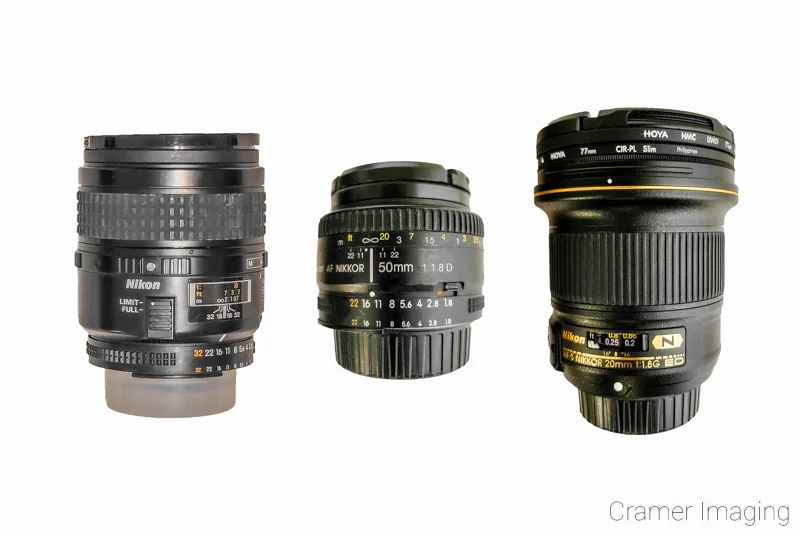
Once again, there are lots of different camera lenses available on the market. These range from lenses made by the camera manufacturers to third-party company offerings which are compatible with different camera bodies to varying degrees (auto-focus, for example, may or may not be available). Here’s a more in-depth discussion on lens brand importance.
If you’re looking at photographing landscapes, then you really only need 2 different lenses to start out with. I can argue for a third lens option. However, you only really need a basic wide-angle lens and a basic telephoto lens. If you buy a camera kit, you will often find a couple adequate options already included in the kit. If not, then you can probably locate good options at a relatively low price point compared to other lenses. The third lens you might consider is a good 50mm lens. They are so common and very cheap. The point of a 50mm lens is to capture the scene at the same size as what your eyes see. If you can only afford 1 lens at first, then buy the 50mm.
Eventually, you will want to upgrade and expand your lens options. Here’s how to tell when to upgrade your lenses. Summation: don’t do it until you routinely need your current lenses to do something which they can’t (a 1-off situation is a reason to rent not buy). Examples are open the aperture wider than it can or magnify closer than it can. When that time comes, check out this article on the best lenses for landscape photography.
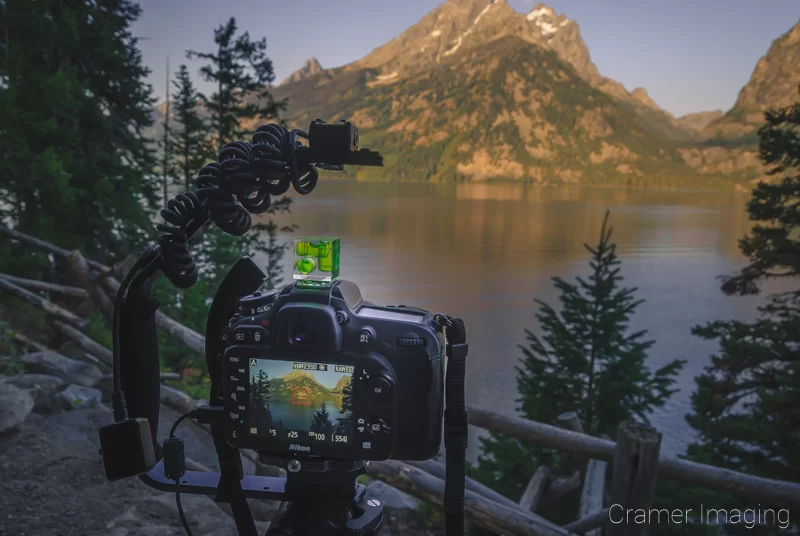
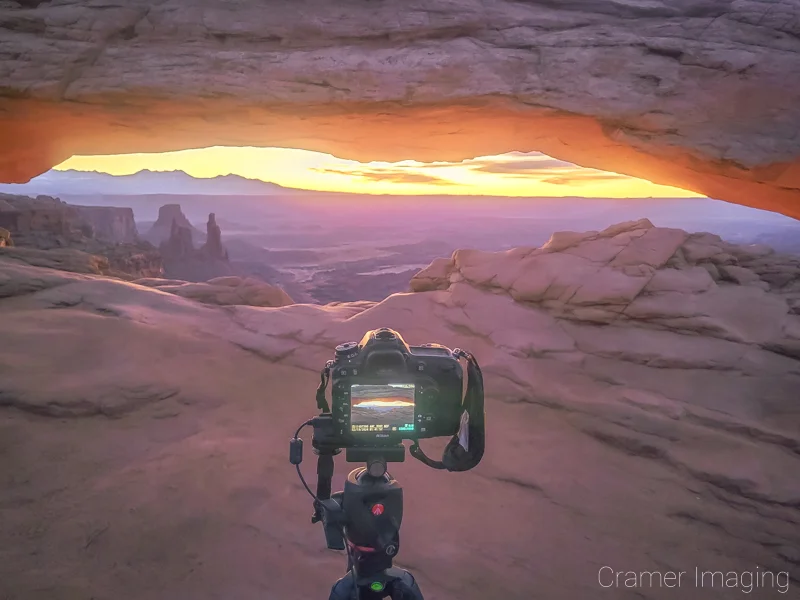
Tripod
The next piece of equipment which you should consider is a tripod. A tripod will stabilize your camera to prevent unwanted shake and blur. Whether or not you know it, your hands will shake and you will sway a bit while trying to photograph anything, including landscapes. This will result in some blur in your photos unless you are using a very fast shutter speed. By taking the camera out of your hands and stationing it on a tripod, you need not worry about shaky hands and unwanted motion blur ruining your landscape photos. Here’s an article talking more about the importance of a tripod.
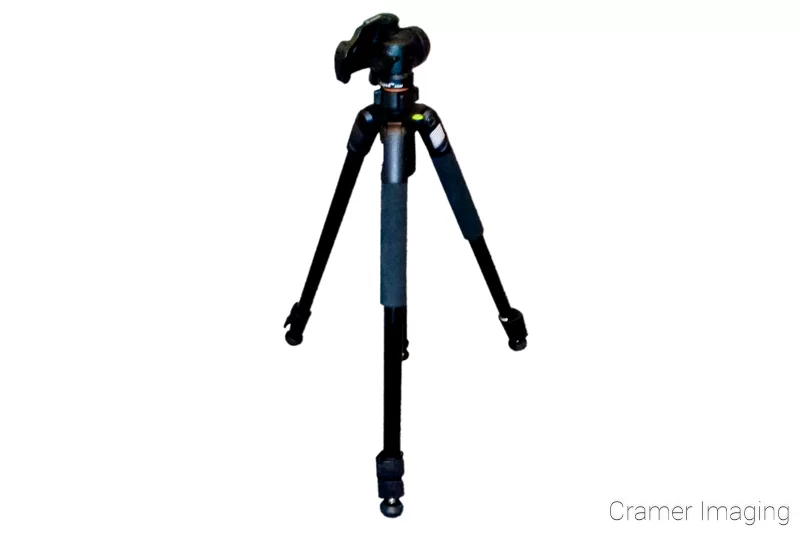
There are so many different tripods on the market. Some are for photography. Others are for videography. Yet others are meant for both. If you aren’t wanting to pursue videography too, then don’t worry about whether or not your tripod will help with shooting videos. What you need to worry about is whether or not the head will support all the weight of your camera and lenses. If not, then your tripod will droop, and you won’t capture the photos you want. If you plan on hiking into remote locations, then you should look into travel tripods to lighten your load a bit.
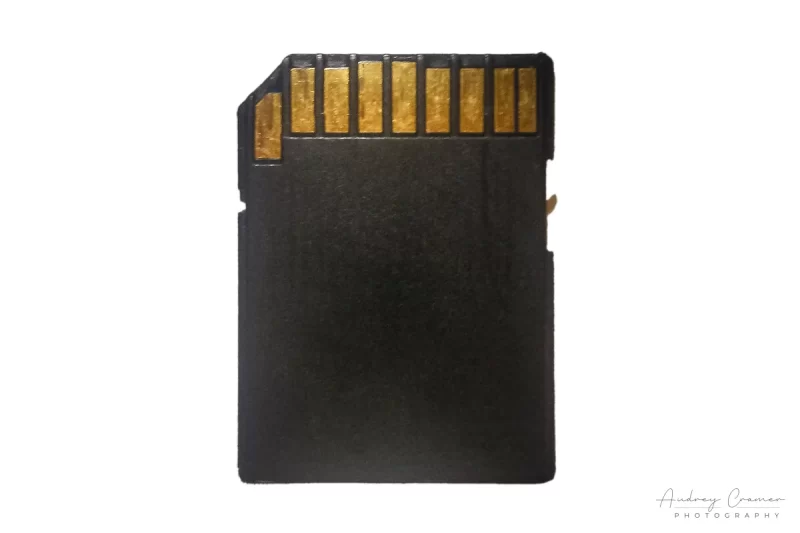
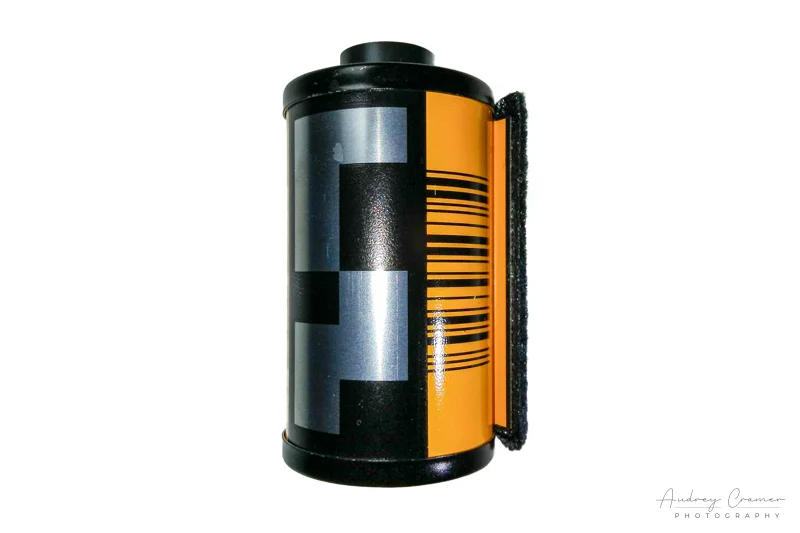
Memory Cards/Film
If you choose digital photography, as much of the photography world is now, then you will need memory cards to record your photos on. You can then transfer them to your computer for processing and storage. There are lots of memory card options on the market. You need a card with decent size but not necessarily the most expensive cards on the market. Oftentimes, those most expensive cards have a super high write speed. You only need those kinds of write speeds if you’re also pursuing high action photography like sports or wildlife. For everything else, standard write speeds are perfectly adequate.
As far as film goes, if you decide you want to start into landscape photography using film, that’s still an option. However, it’s becoming a less viable option overall. Developing film has become niche. You can’t drop off film at your local drug store and pick up developed prints an hour later like you could a couple decades ago. If you want to pursue film landscape photography, you will need to locate a source of film and a way to develop your film. It’s quite likely you will need to learn how to develop your own film. This will require a dark room, certain equipment, the right kind of photo paper, and developing chemicals. You should research out how to develop film before you decide to photograph anything using a film camera.
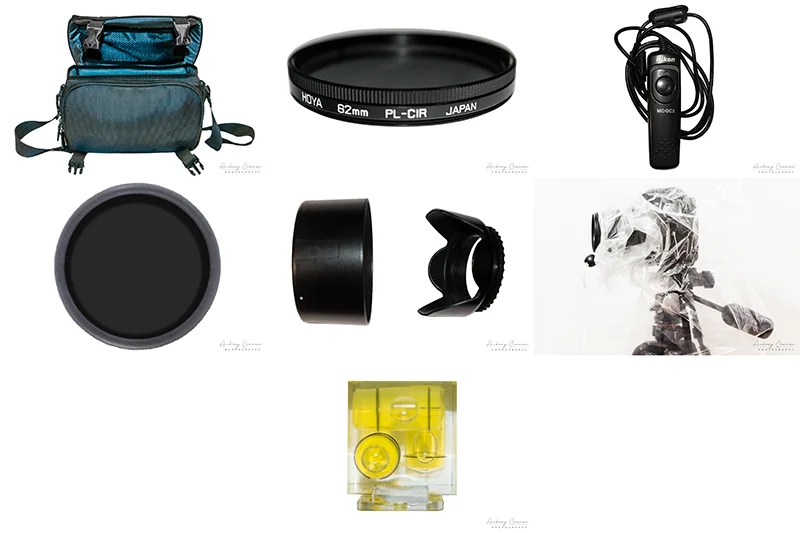
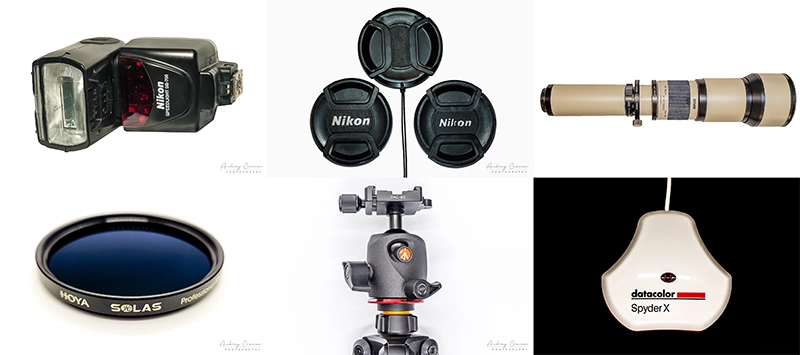
Accessories
Once you’re acquired your camera body, lenses, tripod, and memory cards, you’re acquired the essentials for photographing landscapes. However, there are a few accessories to acquire which will help make your landscape photography efforts easier. I will not call them required. However, I will call them highly recommended. These accessories include:
- camera bag
- lens hood
- spirit level
- cable release
- rain gear for your camera
- polarizing filter
- neutral density filters
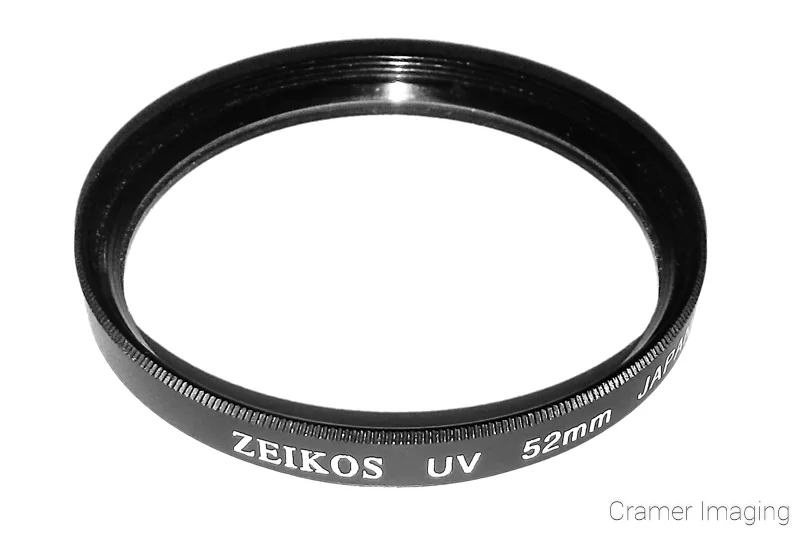
Another item I could put on the list is a bit controversial: UV or warming filters. There are 2 different schools of thought in photography circles regarding these filters. The first school of thought is that these cheap filters don’t do much for your photography. However, they do protect your much more expensive camera lens from damage. The trade-off is that you lose a bit of sharpness in your photos. Oftentimes, you can recover some of that sharpness with post-processing. The other school of thought is that these filters do nothing at all. They don’t protect your lens at all. Your lens hood does that job. So, the loss of sharpness is a detriment to your photography. Which school of thought will you choose?
There are lots of photography accessories available on the market. These include big brand names and third-party offerings. There’s plenty of good and bad out there. Do your research before investing too much money into a worthless accessory. Do you really need it? Does it actually do what the company promises? How will it hold up long term? The higher the price tag, the more you need to answer these questions before you buy.
If you want to learn more about why I recommend these particular accessories to beginner photographers, then check out my article on 10 must-have pieces of gear for landscape photographers. I go into more detail there.
Camera Settings
There are several camera settings which you should consider as you begin your landscape photography journey. I’ll talk about the essentials. The other camera settings you can learn about over time.
Raw vs. JPEG
Perhaps the first camera setting you should consider is that of what file format you want to shoot in. Will you choose raw or JPEG? There are advantages and disadvantages to both.
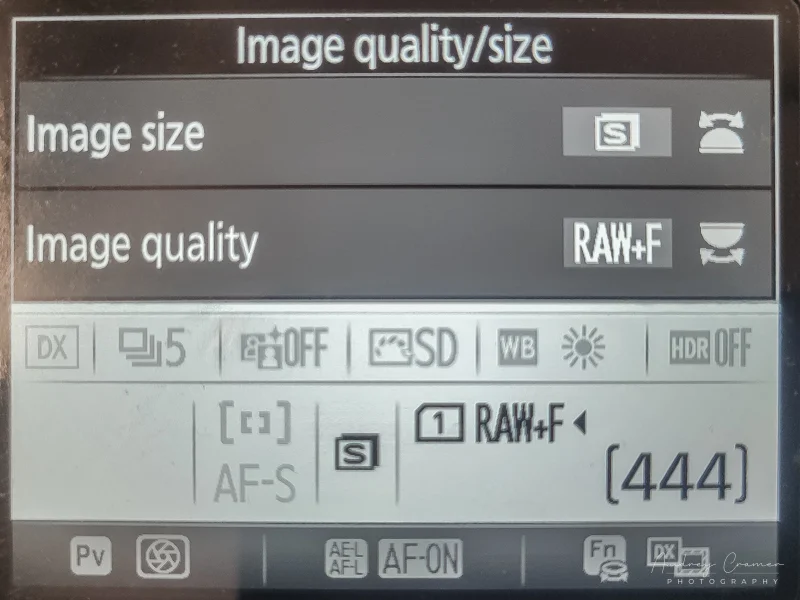
To start with, raw files are larger files. They take up more space on your hard drive because of this fact. When looking at them on screen, they will appear flatter than JPEGs. However, these raw files (each camera company creates a proprietary format) contain much more information than JPEGs do. They are ideal for post-processing work. If you know what you are doing with raw files and proper post-processing software, then you can bring quite a bit out of the raw file. If you want to upload a raw file to the internet, you must convert it to another file format (such as JPEG) in order to do so.
JPEGs have their advantages too. They are much smaller files and will take up much less space on your hard drive. Also, they do not appear as flat when viewed on a computer screen. This is because the camera adds some small amount of processing in-camera. There’s a touch of sharpening and contrast added, for instance. Also, you can immediately upload JPEGs to the internet. However, JPEGs are far from ideal for post-processing work. They are compressed and stripped of any and all unnecessary information in favor of small file size. This compression includes some small amounts of color and detail which you normally shouldn’t be able to notice. You will not be able to pull the same amount of information out of a JPEG as you can a raw file during post-processing.
If you want the option of either file format, most cameras will allow the option of shooting both a raw and a JPEG at the same time of the same image. This will eat up more space on your memory card, but it will give you flexibility until you decide for yourself if you want to post-process your photos or not. If so, then you have the raw for maximum options. If not, then you have the JPEG with some small amount of processing in-camera already.
Auto vs. Manual Focus
Another camera setting for you to consider is whether or not you plan on using auto-focus or manual focus. There are advantages to both. However, manual focus is a more difficult to nail. I recommend that you wait on manual focus until you master more of landscape photography. You may also choose to never use manual focus.
If you are planning on using auto-focus, then you have the choice of which button you use for focusing. You can stick with the tradition of pushing the shutter button halfway down or you can choose to use the back focus button. There are advantages and disadvantages to both. Use whichever option works best for you while photographing landscapes.
The Exposure Triangle
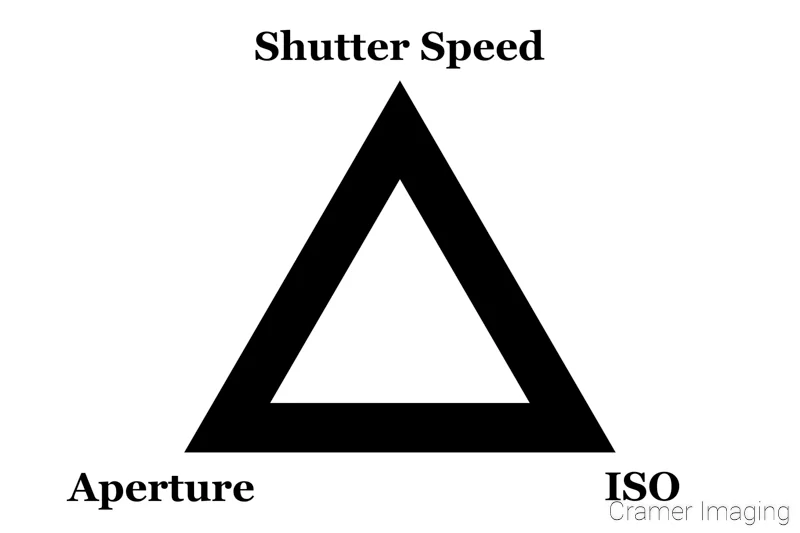
Perhaps the most important and most basic camera settings for you to learn as a beginner landscape photographer are the use of shutter speed, aperture, and ISO (previously known as ASA). These 3 camera settings will make up the exposure.
Aperture

The camera aperture is much like the camera’s diaphragm. It also acts much like the iris of your eye. A camera aperture controls how much light is let in to strike the camera’s sensor. It also controls depth of field.
Shutter Speed
The shutter speed is perhaps the most obvious camera setting. How long will you let light strike the sensor? That’s what the shutter speed controls. It can go from fractions of a second to hours (with special equipment).
ISO

A camera’s ISO is the camera sensor’s sensitivity. How sensitive is the sensor to the light which the aperture lets in? The higher the number, the more sensitive the sensor is for the photo.
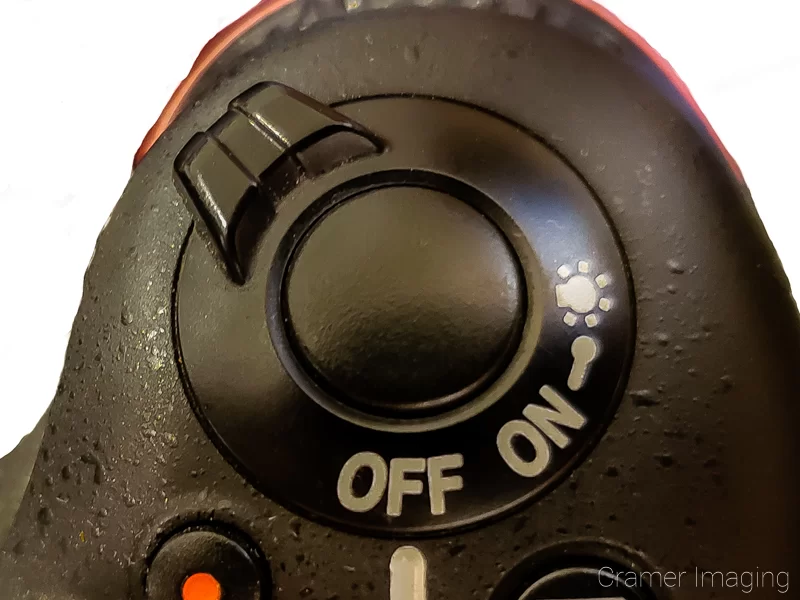
Your camera will allow you to control each and every 1 of these settings. It will also allow you to control 1 or 2 settings while it does its best to control the remaining setting(s) based upon the light. This is where PASM settings come in.
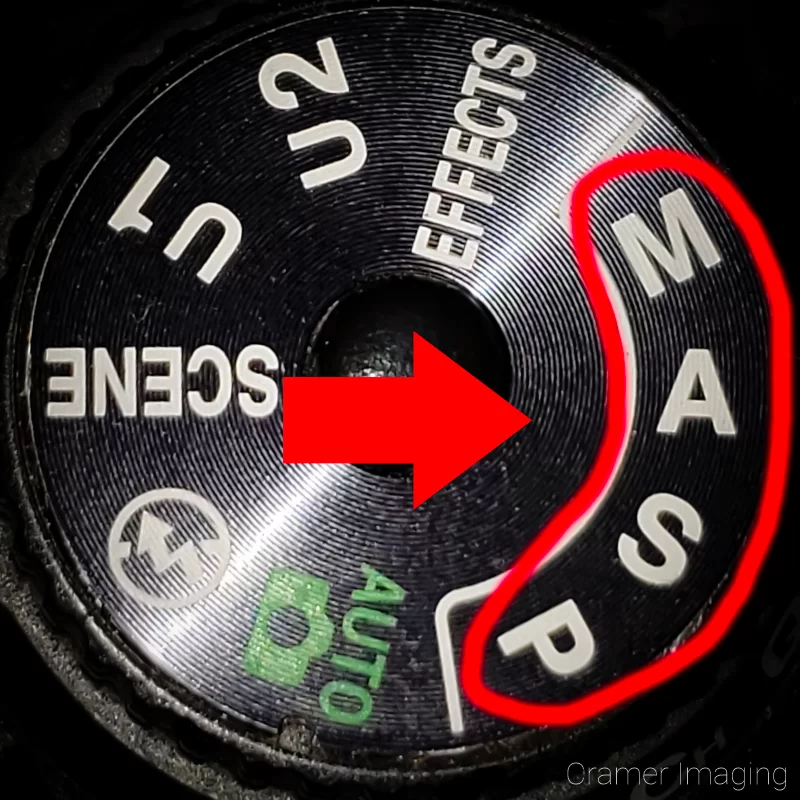
- P (Program) Mode lets you control ISO while the camera controls aperture and shutter speed.
- A (Aperture Priority) Mode lets you control the ISO and the aperture. It will control the shutter speed for you.
- S (Shutter Priority) Mode lets you control the ISO and shutter speed. It will control the aperture for you.
- M (Manual) Mode lets you control all 3. You control the aperture, shutter speed, and ISO.
- Auto Mode is where the camera controls the aperture, shutter speed, and ISO for you.
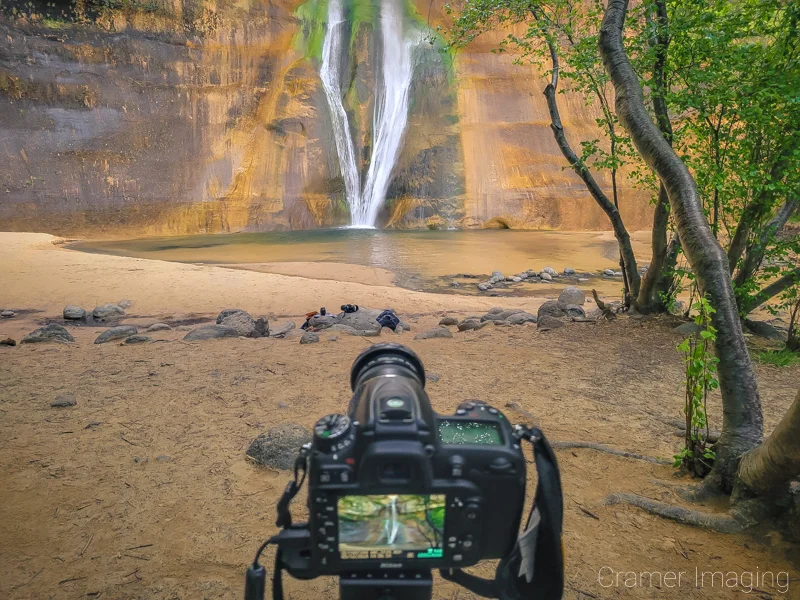
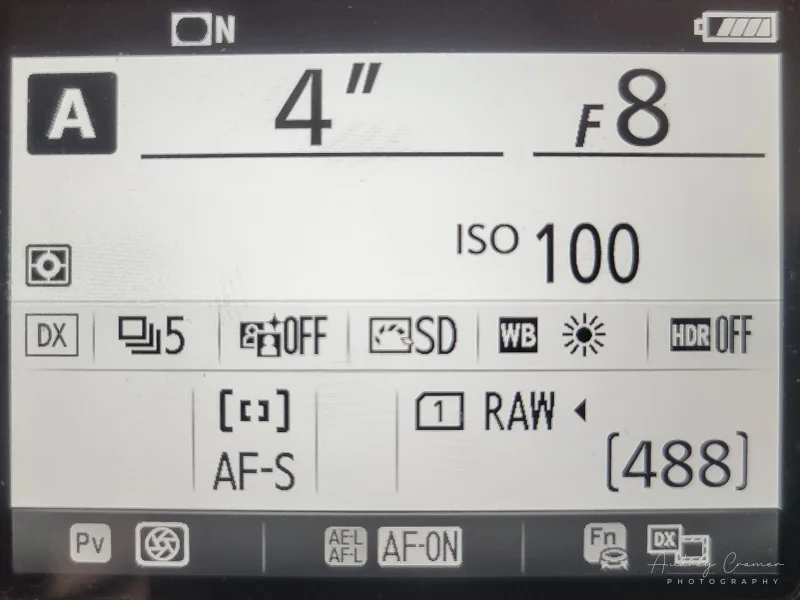
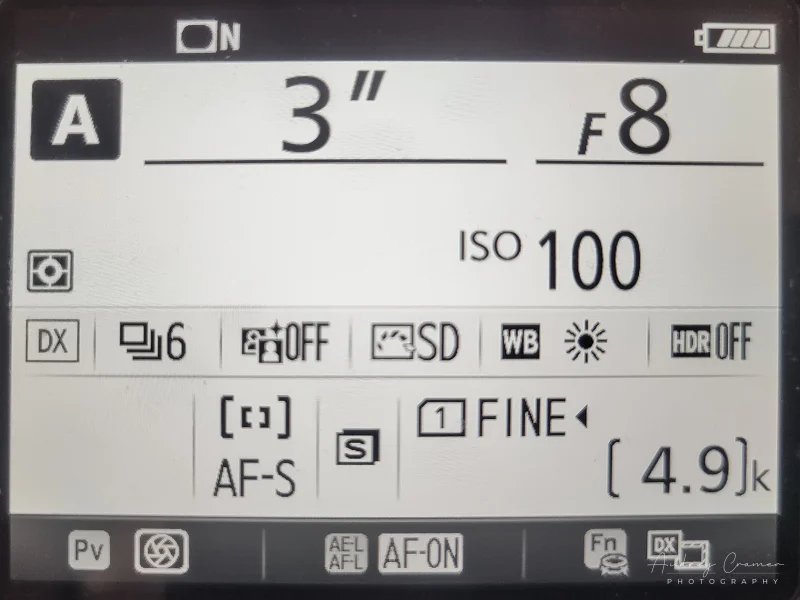
If you want to dive in deeper with how to use the exposure triangle, then check out this article. For the purposes photographing landscapes, you will mostly want to control the aperture and the ISO. Most landscape photographers use an aperture range of f/8-f/11. Some will even go as far as f/16 for landscape photography. As far as the ISO goes, you will want it as low as possible. An ISO range of 100-400 is considered ideal for most landscape photography work. When your chosen aperture and ISO settings mean your shutter speed expands out to about 1/4 second or longer, use your tripod and shutter release for optimal results.
Composition
Now that you have a basic understanding of your camera and how to work it, it’s time to use it. Your next lesson is on proper photography composition. If you want to pursue photographing landscapes with hobby-level interest or more, then you will want to learn basic composition. Here are 3 relatively easy composition techniques which will help you get started.
Rule of Thirds
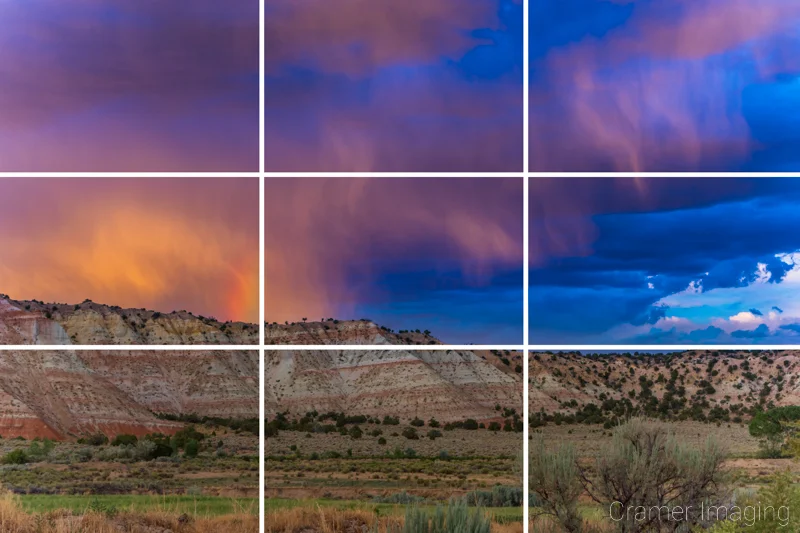
This is perhaps the easiest composition technique to use. Simply divide the photo into thirds, like depicted above. Then align important elements (like the horizon) of the photo up on the dividing lines.
Simplicity
Simplicity as a composition technique makes the subject the main focus of the image. The subject can fill the frame or make room for negative space.
Leading Lines
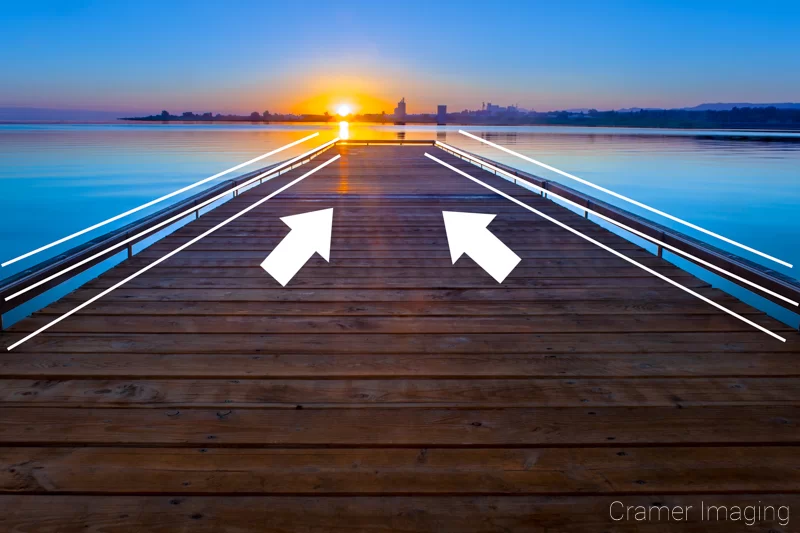
Leading lines are a way for photographers to draw the viewers’ eyes deeper into the photo without leaving its bounds. These lines can appear anywhere in the photo including in the sky above.
The interesting point about photography composition is that you can use a technique individually or in combination with others. These techniques are a great way to start with landscape photography composition. There are others. If you would like to learn more about some common landscape photography composition techniques, then check out this article on the topic.
Depth of Field
The next topic to discuss about photographing landscapes is the idea of depth of field. It refers to the parts of a photo which are in focus verses those which are not. A shallow depth of field will give you bokeh: that soft blurry part which is out-of-focus. A deeper depth of field will render much more of the scene in focus. Eventually, focus will fail even as it does for your eyes in the distance or too close to your face.
Here’s a couple examples of depth of field. I present a shallow and a deep depth of field example so that you can compare.
Shallow Depth of Field
Deep Depth of Field
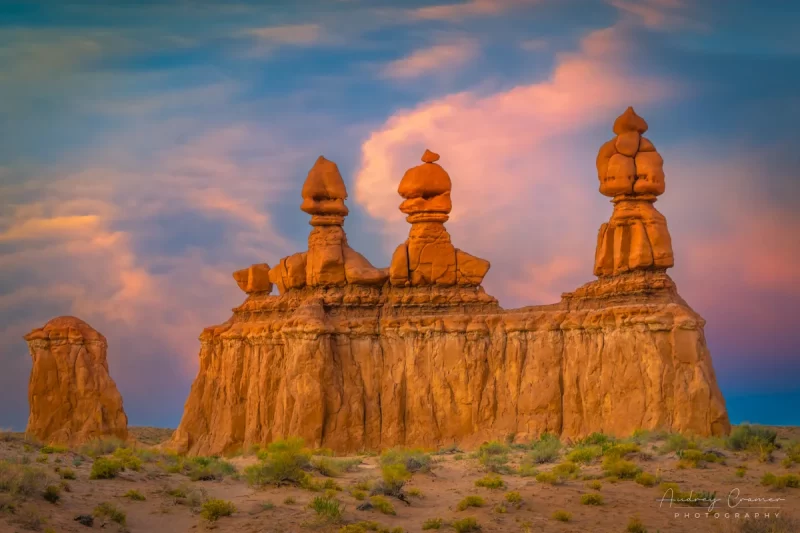
Landscape photographers are mostly interested in deep depth of field. That’s why f/8-f/11 are common aperture settings. However, as you can see above, shallow depth of field can work for landscape photography as well. It’s your choice what you pursue. If you want to learn more about depth of field, then check out this article on the subject.
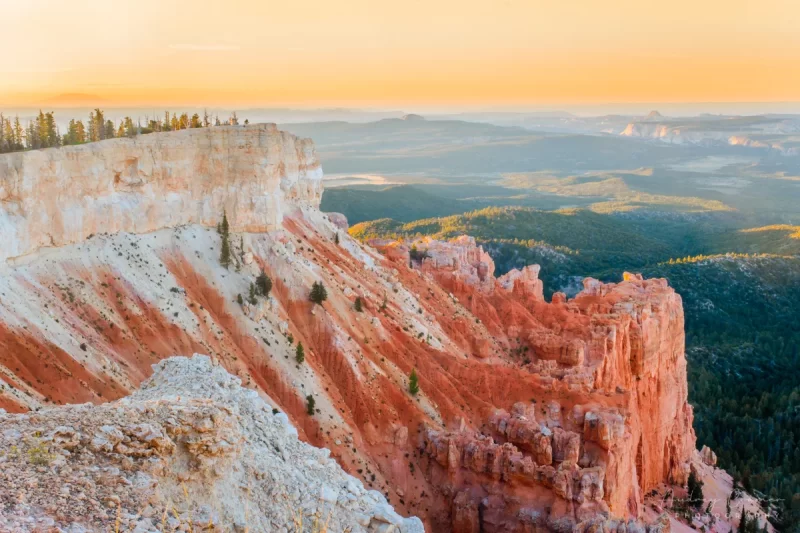
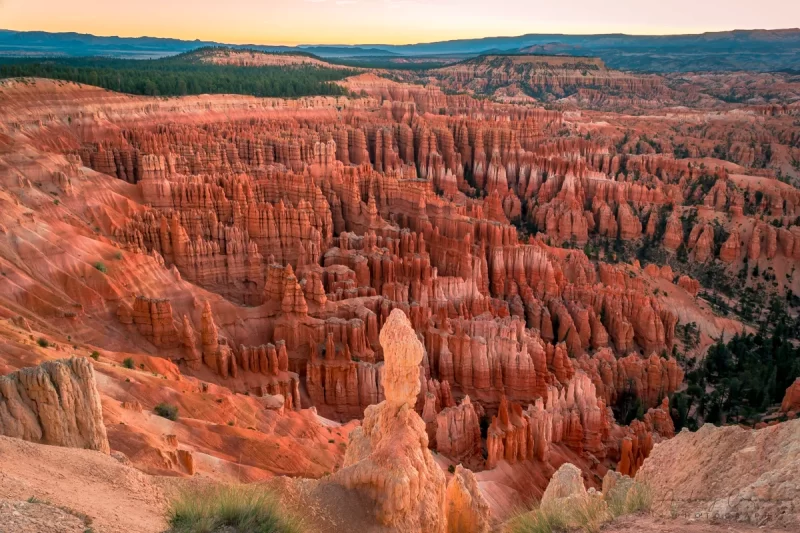
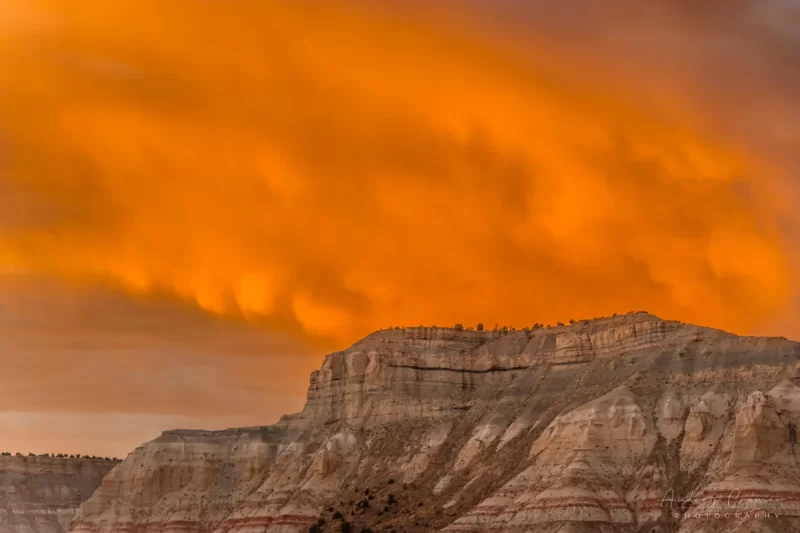
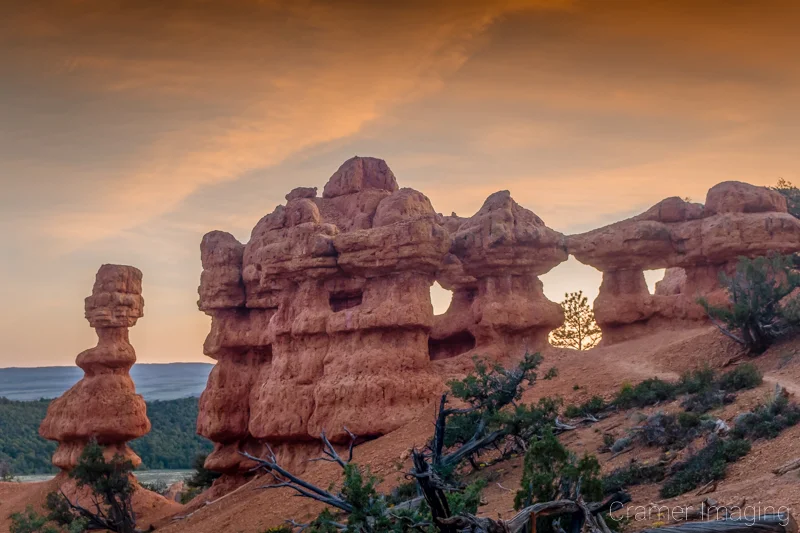
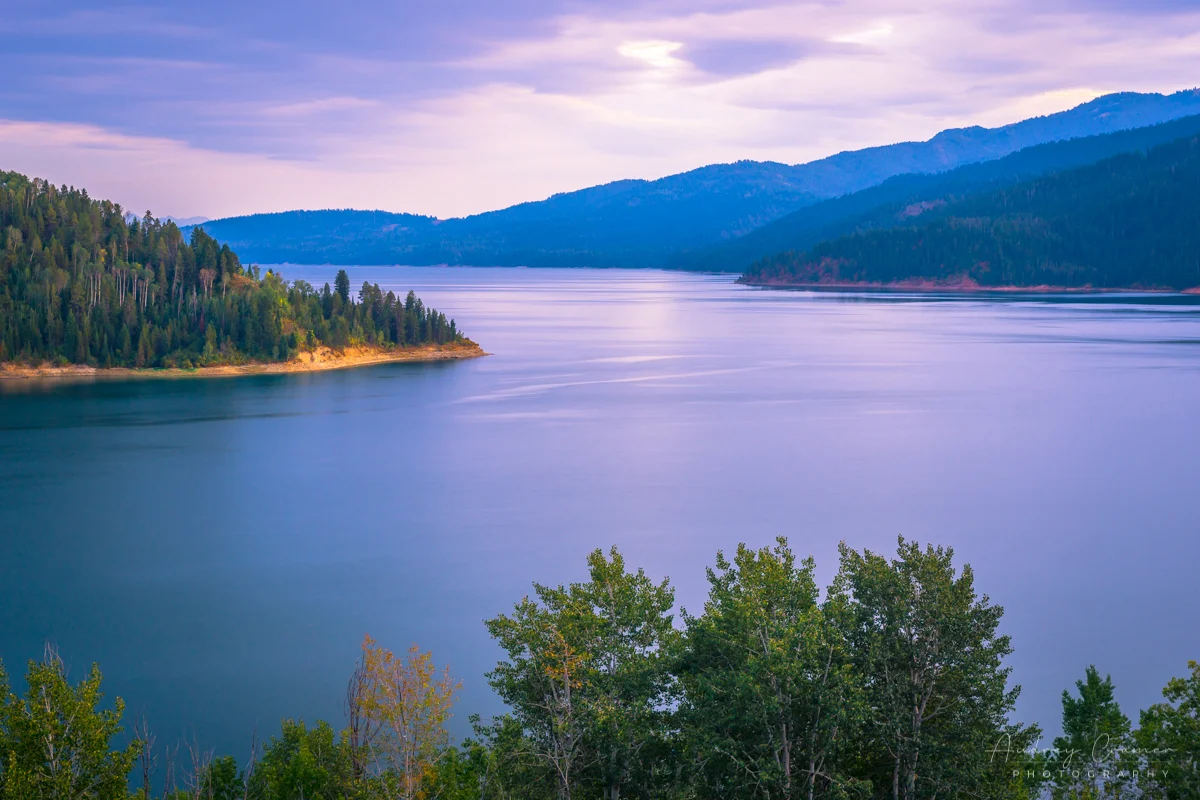
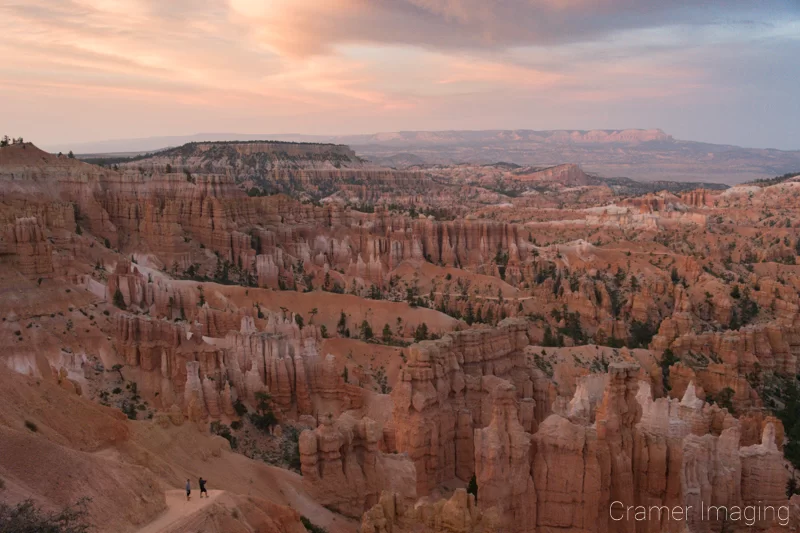
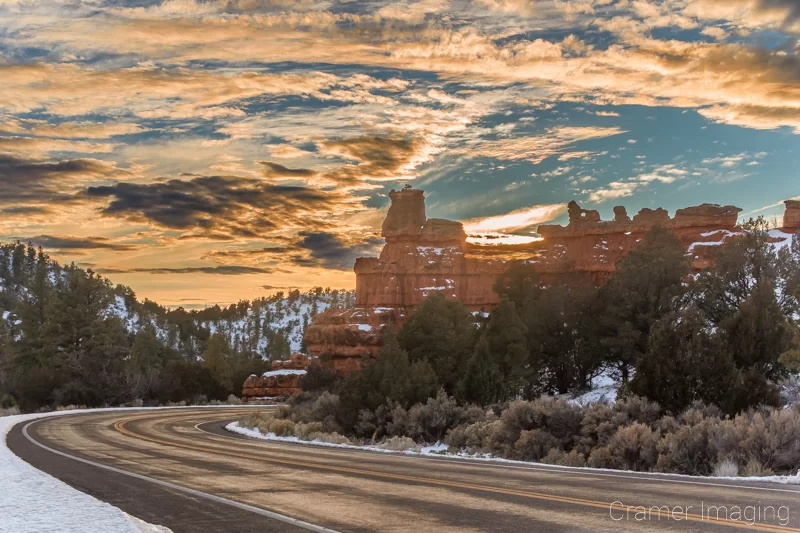
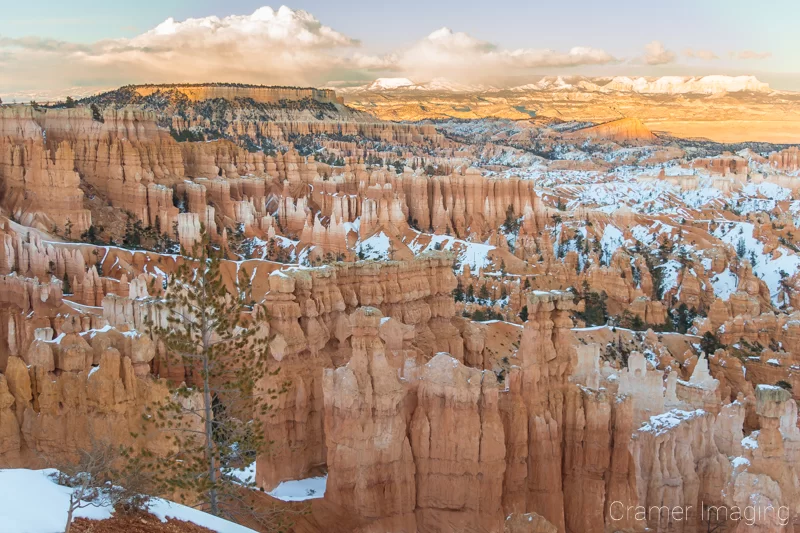
Light/Best Time of Day for Photographing Landscapes
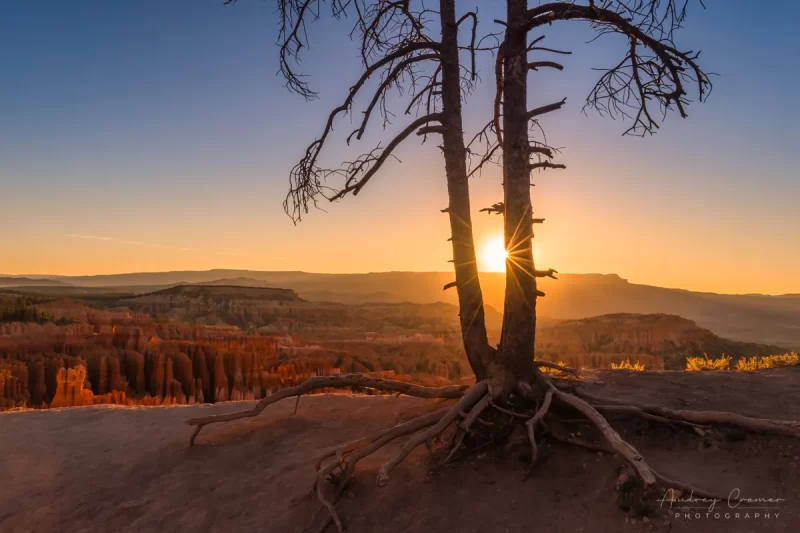
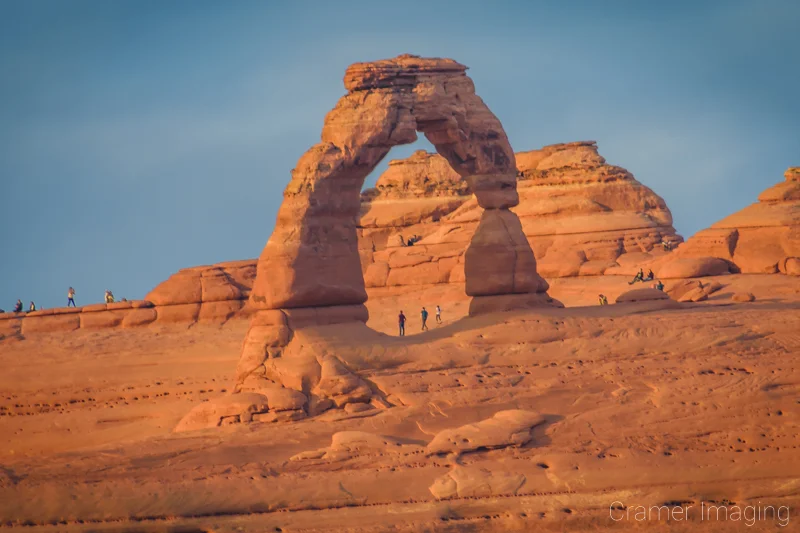
Photographers paint with light. That’s a well-known phrase. As a landscape photographer, there’s only 1 light big enough to light up a landscape: the sun. This means you will need to learn about lighting using the sun. Thankfully, you can benefit from the experiences of others. The best windows of time for photographing landscapes may be found at dawn and dusk. Ansel Adams researched that out decades ago. We call those windows “golden hour” in photography circles. While shooting during golden hour, you can capture photos like these.
Morning Golden Hour
Evening Golden Hour
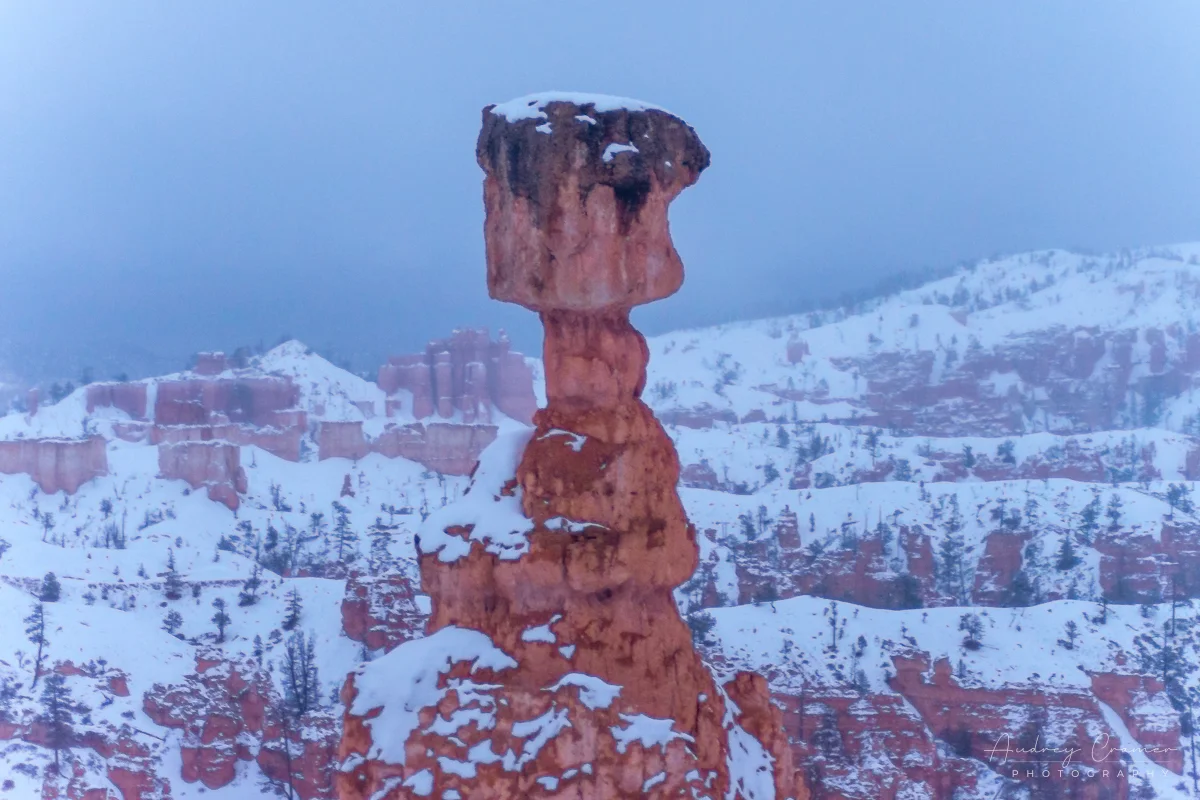
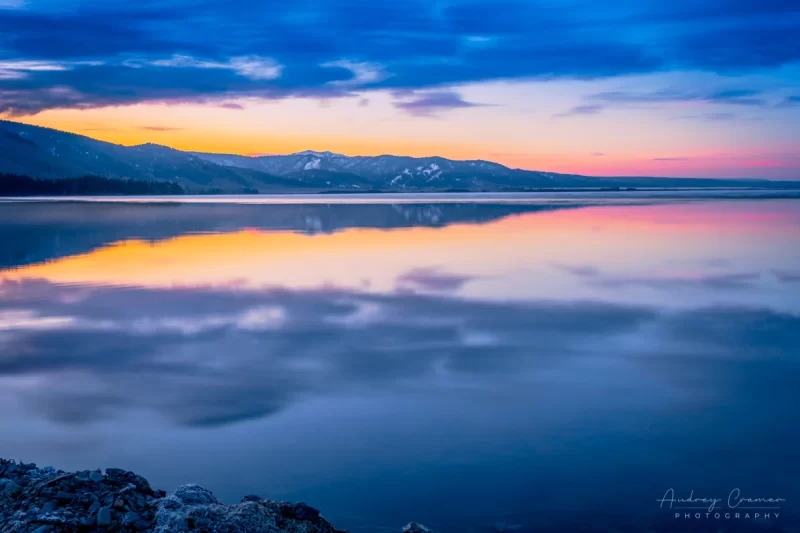
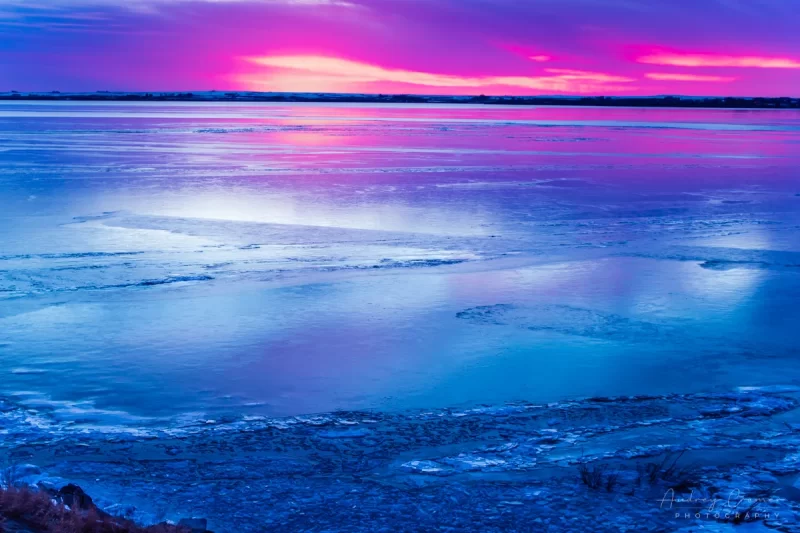
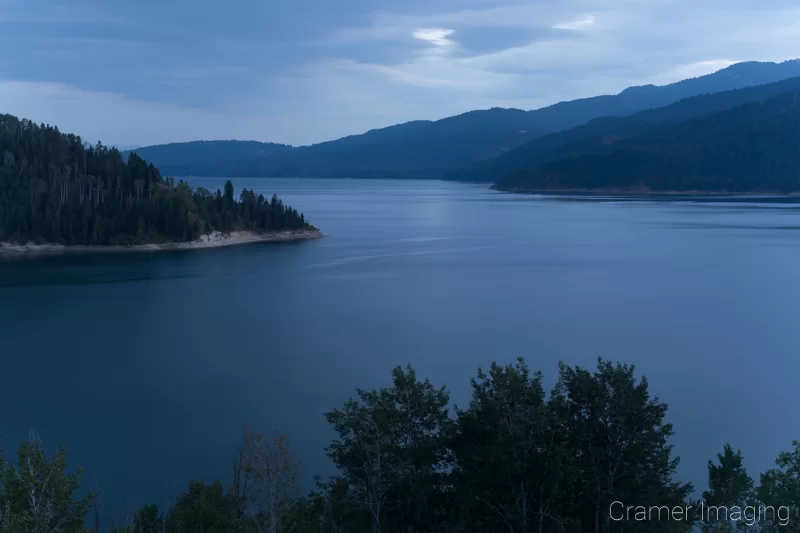
You can also photograph landscapes during “blue hour.” This is the window just before dawn and just after sunset. The warmer wavelengths of light fade leaving a colder blue appearance. Here are a couple of examples for you.
Morning Blue Hour
Evening Blue Hour
Blue hour often requires longer shutter speeds, so you’ll want your tripod and shutter release. If you want to learn more about the best kinds of light for photographing landscapes, check out this article.
Location Scouting and Safety Concerns
As a beginning landscape photographer, you will need to start accumulating a list of landscape locations you want to photograph. With this list you can begin assembling your landscape photography portfolio. Make sure that you address safety concerns in this stage as well.

Location Scouting
When it comes to location scouting, especially in the early stages of your landscape photography career, my advice is to start local. It doesn’t matter what your budget is, start locally. You can build up the basic skills covered here at a much lower price point than some of these exotic trips cost.
Most people don’t have the money to visit famous landscape photography locations like the Dolomites, Greenland, Iceland, Antarctica, Torres del Paine, and more. Even in the US, trips to places like the Grand Canyon, Arches National Park, Yellowstone National Park, Yosemite National Park, Grand Teton National Park, Mount Rushmore, the Statue of Liberty, and more don’t come cheap unless you live right there.
If you start locally and build up your skills, then trips out to some of these most amazing places will not be a waste of money. You will come back with the kinds of photos you dream of. No matter where you live, there is something cool which you can practice your new skills and knowledge on.
Now, where do you learn about such interesting local places to photograph? There are a few ways. You can use your own local knowledge. Surely you can think of some place worth investigating within a reasonable driving radius. Also, you can look into local tourism avenues. Where do tourists visit in your area? Some sources I’ve used for building my landscape photography location list are:
- personal knowledge of locals
- well-known tourist sites
- internet research
- social media inspiration
- hiking books
- tourist brochures and flyers
- random exploration
The point is that there are lots of different ways you can build up your list. Then, start crossing locations off that list. It’s perfectly alright to revisit locations as well. Just because you captured something great doesn’t mean you can’t capture another great take. Changes of weather and seasons add something different to the same landscape photography location.
Accumulating this list of locations to photograph will come in handy. When you need an idea, you have a list to fall back on if immediate inspiration doesn’t hit you. I’ve used my list a bunch lately.
Safety Concerns
Once you’re decided upon a location, either to add to your list or to go photograph now, you need to do some research. You must address safety concerns for you, your party, and your equipment.
Are you going into the desert where it’s hot and dry? You will need breathable clothing, lots of water, sunscreen, a hat, and more. You might need to think about rattlesnakes in the US. Are you going into the tundra where it’s cold and snowy? You will need layers to keep warm, hand and foot warmers, a way to keep your lens from freezing up on you or your batteries from draining too quickly, and more. Depending on where you go, you might also want your bear spray. You get the idea?
Each location you consider when photographing landscapes comes with its own set of safety concerns. Some might be obvious. Others might require research to prepare for. Some safety concerns require special equipment. If you want to photograph that landscape photography location, it’s in your best interest to acquire that gear before attempting the shoot. Also, make sure you know how to use it properly beforehand.
Laws and Regulations Surrounding Photographing Landscapes
As with anything else in life, your activities photographing landscapes are subject to the law. Different jurisdictions have different laws regarding what you can and cannot do in landscape photography. Always research and abide by your local laws.
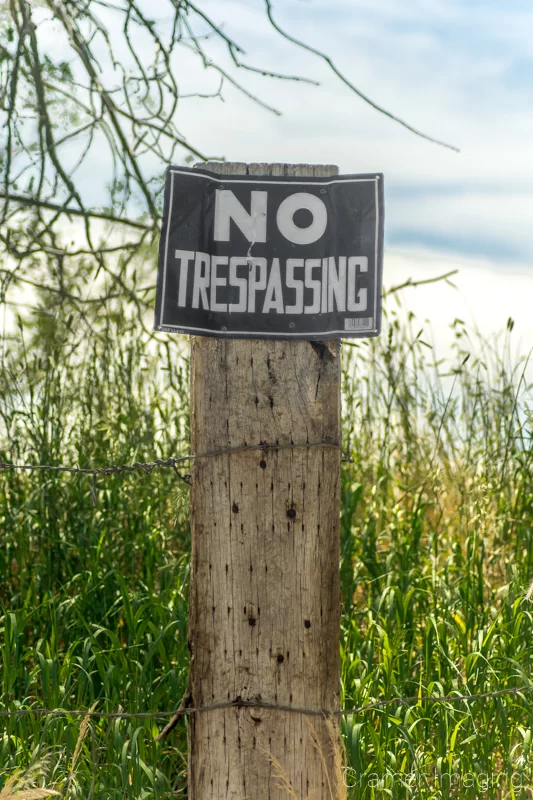
In the US, we have a few laws which apply. Firstly, you can shoot photos on public property (national parks, city buildings, etc.) of said public property and use it for commercial purposes with no problems. However, you cannot do the same with private property (including private businesses open to the public). The property owners have the right to restrict your photographic activities.
I know Europe has a “right to wander” allowing you free access to other people’s property. This “right” begs the question of whether or not you actually own the property if you cannot restrict access, but that’s a side tangent discussion. No such “right to wander” exists in the US. Private property means private property. Trespassing is punishable by law. You need the property owner’s prior permission (sometimes in writing) in order to access and photograph on said private property. You might even need separate permission to use such photos for commercial purposes.
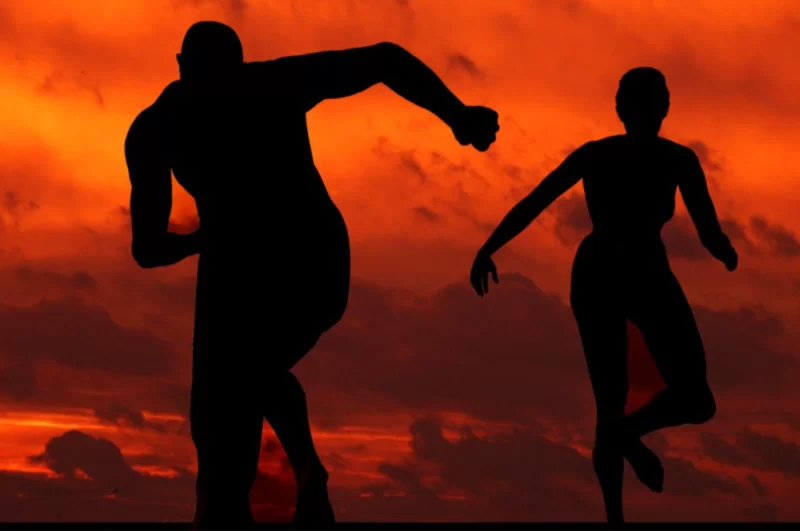
When photographing people, even in a landscape setting, things get tricky. While out in public, you have no expectation of privacy. This means I can photograph you without your knowledge or permission and use the photos for personal uses. However, if I want to use such photos for commercial purposes, then I need your permission (better in writing). This only applies if you can, in any way, shape, or form, be identified in such photos. Generic silhouettes don’t require permission, for example. It gets complicated.
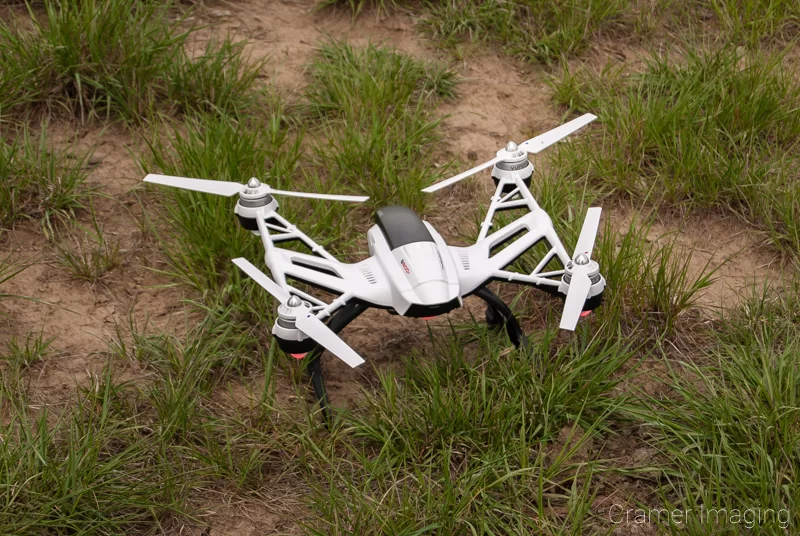
Drone use is heavily regulated. The US requires a license to fly a drone. Also, there are lots of no-fly areas which you must pay attention to. National parks are a perfect example of this. They are a complete no-fly zone without special permission. Wildfires are also temporary no-fly zones for safety reasons. There’s also a ceiling of how high you can fly your drone which you must abide by.
Please make sure you are following all local laws and regulations to the best of your ability while out photographing landscapes. This will save you from a lot of trouble. It may not stop all your legal headaches, but it will reduce them significantly.
Specialized Techniques to Consider When Photographing Landscapes
As a beginner landscape photographer, you will run into many different kinds of landscape photography, especially on the internet. Some of these amazing photos require specialized techniques to capture. I’ll briefly discuss some of the common specialized techniques you might eventually want to learn. Of these specialized techniques, some are easier to use than others are. Some require specialized equipment while others merely need good image processing software to achieve.
I certainly recommend that you look into learning these techniques as you wish. However, I recommend you focus on learning and mastering the basics in this article before you branch out into these techniques. There will be plenty of time to play after you solidify your foundation in photographing landscapes.
Long Exposure
Long exposure is a common technique used in photographing landscapes. You commonly see this technique in the form of silky water. It also makes appearances in landscape photography in the form of star trails and other photos with extended shutter speed lengths.
Aerial/Drone
Aerial photography takes the form of manned and unmanned vehicles. You can take photos from a plane, etc. or use a drone. It involves photographing landscapes from the air. This different perspective requires significant planning. Drone photography requires licensing in the US and knowing how to fly a drone to work.
Exposure Bracketing

Exposure bracketing involves combining together different images with different exposure settings. These different exposure settings allow the photographer to capture details in highlights and shadows where a single image could not. This technique taken too far can cause a loss of detail in the mid-range tones.
Focus Stacking
Focus stacking allows for a much deeper depth of field on a scene which could not otherwise be achieved in a single frame. It allows a photographer to display a subject only a few inches away from the lens and a distant subject in the same frame in equal focus. This is more depth of field than hyperfocal distances offer.
Light Painting
Light painting is a form of long exposure photography which can involve combining multiple exposures together. You mostly see it applied in dark scenes such as nighttime and caves. It uses artificial light sources (such as flashlights, glow sticks, and lanterns) to add visibility, color, and interest to an otherwise dark landscape scene.
Time-lapse
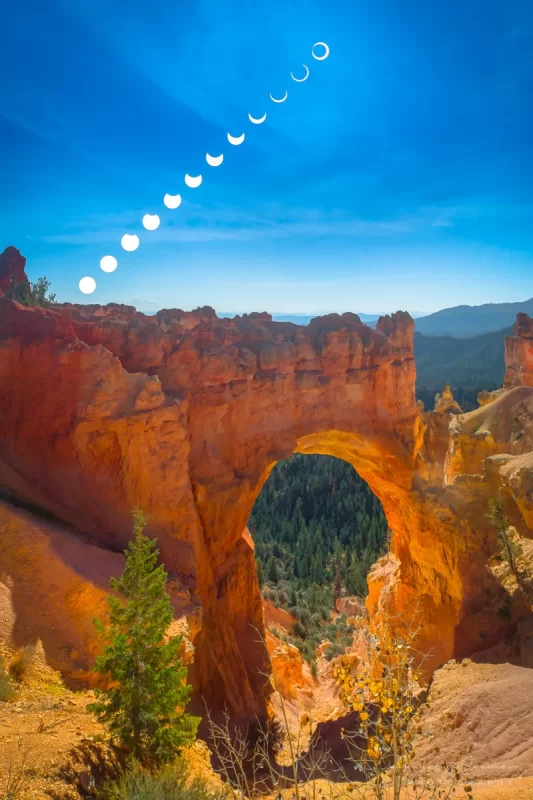
Timelapse photos are single long exposure photos or combinations of photos which show the passage of time. Often, you will see timelapse photos containing streaking clouds showing wind direction. However, you can also see star trails, combining sunsets with Milky Way shots, eclipses, or showing the same location at different seasons.
Panorama
The final specialized technique we will consider is that of the landscape panoramas. Simply put, a landscape panorama (whether a wide or tall panorama) is merely a landscape photo which uses an aspect ratio beyond that of a typical single frame in-camera. You commonly see panoramas in an extra wide format. However, they also exist in an extra tall format.
If you want to learn more about how to create a panorama, check out this article on the subject. If you choose the method of stitching single frames together into a larger panorama, then you might want to check out this article on how to remember you shot a panorama. You will probably quickly learn just how difficult it can be to remember you shot a panorama series, especially if you don’t immediately process up your photos. This tip will help.
The Importance of Editing
As you research and progress through learning landscape photography, you will run into the idea of processing your photos. Indeed, post-processing covers a sizable portion of landscape photography discussions. Field work, gear, and printing covers most of the rest of landscape photography discussions. So, post-processing must be important if it takes up that much of landscape photography discussions. Why is this?

As you are starting into photographing landscapes for yourself, you will soon see what your raw landscape photos look like. They are often a poor reflection of the scene in front of your eyes. Even JPEGs don’t capture things the way your eyes see the view. Post-processing attempts to bring raw photos into better alignment with what we as photographers envision on site.
Check out a couple of my landscape photos below. I’ve included both the raw files and the processed files so you can see the different for yourself.

You can see that I’ve improved the dull and flat (and even dark) raw files into something beautiful. The unwanted people are gone. This is the importance of post-processing in landscape photography.

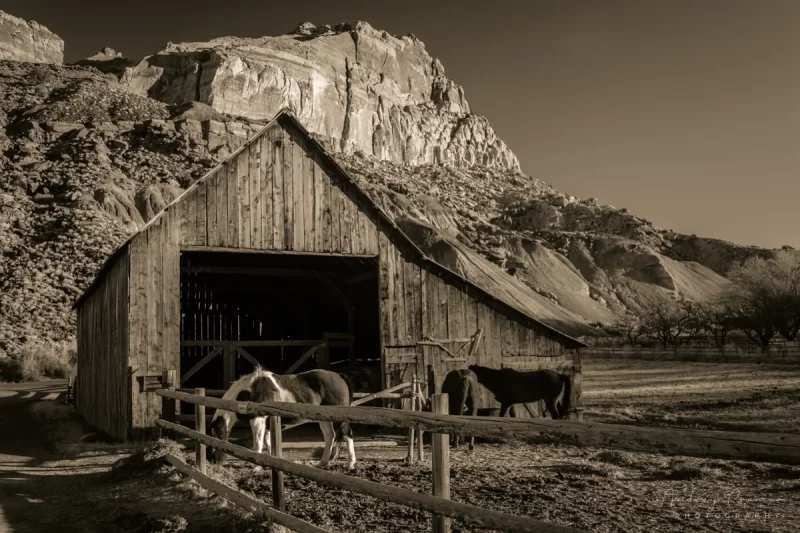
During post-processing editing, you can choose whether or not you want to go with full color or monochromatic photos. There’s nothing wrong with either approach. Some photos look better in a monochromatic color scheme than others do. It’s all up to you.
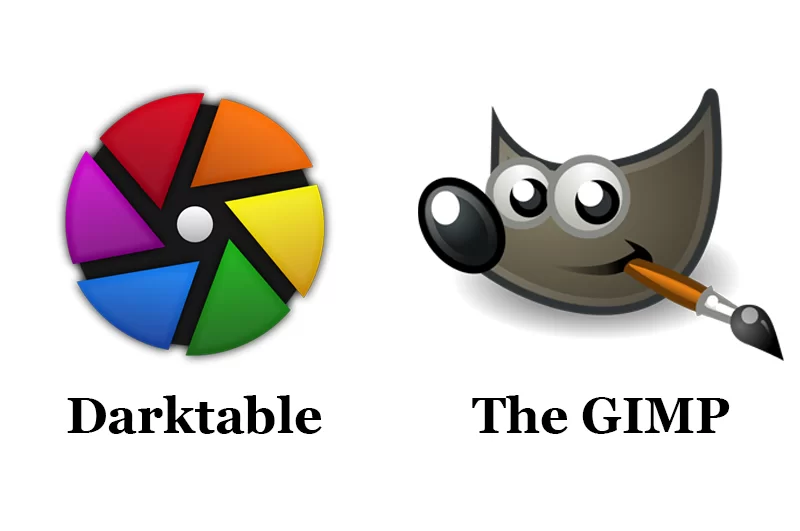
When it comes to post-processing software, there are many options out there on the market, as with everything else. Adobe Lightroom and Photoshop have been long-term industry standards. However, thanks to poor business practices, Adobe is falling out of favor and several other software options have come to the surface. There’s Luminar, On1, Affinity, and more. On the free and open-source side, you can check out the GIMP and Darktable.

I’ve learned a lot about post-processing my landscape photos from YouTube. There were other sources, but YouTube is free and easily accessible. Find a handful of landscape photographers with a style you like and watch their tutorial videos. It will help speed up the learning process for you.
Common Mistakes
As you might expect by now, there are a few common mistakes you can make when photographing landscapes. Here I’ll cover some of the easiest to spot.
Poor Composition
There’s lots of ways for poor composition can creep into your photos. Busy and cluttered background is 1 way. Your eye can’t settle properly.
Crooked Horizons

Crooked horizon lines are a very obvious error in photographing landscapes. Thankfully, you can correct problems like this in post-processing software.
Misjudging Lighting
Terrible lighting conditions make for terrible landscape photos. Sometimes the light can deceive you. Make sure to cull when it just doesn’t work out as planned.
No Foreground Interest in the Photo
Lack of foreground interest shows a lack of attention to an important part of the photo. It shifts the weight of the photo towards the back-end where the photo now feels top-heavy. There’s nothing to balance and ground the photo.
Relying Too Much on Equipment
You need to learn and know what your equipment will do and not do. Do not expect it to bail you out and save your photo when the scene is too far outside what your camera can do. You end up with unsatisfactory photos like this.
Not Minding Photo Edges and Borders
Note the bottom left corner and the right side in the “Not Minded” example above. The objects and spots draw you out of the photo. That’s what not minding the borders does: it leaves distractions in the photo.
Obviously, there’s more than these examples which exist as mistakes in photographing landscapes. These are a few to get you started in what to look for in your landscape photos.
Now that being said, perhaps 1 of the best ways to learn to see these things for yourself is to seek out and receive feedback from experts in the field. If you’re interested in my feedback, I’m willing to help you out there. Contact me and I’ll give you all the details.
Conclusion
In conclusion, if you want to start into photographing landscapes, there’s a lot to learn. You need to learn your camera and other gear, the exposure triangle, composition, depth of field, light and lighting conditions, where to collect landscape photography locations, safety concerns for your chosen location, laws and regulations surrounding landscape photography, specialized techniques to learn down the road, how to edit your landscape photos, and common mistakes in landscape photography. Take all the time you need to learn all these skills. They won’t come immediately for most people.
My final piece of advice for anyone starting into photographing landscapes is to practice. It is indeed the most important piece of advice I can offer you. I detail the reasons behind this practice advice in this article.
Once again, welcome to the club of landscape photography. I hope to see some amazing photos come out of your camera here soon. Please share your new landscape photos in the comments section below. Don’t forget that I’ll offer feedback. Contact me for all the details.